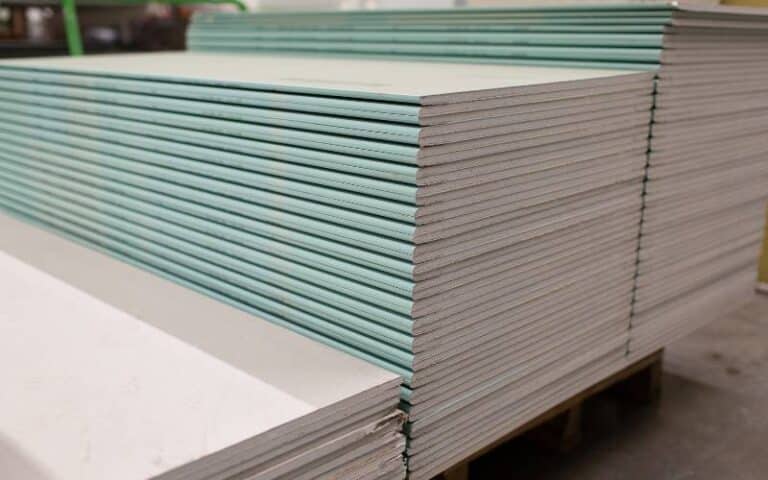
Drywall is a popular and affordable material used in many homes for interior walls, ceilings, and other surfaces.
Nailing into drywall, as well, is a common task many homeowners face when completing home improvement projects.
But most people find it challenging to ascertain if it’s possible to nail trim into drywall without damaging the wall or creating unsightly scenarios.
You can nail trim baseboards, crown molding, etc., into drywalls, provided you do the job safely and effectively. But it’s also important to note that the drywall may not be strong enough to hold the nail, so it’s best to use wall studs. You can efficiently complete your project without damaging your walls with the right tools and techniques.
In this article, we’ll explore whether nailing trim into drywall is advisable and provide some tips to ensure it’s done correctly.
With this information, you can confidently tackle your next drywall and trim project.
Ready for a Drywall Quiz?
Can You Nail Trim into Drywall Studs?
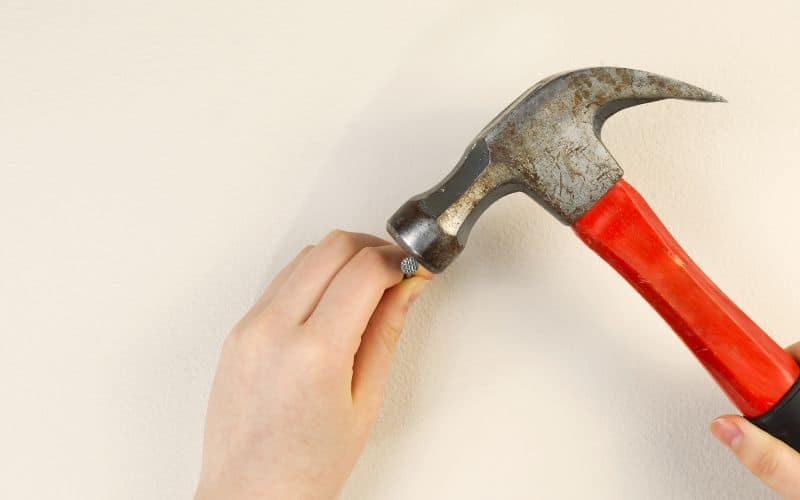
You can nail trim into drywall, provided you adhere to the necessary precautions to ensure accuracy.
Nailing trim into drywall studs is a simple process that requires accurate measurements, careful hammering, and the correct type of nails.
The correct technique and tools will help ensure the trim stays securely in place.
Here are the steps to follow to ensure a successful outcome:
#1. Clean the Area for Nailing
This process involves removing any debris, dirt, or dust that may be present around the nailing area or in the nailing holes.
It also requires filling gaps between the studs and the drywall with caulk or joint compound to ensure a tight fit.
You can likewise lightly sand down any rough spots around the nail holes to create a smooth surface for nailing.
Once this process is complete, you can begin nailing your trim into place.
#2. Measure the Area for the Nail Trim and Mark It
Measuring and marking the nailing area is pretty straightforward. It helps ensure that the trim is aligned correctly and secured in place.
As a guide, ensure the markings are clear enough to avoid misaligning the setup.
Additionally, if you’ve not already, cut the trim into pieces to fit the structure of the studs; you can do this using any cutting tool.
#3. Position the Trim Against the Wall
Nailing trim into drywall studs requires precision and accuracy. Thus it’s essential to position the trim against the stud and ensure it’s straight before nailing.
You can do this with a level or straight edge to check for alignment issues.
Once satisfied with the alignment, drill small pilot holes into the studs. Making holes for the nails ensures they fit tightly and hold the trim efficiently.
#4. Affix the Nails to Each Stud
Hammer the nails into each stud’s holes, ensuring they’re not too close or far apart. Aim for about 3-6 inches apart from each other.
Be sure to drive them in until they flush with the trim surface. It’s also vital to ensure that each nail is securely fastened to the stud for maximum stability and strength.
It’s best to use galvanized nails to reinforce efficacy instead of general-purpose ones. Hard trim nails are another excellent option, especially if the holes are narrow.
#5. Finish off by Sanding down any Rough Edges
Sanding down rough edges creates a smooth surface for the trim. It’ll help ensure the trim is flush against the wall and prevent any nail from protruding through the drywall.
If you can, trim off any excess nail length with a saw or utility knife before finishing up with sandpaper or other finishing materials.
Altogether, nailing into drywall studs can be tricky and potentially dangerous, as it requires placing the nail correctly and securely in the stud.
However, the steps describe the possibility of such tasks and show that they’re achievable.
As a rule of thumb, using screws rather than nails is generally recommended when working with drywall. Screws provide a more secure fastening, creating a more aesthetic finish.
Likewise, If you intend to use a nail gun, get one with an adjustable pressure setting to control how far the nail goes in.
It’s best to wear safety glasses and masks when using the gun, as flying debris can enter the eye or nose.
Can You Directly Nail Trim into Drywall
Nailing trim directly into drywalls can be risky as the nails may not hold securely in the wall.
Drywall consists of paper and gypsum, which is not a strong enough material to support the weight of nail trim.
Additionally, there is a possibility of damaging the drywall as it can easily crack or tear when nails pierce through directly.
For these reasons, using other methods, such as anchors or toggle bolts, when attaching the trim to drywall is advisable.
Instead, it is better to use drywall anchors or other methods, such as adhesive strips or toggle bolts, which are more secure and reliable.
Subsequently, nailing directly into drywall can lead to several problems. The most common issue is that the nails may not penetrate firm enough into the drywall.
Such an occurrence can cause the trim to become loose or even fall off over time. In events where you have other installations behind the drywall, they can get punctured and damaged.
Additionally, if the nail is not inserted at an angle, visible holes in the wall may result. And if too much force is used in hammering, deformations in the trim and drywall will be the result.
Altogether, the consequences of nailing trim directly on your drywall are perturbing. However, if you still insist on this technique, be sure to use the correct type of nails and drill pilot holes.
Using the correct type of nails reduces expected damages. The nails should be 1½-2 inches long, depending on the rim type.
Is Nailing Trim to Drywall Better than Using Adhesive
Nailing trim to drywall is a common practice for home improvement projects. However, It’s a not-so-effective technique compared to using glue.
Some drawbacks to using nails include the risk of potential damage and the need for extra tools.
More so, nails can pull out of the wall over time due to vibration or changes in humidity.
Adhesives, on the other hand, provide an alternative that can be just as effective, if not more so in some cases, with fewer drawbacks.
They offer better support for the trim, which helps to prevent warping and buckling. They are also used as an alternative to filling gaps between the trim and the wall for a more secure fit.
Subsequently, each option has its upsides and downsides, so it’s best to weigh both sides and choose your stand wisely.
Thus, the tables below give a comparative analysis of the pros and cons of nailing trim to drywall versus adhesive.
With this in mind, you’ll decide which option is best for your project.
Nailing trim to drywall:
| Upsides | Downsides |
|---|---|
| It provides a secure connection between the two surfaces | It can cause damage to the drywall if not done correctly |
| Cost-effectiveness | Difficulty in achieving a clean finish |
| Ease to tear out the trim pieces if need be | The nails can loosen over time |
Using adhesives:
| Upsides | Downsides |
|---|---|
| They provide a more assertive and cleaner finish | They may not be able to provide enough support for heavier materials |
| Reduction in noise commotion | Difficulty in tearing out the trim piece if need be |
| The process is less time consuming | The process is cost ineffective |
What Nails Can I Use to Hang Trim on Drywall?
There are several nail alternatives when it comes to hanging trim on drywall. Different nails suit several purposes, and using the wrong one can damage or even fail your trim.
The most commonly used nail types include finishing nails, drywall screws, and brads. Each nail has its advantages and disadvantages, depending on the job.
Finishing nails are best used for smaller trim pieces due to their size and strength. Due to the relatively small head size, they are suitable for finishing touches on the trim.
Drywall screws, on the other hand, provide a more secure hold and sometimes require pre-drilling into the wall. But brands are ideal for delicate touches.
They are tiny and should only be used in fragile materials such as molding or picture frames.
Nonetheless, no matter your choice, ensure that the length isn’t less than 1½ inches. Always aim for 1½-2½ inches.
Also, note that a few factors affect which type of nails you should use. A few include the type of drywall, the size and weight of the trim, and the desired finished look.
It’s best to put everything into consideration. That way, you’ll make an accurate decision.

