I understand how frustrating it can be to want to install a stud in a home with drywall covering its wall.
Nonetheless, no need to worry as there’s always a solution to everything, stud behind drywall inclusive. Hence, I’ll begin with this fact;
The essence of adding studs behind your drywall is to give shape and anchor to your home so it can last. That said, you’ll need expertise to add studs behind drywall because you’ll have to tear down the pre-existing drywall. However, you can install the stud on drywall if you have new drywall to cover the stud with afterward.
This guide has all the answers you need concerning the installation of studs behind your drywall and many other related issues.
Ready for a Roofing Quiz?
5 Steps to Add a Stud Behind Drywall
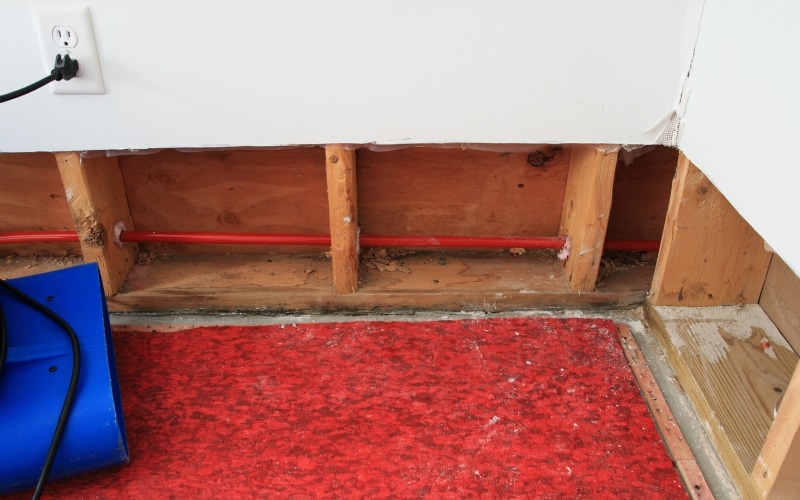
Having studs behind your drywall is synonymous with having bones in your body. The functionality and strength of your house depend on the presence of studs behind the walls.
This section will explore all the steps you can take to add a stud behind the drywall.
However, before we move into that, know that building a stud comprises the top and bottom plates and their noggins.
Also, if your home already has a covering such as drywall, you’ll have to get it off.
That’s because a stud forms the house’s skeleton and would need to be the first thing you add before installing your drywall. When you settle that, you can then install the drywall of choice.
Here are the steps to follow to build a stud behind the drywall.
Step 1: Install the Bottom Plate
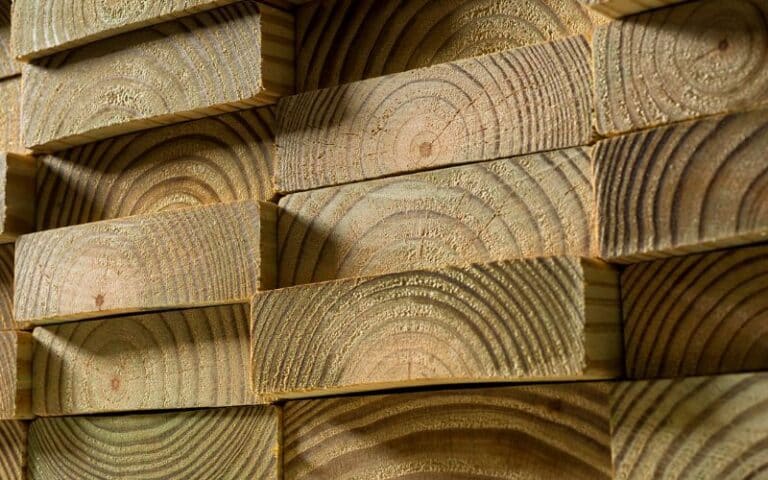
The first thing to do when building a stud is to out the extent of the stud wall; use timber to secure the length.
Hold down the timber with nails and ensure to do that at angles (skew nailing) to give additional strength to the timber.
However, if you plan on installing a door frame, use single nails on the timber at that section. That’s because you’ll need that timber off when it’s time.
Step 2: Install the Top Plate
After screwing the stud bottom plate, the top plate comes next; as the name suggests, this plate should form the top of your stud above the bottom plate.
Build a ledge to support your timber while you’re doing the nailing to avoid the collapse of the entire structure.
Step 3: Install the Vertical Studs
You’ll need to install vertical studs to connect the bottom and top plates. However, you must ensure sufficient spaces between the vertical studs (normal spacing should be about 450mm).
Also, if you plan on including a doorway, leave a large space to accommodate the door.
To get an exact distance between the top and bottom plates, measure the vertical studs individually.
Step 4: Install the Noggins
The noggins give strength to the vertical studs, and the usual spacing between them is about 1200mm.
Step 5: Doorway Frame
The doorway comes in after installing the other parts of the stud. You must create a large space that takes the door and the doorjamb.
You don’t need to add noggins since it’s a doorway. The width of the doorway would depend on your door size and the thickness of the floor.
Now, you’ve built your stud wall. You can go ahead to install the drywall.
Do You Need to Remove the Drywall to Add Studs?
That depends on the drywall you’re referring to. If there’s a drywall already and you plan on adding another drywall afterward, then you can fix studs on the pre-existing drywall.
In such a situation, you don’t have to remove the drywall to add studs.
However, if your home is already complete without studs, you’ll have to rip open the drywall so you can build in the studs.
That’s because studs form the skeleton and must be beneath whatever is already in the structure.
Another reason the studs should be under drywall is that it provides an anchor for the drywall to sit on.
Telling you that doesn’t mean you should jump into your home, tearing down the drywall without caution.
This table shows the tools/materials needed against their individual uses;
| Tools/Materials | Uses |
|---|---|
| Hammer | Helps in nailing structures. |
| Hand Saw | Helps to cut through drywalls. |
| Power drill | To drill through walls. |
| Construction adhesive remover | Removes adhesive glues. |
| Dust mask | This mask would offer protection against dust. |
| Studwork timber/Metal studs | It serves as the stud skeleton. |
| Plasterboard | It helps with masonry wall attachment. |
| Eye goggles | It’ll protect your eyes from dust. |
What Is the Recommended Spacing for Studs Behind Drywall?
The recommended spacing for studs behind drywall is about 16 inches. This spacing is standard, and most contractors use it as their spacing format.
Also, that spacing is accountable to why drywalls have an average width of four feet; that way, you can divide the stud spacing by the width of the drywall and have it sit centrally on the stud.
It’s important to have the right spacing for studs behind drywall for uniformity. You’ll cut the drywall unevenly during installation if there’s no right spacing between the studs.
Also, having a space far from normal will create difficulty in finding studs behind the drywalls.
Moving on, the 16 inches distance for studs should be for a standard home; in older homes, that can differ, but it often doesn’t exceed 24 inches.
There are clues to the right spacing of studs behind drywall; locate the electrical boxes and switches to other appliances because their attachments are on studs.
So also, do studs give support to windows and trim? Again, without an electric stud finder, you can figure out the recommended spacing for studs.
Can You Secure Drywall Without Studs?
With the right technique, securing drywall without studs will be easy-peasy. However, before we go into that, know that securing drywall with studs stays firmer and longer.
To secure drywall without studs, you’ll need drywall clips; these clips help to keep the drywall on wall sheets.
All you have to do is insert the clips into the existing drywall or sheets and different angles. When you’ve done that, place the new/main drywall on the clips and press on it to clip.
However, there are other options if using clips isn’t available or accessible.
#1. Drywall to Drywall Directly
This option is the next best after the use of clips. Here, you’ll have to compress the different drywall sheets together so that no space exists between them.
However, if merging the two sheets without space proves difficult, use drywall mud to fill the space.
#2. Using a Drywall Saw
This option comes in handy if you have a hole in the wall and want to cover it up with drywall. Here, you’re using a drywall saw to drill the drywall of the specific shape into the hole.
FAQs
How Do Studs Need to be For Drywall?
Studs should have at least one inch of surface to allow for drywall attachment. But if you don’t have that much space, you can install an additional stud to the existing one.
Do You Have to End Drywall on a Stud?
It’s important to end the edges of your drywall on a stud or any other hard surface. Doing that will avoid cracks and other issues in the long run.
Can You Hang a TV Without Studs?
Ideally, mount your TV on a stud for better anchorage. But without that, you can drywall bolts and anchors to hang your TV.

