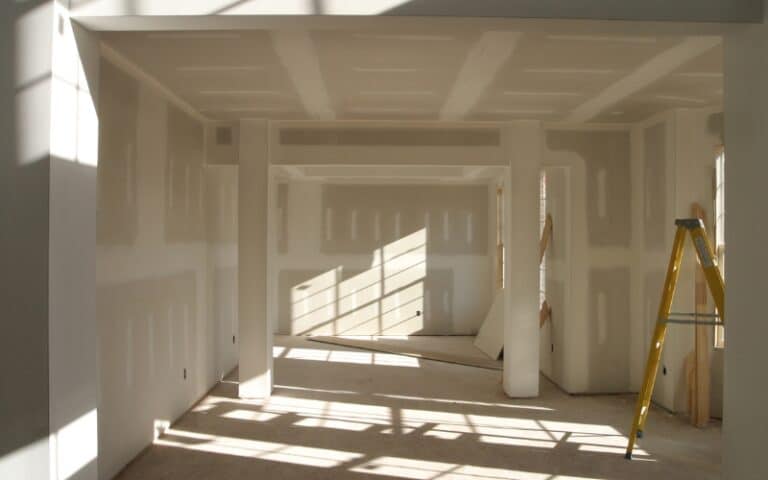
A drywall finish is essential to achieve a smooth and professional-looking finish. So having uneven drywall will limit you from getting the best look you can from your drywall.
An uneven drywall signifies a house’s poor aesthetics or something severe such as a structural issue.
It can even cause cracks and holes in your home, and you must spend more money to repair it.
So here’s how to shave your uneven drywall to avoid this problem.
First, assess your walls, and get your tools to shave the uneven part. Next, then you shave the rough area of the drywall. Start with coarse sandpaper grit sandpaper, then switch to a finer grit for sanding. Next, apply the joint compound to the sanded area, let it dry, then sand again. Finally, use a primer-sealer on the sanded site.
In this article, I’ll walk you through the steps required to shave down your uneven drywall so your home can have an excellent finish. I’ll also explain how to make drywall repairs sit flush.
Ready for a Drywall Quiz?
Seven Steps to Shave down Uneven Drywall
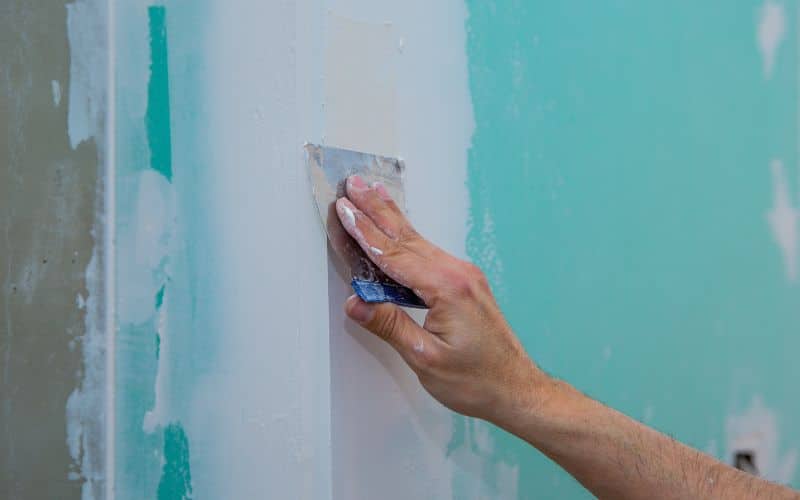
Shaving down your uneven drywall is vital to having a good and attractive finish and avoiding cracks in your wall afterward.
So, follow the steps below to shave down your uneven drywall
- Assess the Area
- Tools Gathering
- Shave the Uneven Parts
- Joint Compound Application
- Drying Process
- Reapplication and drying of joint compound
- Primer Sealer Application
#1. Assess the Wall
The first step to shaving down your uneven drywall is to assess its unevenness.
In assessing the drywall, you might have to remove any decoration, like the wallpaper, from the drywall. After the wall is bare, you can use your hand to assess and feel the wall for bumps.
After finding the rough places, you need to even them out and mark them for easy identification.
#2. Tools Gathering
Getting the tools required to do this is essential. The tools you need to even out your drywall are;
- 80-120 grit sandpaper
- Utility knife
- Sanding block
- Joint compound
- Drywall knife
- Primer sealer
- Dust mask
- Drywall rasp
After getting these tools in place, you can start sanding to even out your drywall.
#3. Shave the Uneven Parts
Since you’ve marked the uneven parts on your drywall from your previous assessment, you can now shave it.
You then use the utility knife to mark the lines you’ve previously made while assessing the wall, creating a groove. You then use the drywall rasp to shave the rough parts.
Do that slowly so you don’t overdo it. Next, you can place sandpaper on the sanding block to smoothen the surface of the drywall.
You can start with coarse sandpaper, say 80-100 grit, then increase it to 120 for a finer finish.
#4. Joint Compound Application
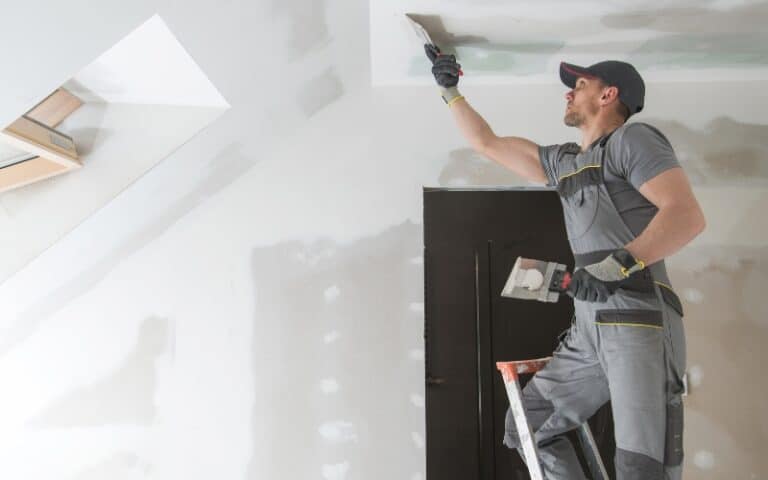
After sanding the uneven parts of your drywall with sandpaper, if there’s a depression, you apply a joint compound.
Use the drywall knife to spread the drywall compound to the cracks in the drywall till it’s covered up properly.
#5. Drying Process
After applying the joint compound, the next step is to allow it to dry. The drying process might take a few hours, but leave it till it dries completely.
Although you might find the part where you applied the joint compound rougher than before, you need to smoothen it.
You do that by sanding and smoothing the area, then cleaning up the dust and debris from sanding with a damp cloth. While doing all these, wear a dust mask to protect your lungs.
#6. Reapplication and Drying of Joint Compound
Check the drywall for any uneven spot you missed; if there is, you must redo the process.
Now, you repeat the process of applying and drying the joint compound on the drywall till there isn’t any depression showing.
#7. Primer Sealer Application
The final stage of shaving down your uneven drywall is the application of your primer sealer.
So after sanding and drying, apply the primer-sealer and paint the drywall to match the other parts of it.
What Is the Best Way to Make Drywall Repairs Sit Flush?
Ensuring drywall repairs sit flush is an integral part of any drywall project. Uneven drywall can be unsightly and even cause issues with certain types of wall covering.
To ensure a smooth, professional finish, shaving down the drywall and making the repair as flat as possible is essential.
The most effective way to do this is with a drywall plane. A drywall plane is a specialized tool designed to remove excess drywall compound or paper tape and make a patch look seamless.
These tools are available at most home improvement stores.
Still, if you need to familiarize yourself with using one, hiring a professional with experience with these kinds of repairs is always best.
To use a drywall plane, start by sanding down any raised bumps in the area to be repaired.
Then, set the plane blade at an angle and begin cutting away excess material, using the flat surface of the plane to guide you.
Use long, steady strokes and move the plane in the same direction. After shaving off the excess material, smooth down the patch and ensure it is even with the rest of the wall.
Once your drywall patch is as flat as possible, apply additional layers of drywall compound to fill in any remaining dips or holes.
Sand the area again when dry, and then use a coat of primer before painting.
Following these steps, you can ensure that your drywall repairs look professional and flush with the wall.
How to Smoothen Drywall with Poor Repair?
If you want to smoothen your drywall with poor repair, there is a way to even out the surface without having to patch it and start over.
The process is called “shaving” and involves using a unique tool to shave off small amounts of material from the existing drywall until it is flush.
Follow the steps below to smoothen your drywall with poor repair.
- Begin by cutting a straight line across the high spots in the drywall. Be sure to make the line as straight as possible.
- Use a drywall saw to create an angled cut on either side of the line. These cuts should be as deep as possible while still being shallow enough that you don’t cut into the wall’s supporting studs.
- Use a drywall rasp to shave down any remaining high spots. Hold the drywall rasp at a 45-degree angle and work from side to side until the wall is even.
- Once the wall is smooth, apply a thin coat of joint compound to fill gaps or low spots. Smooth it out with your trowel before letting it dry completely.
- Lightly sand the area with fine-grit sandpaper until entirely smooth.
With this method, you can get your drywall repairs to sit flush without starting over from scratch.
Just remember to take your time and keep your cuts straight and even ensure a professional finish.
Also, depending on how bad the repair work on the drywall is, you might have to reapply the joint compound. Sometimes, it might take 2-3 coats before it smoothens out.
After the coating, sand it, apply primer sealer, and then repaint the drywall. Also, if the drywall area that needs smoothening is the ceiling, repainting might do for that.
It is good to have your drywall with a professional finish. However, doing this has its pros and cons.
Here are the pros and cons of smoothing your drywall with poor repair.
| Pros | Cons |
|---|---|
| It will improve the drywall repair appearance, so it blends with the surrounding wall. | Smoothing the wall takes a lot of time, especially if it requires multiple coatings. |
| The repair looks less noticeable after smoothing it. | The clean-up is messy due to the dust and debris created during sanding. |
| The finish looks of the drywall will look professional. | The risk of over-sanding is there and can be challenging to fix. |
| If done correctly, it improves the resale value. |

