It is important to pay adequate attention to the interior of your house. You should include the roof, the doors, and the stairs.
You can apply drywall to the enclosure under your staircases. Although this part of your room is different from every other part, care must be taken when handling the understairs of your room.
You should note some steps as you apply drywall under the stairs. These steps ensure that you have a lasting and perfect job done.
To drywall under stairs, you should have all equipment you need in place. After all, hold the drywall tightly along the edges of the staircase. Start from the top and move downwards until you’ve covered all the regions at the underside of the staircase. Remember to follow safety precautions as you apply drywall under the stairs.
This article will give you a complete step-by-step guide on how you can apply drywall underneath your stairs.
That’s not all! You will also discover how much it will cost to apply some drywall under your staircase.
Ready for a Drywall Quiz?
Do You Need to Drywall Under Stairs?
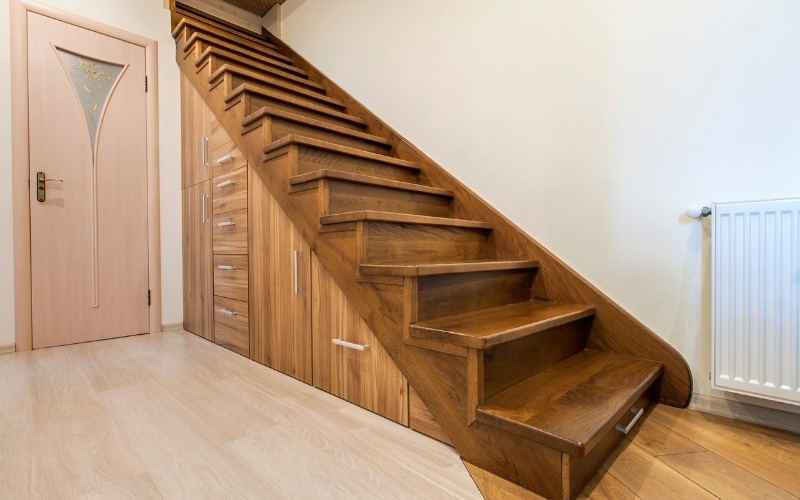
You do not have to apply drywall under your staircase. This choice is because the part of your house under the staircase is hidden from the outside glare.
Yet, it is a good place to apply drywall under your staircase. If you intend to modify your under stairs, then you need to apply drywall at the under stairs.
Applying drywall under your staircase opens the staircase up for various modifications.
These modifications need some priming. The understairs looks better with the drywall on them. When modifying, under stairs comes to your mind, consider applying drywall.
Furthermore, you are not attempting to improve the aesthetic beauty of your home alone. You are also reducing the hazards associated with an exposed staircase.
Whatever the material used, an exposed staircase is risky to you and the members of your household. Applying drywall will reduce the risk of fire incidence.
When the undersurface of your staircase is left bare, the fire incidence risk increases due to the wood framings. The wood framings can transmit fire easily to the surrounding surface.
Once you apply drywall to the undersurface of the stairs, the drywall material serves as an insulator against heat and fire.
When the fire is on, the drywall will serve as a breaker to transmit flames to every room.
The drywall can serve as an insulator because it is made with materials that are not flammable.
For example, most staircases are made of wood. Hence, wood conducts electricity greatly.
This property of the drywall, reduced flammability, makes it a valuable adjuvant to apply to the underside of the staircase.
As much as you do not need to have drywall placed on the underside of your stairs, you should go the extra mile by adding drywall.
Aside from making the underside of your staircase fine, you could prevent a fire outbreak.
How to Drywall Under Stairs?
Here is a step-by-step guide on how to apply drywall under any staircase. This step-by-step guide will guide you on how to have perfect drywall on the surface of the under stairs.
You can hire a professional to carry out all these tasks.
However, you can also try them out independently since they are simple, easy-to-do steps.
- Get all the necessary tools.
- Measure the height of the walls.
- Determine the size of the area you want to cover.
- Cut the boards.
- Attach the boards.
- Apply a primer.
#1. Get All Required Tools
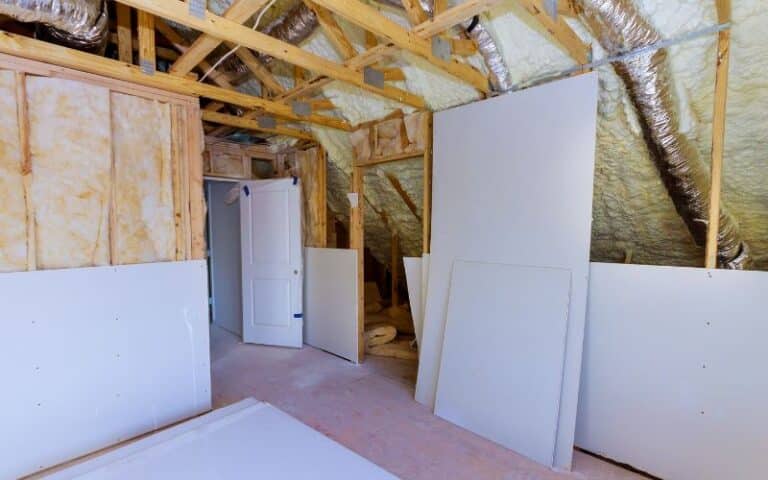
Before you begin, you must have your tools handy. Keeping your tools handy helps you maintain excellent work from start to finish in no time.
You may need many tools to finish your work, and you may only need some of them.
However, it would be best to have some essential tools to ease your work and give you a perfect finish.
Some of these tools include;
- Safety glasses
- Dust mask
- Tape measure
- Utility knife
- Jab saw
- Screwdriver
- Drywall tape
- Drywall primer.
Aside from making your work easier, these tools protect you from the risks you might face when you apply the drywall under your staircase.
#2. Measure the Height of the Walls
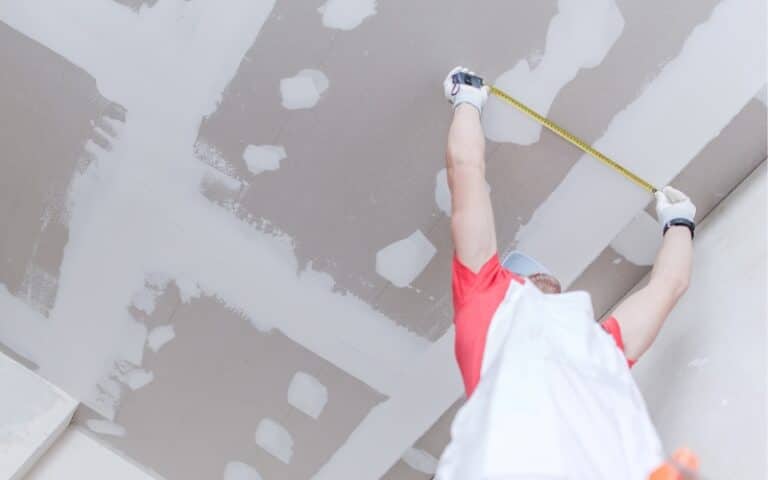
With your ruled tape, measure the size of the walls you want to apply the drywall. For example, the enclosure underneath the stairs would have walls by the side, above, and in front of it.
Make sure you measure the walls accurately with the tape rule. When you make this measurement, you can determine how much drywall you will apply to the area.
You can also tell how much stud there is and where you can apply the drywall. The studs are an important component of the underside of the stairs.
It would be best if you lay the edges of the drywall on the studs to keep your work perfect and strong. Sometimes, you may find the stud on the edges of the staircase.
In this case, you should add a stud midway between both edges of the staircase. Then, the stud will hold your drywall properly when you take this medication.
#3. Determine the Size of the Area You Want to Cover
After you have measured the height of the walls, determine the size of the area you want to cover with drywall.
This part of the work is important because you may want to cover only some parts of the staircase. You should leave the floor, some openings and make a door for entrance and exit.
In the case of a door, you may have to make a hinge and make allowance for the handle. In other instances, you may make openings for switches, sockets, and many other facilities.
When you determine the size of the area you want to cover, you can know exactly the amount of drywall boards you need and the shapes you have to cut out.
#4. Cut the Boards
Once you know the size of the area you want to cover, you can cut the board. The boards may come in sizes and shapes that may not align with your measured area.
From your enlisted tools, get the jab saw and cut to your needed shape and size. Apply your safety materials too.
These safety materials include a face mask, sunglass, and a helmet. Once you have the boards in the required shapes and sizes, you can arrange them in the order you want to place them.
#5. Attach the Boards
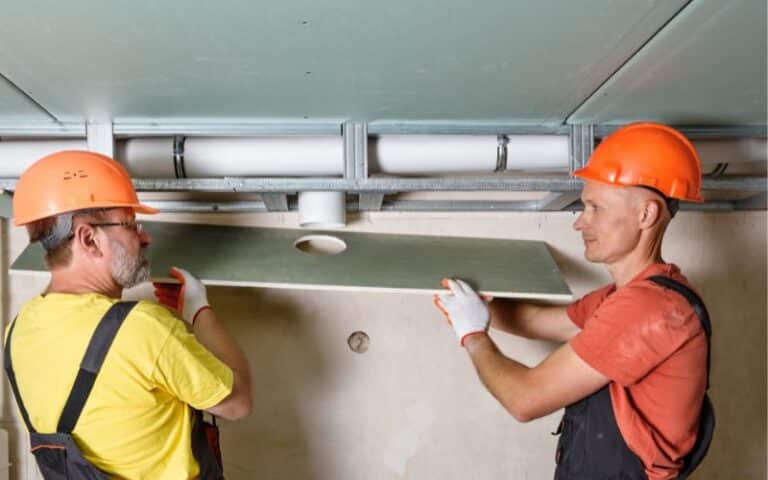
After you have the shapes and sizes you want, you can now attach the boards to the spaces where you want them to hang.
Once you are ready, move one of the finely cut boards to a location where you want to hang the board, find a stud, and screw the board’s edges on the stud.
Measuring the line where you intend to drive the screw will be best. This measurement will ensure that your screws are all on the stud and also in a straight line.
You can make an additional stud if the studs are too far apart. However, you should cut the boards to fit between studs if you have many studs.
#6. Apply a Primer
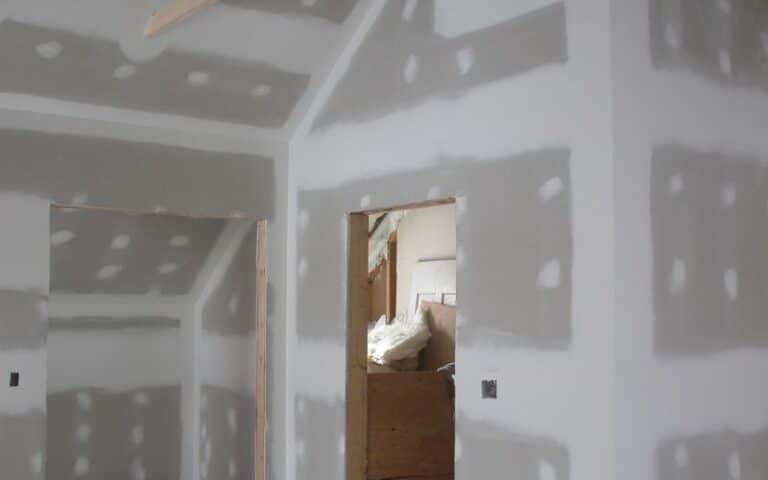
After you have hung the drywall, get a primer for the drywall. These primers will condition the surface of the drywall so that you can modify it in whatever regard you choose.
You may have a glossy surface if you choose to have the primer alone. Whichever one you choose, the primer coats the surface for a greater glow and outlook.
In the table below, you will find a highlight of the steps and why you should apply them.
| Steps to Follow | Why You Should Apply These Steps |
|---|---|
| Get all required tools | Perfect outcome and quick finish |
| Measure the area | Know how much drywall you need |
| Determine the size of the area | Know how much drywall you need |
| Cut the boards | Produces the exact shapes and sizes you need |
How Do You Drywall Around Curved Stairs?
The process of applying drywall under curved stairs is pretty simple. It follows the same procedure as the one above.
What differentiates the installation on a curved staircase is the curvature. Therefore, when you cut the drywall boards, you should make the edges circular in line with the edges.
Every other process remains the same.
What Steps Should I Follow to Run Romex Through Drywall Under Stairs?
Running Romex through drywall under stairs requires careful planning and adherence to electrical safety guidelines. Follow this romex installation guide for drywall: 1. Identify the path to ensure the cable won’t interfere with other structures. 2. Drill holes using a ½-inch drill bit at strategic points to avoid wall studs. 3. Pull the Romex cable through the holes, leaving enough slack for connections. 4. Secure the cable using appropriate staples or cable straps. 5. Install outlet boxes and wire devices according to electrical codes. Always consult a professional electrician if unsure.
What is the Purpose of Using a Belly Band in Drywall Installation under Stairs?
The purpose of using a belly band installation in drywall under stairs is to provide structural stability. This horizontal strip helps reinforce the vertical joints in the drywall, reducing the risk of cracks and ensuring a more secure installation. By distributing the weight evenly, a belly band strengthens the overall structure, enhancing durability and preventing potential damage over time.
How Thick Should Drywall be Under Stairs?
The standard thickness for any drywall is ½ inch thick drywall. This thickness suffices for the interior of walls, ceilings, and the underside of stairs.
This thickness is perfect for moving the boards around, screwing them without a crack, and providing enough insulation and cover for whichever surface you apply.
How Much Will It Cost to Drywall Under Stairs?
The cost of applying drywall under your stairs depends on how much drywall you would use at a point. For example, a square foot of drywall costs about three dollars.
Once you can determine the amount of board you will use, you can multiply the figure by three to get the overall cost.
This amount excludes charges for the primer and other designs you would apply. This cost depends on whether you are doing it yourself or you may employ a professional.

