Having your refrigerator work optimally depends on many factors. So, you cannot rule out essential plumbing tricks and technics that are necessary for this optimization.
An important plumbing technique that most homeowners inquire about is how the water line will run into the refrigerator.
Whether upgrading your refrigerator to get cooled drinks quickly or installing a new ice maker, this inquiry greatly concerns you.
You can run your water line to your refrigerator under the floor. This technique is not only possible, but it is also recommended. To apply this technique, you need to plan the pathway for the lines. When you have the right plan, you can do it. You will need an electric drill and a filling material.
In this article, you will discover how to run a water line to a fridge under the floor. You will also know what it will cost to pass the water liner under the floor to your refrigerator.
Furthermore, I will explain in detail all the steps you should take to run the line to your fridge from under the ground.
Ready for a Flooring Quiz?
Can You Run a Fridge Water Line Under the Floor?
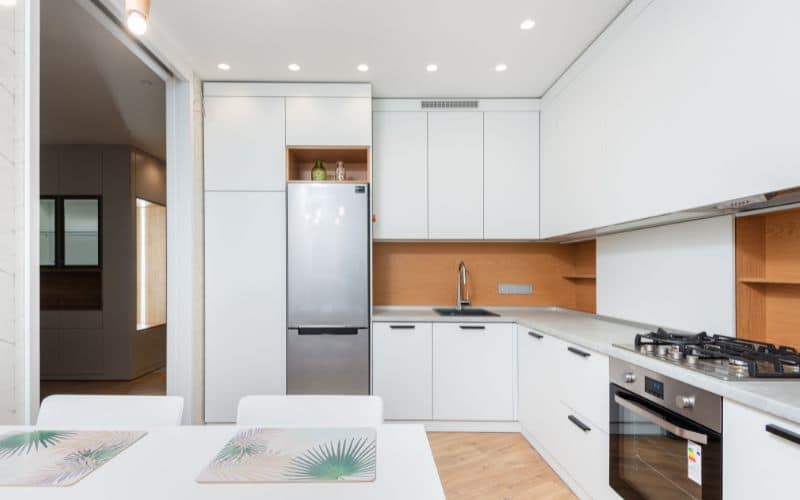
You can run your refrigerator water line under the floor. This technique is recommended for homeowners who desire to optimize their refrigerator use.
Most refrigerators feature a built-in dispenser and ice makers. These features mean that aside from having your food cooled and fresh at all times, you can access cool drinking water and ice.
Refrigerators without icemakers or water dispensers do not need a water line connected to them.
Even if you have a refrigerator with a water dispenser and an ice maker, you can choose not to have a water line.
In some instances, you might use your refrigerator without this feature. This minimal usage means your refrigerator will not work optimally.
This feature does not prevent your refrigerator from working at all. It only means you will not enjoy this feature. You will not always have cool water or ice whenever you need some.
When you operate your refrigerator in this manner, you will not explore all its features.
In another instance, you may have to fill in the water manually. By filling the water manually, you keep the dispenser running and the ice pack working.
In this case, you supply the water the refrigerator needs; you keep your refrigerator working optimally but at the cost of your constant refilling.
If you fail to refill, you may not have water in the dispenser or ice in the ice maker.
When you have a water line connected to the refrigerator, it automatically fills the water dispenser and the ice maker with water.
When the water dispenser is emptied, it refills without you having to make an effort. This feature makes life a lot easier.
The water line is the tube that delivers the water from the water source into the refrigerator. This tube can be passed on the wall or under the floor.
Passing the tube under the floor may be complicated, but it has its advantages once you pass the line under the floor.
The tube disappears from plain sight. This characteristic makes you save space in your kitchen and reduces the risk of having to puncture the line.
Steps To Run a Fridge Water Line Under the Floor
There are some steps you need to follow before securing a water line for your fridge under the ground.
Here are the steps to install a refrigerator water line under the floor:
- Position your refrigerator
- Clear the path
- Gather your tools
- Map out the path
- Secure the water supply
- Drill the floor along the mapped-out pathway
- Attach the tubes to the fridge
- Attach the tubes to the water source
- Carry out a quick final check
#1. Position Your Refrigerator
This step is an important first step that you may overlook. A well-positioned refrigerator delivers a better outcome when installing your water line.
If you opt for a DIY installation for the water line, you should position the refrigerator where you can easily connect the tubes.
A well-positioned refrigerator also minimizes the length of tubes you might use.
#2. Clear The Path
Once you position your refrigerator, you might have to remove some obstacles on the way of the tube. You may require a clear path when you begin to pass the line underground.
You may have to remove things that will form an obstruction to the path you may create later.
Positioning the refrigerator alone is often not enough; you may need to move things too.
Some commonly moved items may be chairs, tables, and other appliances.
#3. Gather Your Tools
When you reach this step, you must assemble all the necessary tools. You don’t want to have them scattered all around the place.
When you have all the needed tools, it saves your time and allows you to work efficiently. You may have a toolbox where you can have all these tools.
You can have a water line kit where all the tools you need can be found, or you can have these tools separately.
A water line kit will contain tubes of different sizes, valves, and other fittings. The waterline kit is indeed essential.
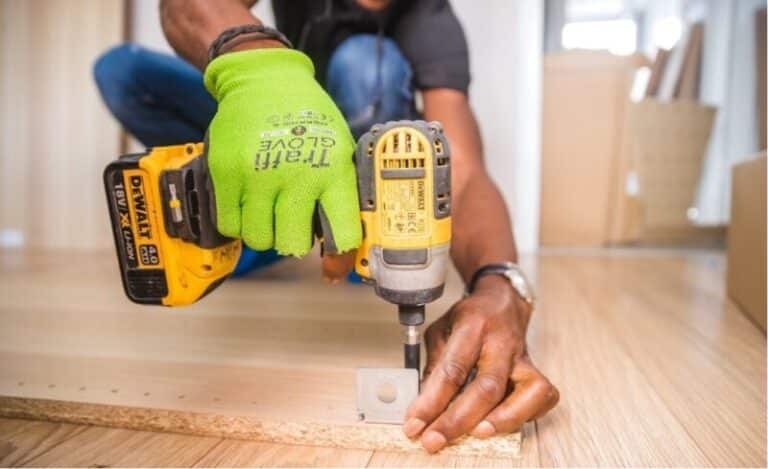
An important tool you should have is the electric drill. The electricity will break the floor after you have mapped out a path.
You could have a portable handheld drill or an automatic drill. The portable handheld drill is recommended because you can do small jobs with them.
The path you need to create is not a large one; it should be small enough to accommodate the diameter of the tube.
You will also need pipe thread tape. This tape is used to seal pipe threads. You may be joining two or more tubes together.
The pipe thread tape will prevent water from leaking through these joints.
You will also need a screwdriver and a wrench. These tools help you to tighten ends and joints. You may need screwdrivers and wrenches of different sizes.
#4. Map Out the Path
Once you have these tools, you should map out a path. This path should be the shortest distance between the water source and the refrigerator.
It would help if you cleared all the obstacles in this path before you proceeded to map it out. You can also outline the floor for a better direction.
An important action in this step is to measure the shortest possible distance between the water source and the refrigerator.
#5. Secure The Water Supply
In securing the water supply, you should turn off the water source. You don’t want your kitchen flooded with water during installation.
You can cut off the supply from the valve rather than the tap itself.
#6. Drill The Floor Along the Mapped-Out Pathway
You can now create a hole along your mapped-out pathway. This hole should be wide enough to accommodate the size of the tube.
Once the floor is drilled, you can place the tube in the hole, leaving one end free to the water source and another to the fridge.
#7. Attach The Tubes to The Fridge
You can attach the free end to the refrigerator. Connect the water line to the back of your refrigerator. Secure this connection with screws and nuts.
Ensure that you fasten this screw and nut tightly to prevent a leak when water begins to flow.
#8. Attach The Tubes to The Water Source
On the other end, attach the water line to the water source. To get this connection done, you need to set the valves.
Attach the tee adaptor fitting to the end of the tube. Use the wrench to detach the valve from the tap. You can choose to draw the water from the sink tap.
Once you detach the valve, connect the tube to the valve with the tee adaptor. Once you have made this connection, you can safely place the tube on the ground.
#9. Carry Out a Quick Final Check
Run the tap to carry out a quick and final check. Check for leaks, and check for the water pressure in the refrigerator.
Check the water for debris and the level of purity. Before using the water and ice, dispose of the first two servings of water and ice.
You can now cover the water line on the ground.
The table below summarizes the steps and the tools you need for each step:
| Step | Tools You Need |
|---|---|
| Map out the path | Marker |
| Secure the water supply | Wrench Screwdrivers |
| Drill the floor along the path | Handheld drills |
| Attach the tubes to the fridge | WrenchScrewdriversThread tape |
| Attach the tubes to the water source | WrenchScrewdriversThread tape |
How Do I Find an Installed Refrigerator Water Line Under the Floor?
You can find an installed refrigerator water line by first noting that the water dispenser fills automatically and the ice maker always has ice.
When you understand this, you can look at the back of the fridge. You will find a tube not connected to the power source but leads away to the ground.
Where it enters the ground, you will also find some markings denoting that the ground has been covered.
You can trace these markings to the source of the water. Most times, the source of the water is either a sink or a tap.
How Much Does It Cost to Install a Water Line in A Refrigerator?
It will cost you around 200 dollars to install a water line for your fridge. This price may vary depending on the configuration of your house.
A plumber may charge you within the region of 50 to 150 dollars per hour. The remaining cost may depend on the number of lines you use.
The complexity of the job may also determine the cost. The distance between the refrigerator and the water source also affects the cost of the job.
Most plumbers will charge you for their services per hour, while you may pay extra for the line you need.

