If you want to apply vinyl board and batten siding, there are several steps you need to follow to achieve the best outcome. These steps are crucial for achieving the desired result.
You might notice some visible, unattractive seams as you apply the panels. One way to cover up visible seams is to overlap the panels.
That’ll get you asking; can you overlap vinyl board and batten siding?
It is possible to overlap vinyl boards and batten siding, and it is necessary to do so. Overlapping the panels is important not only to conceal the seams but also to achieve aesthetic value and ensure proper ventilation. By overlapping the panels, you can maintain the siding’s overall appearance and keep the air flowing properly.
In this article, I will guide you on addressing visible seams and excessive overlapping in vinyl and batten siding panels. You’ll learn the amount of overlap required to achieve a seamless finish.
Ready for a Drywall Quiz?
Is It Okay to Overlap Vinyl Board and Batten Siding?

Yes, it is okay to overlap vinyl boards and batten siding. Overlapping helps to ensure the panels have a tight seal to prevent moisture and air from getting in.
When moisture gets into the panels, it can weaken the structure to fall apart. Meanwhile, penetration of air will reduce insulation value.
Properly overlapping the panels helps to prevent the seams from being visible. The aesthetic value of your home is therefore maintained.
Overlapping also helps to ensure proper ventilation in the sidings. Adequate ventilation prevents moisture buildup and mold growth.
It is important to be cautious and avoid common mistakes when overlapping your vinyl board and batten siding.
One common mistake to avoid is excessive overlapping. Although overlapping panels is necessary, doing too much will create issues. Ensure to do a moderate amount of overlapping.
Another common mistake is improper nailing. It would be best to use adequate fasteners (nails) to secure the overlapping panels properly.
Check the manufacturer’s manual for the siding board to find the right size of nails for it. Be careful when driving the nails into the panels so the board does not come off during the process.
There must be adequate spacing between the board before overlapping the panels. Proper spacing helps to ensure that the panels are uniform.
Also, if you live where the weather is usually hot, the panels may expand occasionally. The space helps ensure that the panels fall apart when expanding and contracting.
The spacing for expanding and contracting should be between ¼ – ⅜. Before overlapping areas around doors and windows, cut corners with flashing.
Flashing helps to protect those corners from damage due to moisture buildup. Ensure to use starter strips on the board before overlapping so the panels and board do not come off eventually.
Always follow the manufacturer’s recommendations. The recommendations will help prevent future issues from developing.
How Much Overlap is Good for Vinyl Board and Batten Siding?
The ideal amount of overlap is between 1-1¼ inch. It is crucial to ensure that the overlapping size is the right amount.
Exceeding the ideal amount can create unnecessary issues on your vinyl siding.
Here are some problems that may arise when you do too much overlapping on your vinyl siding:
- More overlapping can reduce the performance of the vinyl siding. The pressure the overlapping creates would cause the panels to buckle.
- More overlapping will reduce ventilation. The panels need proper ventilation to prevent moisture buildup and mold growth.
- More overlapping leads to increased cost of installation.
- Excessive overlapping makes the vinyl sidings look uneven, reducing your home’s aesthetic value.
If you see too much overlapping on your vinyl siding after installation, there’s no need to panic. Follow some procedures to correct the excess overlapping.
Here is a table to show the materials you’ll need to fix the excessive overlapping and their importance.
| Materials | Use |
|---|---|
| Pry bar | Remove the siding panels. |
| Measuring tape | To get the dimensions of the panel area. |
| Utility knife | To cut the panels to the correct size. |
| Fastener | To secure the panels to the wall. |
Here are steps to take on how to fix excessive overlapping on vinyl siding.
Step One: The first step is using a pry bar to eliminate the panels with excessive overlapping. After removing the panels, use a measuring tape to get the area’s dimensions.
Use a utility knife to cut the panels to the correct size (according to the area’s dimensions).
Step Two: Reinstall the panels you cut out and secure them with wall fasteners. Make sure the thumb rule of 1-1 ¼ inch overlapping.
Contact a siding practitioner to fix the issue if you can’t do it yourself.
Can You Leave Visible Seams on Vinyl Sidings?
No, it would be best if you did not leave visible seams on vinyl sidings. Leaving visible seams on vinyl sidings can affect the installation process differently.
Here are some issues visible seams on vinyl sidings can cause:
- Visible seams will make the vinyl sidings vulnerable to water infiltration.
- Moisture can easily get into the structure through the gaps and damage the walls, insulation, and framing.
- Air entering the seams can lower your home’s insulation value and increase energy bills.
- Visible seams are generally unattractive, reducing the aesthetic value of your home.
The appearance of visible seams in your vinyl siding is usually due to improper installation. If you notice visible seams on your vinyl sidings, you must repair them immediately.
Here is a table to show the materials you’ll need to repair visible seams and their importance.
| Materials | Use |
|---|---|
| Filler | To cover up the visible seams. |
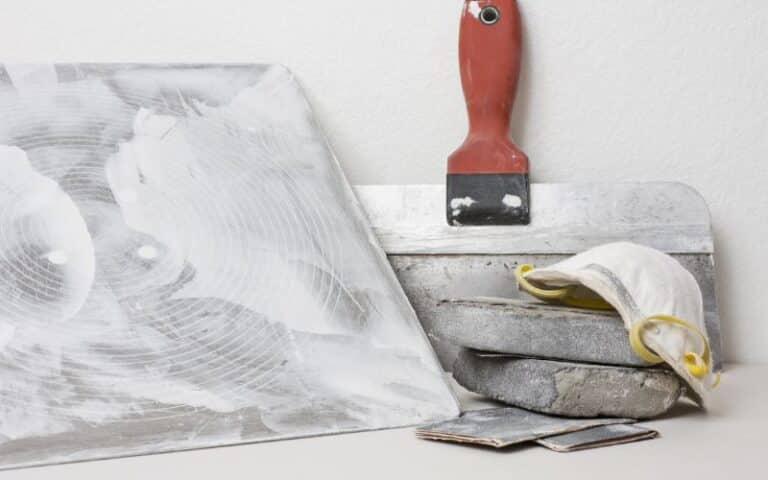
| Putty knife | To even out the filler on the seams. |
| Warm water | To prepare the seams for repair. |
Here are steps to repair visible seams.
Step One
The first step is to inspect the siding properly. Find out all the areas you need to repair on the siding.
Use warm water to clean off dirt and molds from those areas before you start repairing them.
Step Two
Use a measuring tape to determine the dimensions of the gaps you’ll need to cover up.
The measurements will help you determine the amount of material you’ll use to cover them up.
Step Three
Get your fillers ready for the gaps. The different types of fillers include silicone caulk, acrylic latex caulk, and foam backer rods. You can make use of whichever one you have available.
Wear some safety gear, such as goggles and gloves, to prevent the filler from causing harm.
Step Four
Apply the filler between the seams and smoothen it with a putty knife. Start with small gaps before moving on to the larger ones.
For gaps that are up to ½ inch, apply a spray foam. Leave the filler to dry for about a day, and then paint the areas to match the vinyl siding.
If you can’t do it yourself, contact a siding contractor to repair the seams.

