Fixing a hole or cracks in a drywall setup is usually tricky. That’s because there’s a thin line between ruining the look and restoring it to its former state.
You may spend hours repairing your drywall setup only to make it look worse. That’s the case when the patch is staring right back at you.
But it’s not meant to be obvious when you fix a fault. The repair process should correct and conceal the initial defect.
In most cases, attempting to repair drywall without proper skills ends up in a mess. That’s a no-brainer because the deficiency will be evident in how a person executes the repair. However, even an expert will need precision to fix drywall. One has to be careful and precise to get a matching surface after patching drywall.
The natural reaction to a hole in your drywall is to try to cover it up. But the repair process usually leaves you with a shabby-looking wall. Frustrating? Needless to say.
Thankfully, you’ll get loads of reprieve by reading this article. You’ll see why a drywall patch sticks out and how to get the best results when patching drywall.
Ready for a Drywall Quiz?
Why Does a Drywall Patch Stick Out?
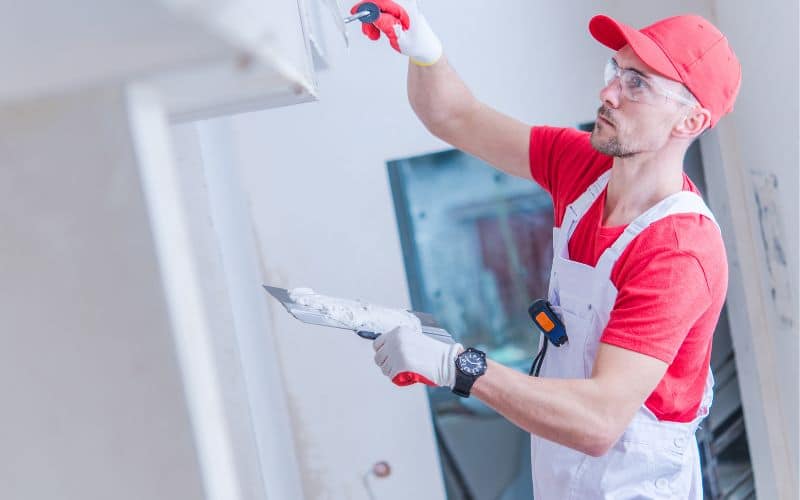
A drywall patch sticking out after some repair work usually points to poor finishing. Filling up the hole or crack in drywall is typically straightforward, at least for most people.
But the bone to chew when patching drywall is blending the patch with the wall. That’s where it can get frustrating, and some bad choices may ruin your repair work.
The leading cause of a drywall patch sticking out is a difference in texture. The patch is usually smoother than the original drywall.
The different layers will be evident if you don’t work toward a consistent texture. Thus, the patch is less likely to stick out when they have like surfaces.
Below we’ll look at other reasons why a drywall patch may stick out.
#1. Having Thick Layers
Your drywall patch will bulge out if you make the layer too thick. This rule applies to using a filler in a hole or mud on the wall. Always aim for a level surface.
Also, you should ensure you apply fillers or mud a few times only. Having two layers is usually enough to level the surface.
#2. Not Sanding the Surface
When you skip sanding the area, you have fewer chances of having a good texture with your repair work. Sanding helps to give the patch and original drywall a similar texture.
Also, sanding smoothens any rough edges of mud and levels the surface. You can even fix some humps on the wall when you sand the area properly.
#3. Using the Wrong Tools
Depending on the size of the repair work, you’ll need specific tools to do the job correctly. Fixing a large with the tools for a small hole will only cause problems.
So it’s vital to know what tools you should use and get them in place before you start working.
The table below shows hole sizes on drywall and the correct tools you need for repair work.
| Size of Hole | Tools |
|---|---|
| Small | Fine-grit sandpaper or sanding sponge; putty knife; joint compound or spackle. |
| Medium | Fine-grit sandpaper or sanding sponge, putty knife, joint compound or spackle, self-adhesive mesh patch. |
| Large | Drywall scraps, joint compound furring strips (.75″ x 2″–1″ x 4″), drill, sanding sponge, drywall saw, drywall screws, utility knife, stud finder, measuring tape, joint tape, and pencil. |
How to Fix a Visible Drywall Patch?
The first step to fixing a visible drywall patch is to observe the patch and the main wall. Assess the texture of both surfaces and determine why the patch sticks out.
Is the problem due to humps on the patch? Is it too thick? Does the patch have rough edges? You’ll know the right step to take once you know the root cause.
If the problem with the patched area is slight humps only, then sanding the area works nicely. However, you’ll have to refer to the steps below if you face a bigger problem.
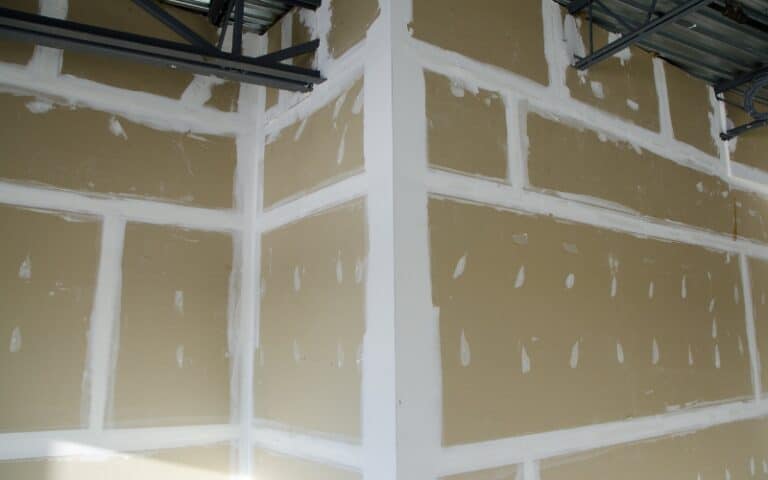
Step One – Apply Topping Joint Compound
If the affected area is large, using some topping joint compound will correct any flaws. At this point, using the right product for excellent results is vital.
A good choice of drywall topping compound is the Sheetrock Joint Compound. It’s easy to work with, and you wait just 90 minutes after applying it to start working.
Ensure to achieve an even distribution when applying the joint compound. Also, extend the topping at least one inch beyond the visible patch. That helps both layers to blend in.
Step Two – Sand the Added Layer
Sanding the layer after adding the topping compound helps to achieve a smooth look. Doing that will also remove any rough edges or contours.
It’s best to use a flat sander for this purpose. So a sanding sponge will give you the best results.
Ensure to sand the edges of the topping compound so it’s level with the drywall.
Step Three – Apply Primer
Priming the entire wall is a great way to ensure a uniform texture over the patch and drywall surface. Also, priming the wall will conceal the drywall patch.
You should prime the wall just enough not to notice the visible patch anymore.
It’s best to avoid foam rollers when applying the primer. Instead, use a roller with a 3/8-inch or 1/2-inch nap to apply the primer. That will help you achieve thin layers.
A suitable application method is to prime the wall and wait 24 hours. Once it dries up, you’ll be able to see if you need to apply a second primer coat on the wall.
You can then paint the wall after applying the primer.
How Do You Smooth Out a Poor Drywall Patch?
A sanding sponge is usually enough to smoothen small areas of a poor drywall patch. But you can mud the surface if it’s large or has vast bumps.
In that case, you can apply mud to the wall and give it a level look. While using the mud coat, applying a little on the area that pops out is vital.
More of the mud should go to areas that have little depth. Yet, it’s best to keep the coat thin and not apply too much topping compound.
Also, when applying the mud coat, try to leave lap marks. Doing that makes it easier to sand because you have less material to remove.
You can achieve lap marks by reducing the pressure on the taping knife when moving from side to side. The result is a gentle slope and less work when sanding.
After applying the mud coat, you can use a sanding sponge to smoothen the edges. Next, gently run the sanding sponge across the entire surface.
Doing that will help to achieve a uniform outlook across the entire wall. Then you can change the texture to get the desired result.
Five Tips for Patching Drywall
One secret to getting the best results when patching drywall is to prepare well for the whole repair process. First, you assess the damage and get what you need to fix it.
Below are tips to help you achieve excellent results when patching drywall.
#1. Use Appropriate Tools
After you assess the damage, it’s vital to get your tools in place based on the damaged area. You can consult the table in this article to know what tools to assemble.
Misusing tools can leave you with a poor outlook after the repair work. An instance is using a small taping knife. It’ll lead to humps when applying the mud coat.
#2. Maintain Thin Coat Layers
When applying mud to the wall or primer, it’s best to keep the layers thin. Sanding a thin layer is more manageable for the joint compound, and you’re less likely to peel off the coat.
Also, thin layers give off a sharper look than a thick mud coat. The same goes for priming; keeping the layer light for a finer finish is best.
#3. Sand the Wall
One way to get good texture after patching drywall is to sand the area. This process ensures you remove excess bits of material and achieve a smooth surface.
But always ensure you allow your work to dry before sanding the area.
#4. Avoid Tape Blisters When Applying Mud
Tape blisters are elevations when placing the tape on the wall. Unfortunately, the blisters will be evident when you apply mud and do further work.
So it’s best to place your tape exactly level on the wall without any blisters. Avoiding those blisters will contribute to a smooth finish.
#5. Spend Time on Each Step
Patching drywall is a process that requires care and precision. As such, you’ll run into trouble if you try to rush the process.
It’s best to spend a good time on every step, especially when applying mud, so you don’t ruin the work.
You’ll prefer to patch drywall in one take than return later and fix more errors.

