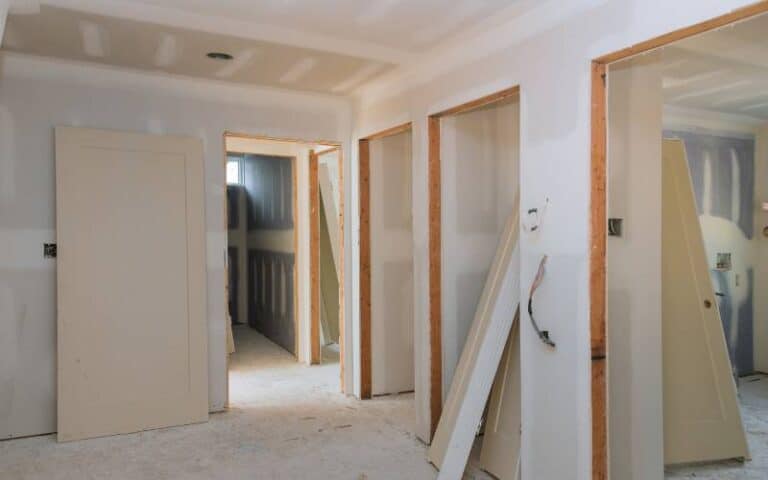
Sanding is a process that involves using a tool to smoothen out your Drywall after taping and applying the joint compound.
To achieve a smooth finish from sanding your Drywall, you must carry out the process using good sanding equipment.
One commonly known tool for sanding is an orbital sander, which you can use on small patches and slightly rough surfaces.
You might wonder if you can use an orbital sander on your Drywall.
You can use an orbital sander on your Drywall. However, it would be best to use only the orbital sander on small projects to get the best results. Ensure to properly prepare the surface by taping and applying joint compound before use to use the orbital compound.
In this article, I’ll tell you how to use an orbital sander and the things to do to prepare the surface before you make use of the orbital sander.
You’ll also learn about other good sanders to use for your drywall.
Ready for a Drywall Quiz?
Are Orbital Sanders Good for Drywall?
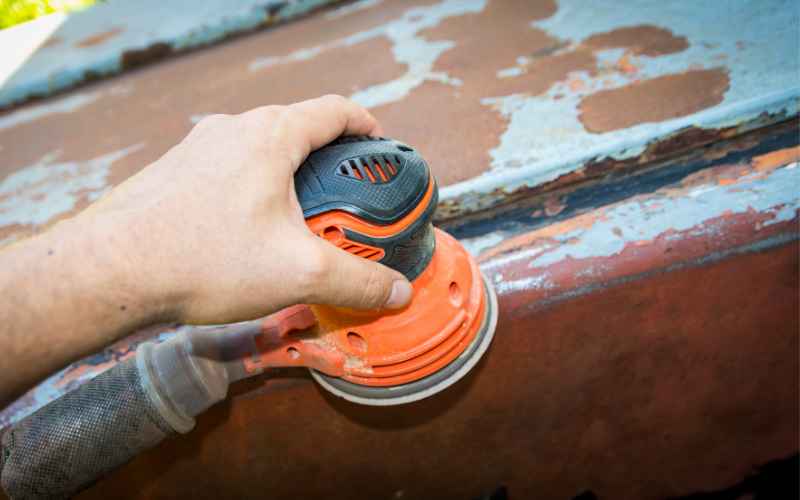
Yes, orbital sanders are suitable enough to be used for Drywall. However, it would be best to use orbital sanders for small drywall projects.
Orbital sanders are quiet, easy to use, lightweight, and perfect for you if you have no experience sanding drywalls.
You can easily lock your sandpaper grit into the sandpaper disc and carefully use it on your Drywall. For larger drywall projects, you can try other sanding methods.
To ensure you get the best result from sanding, prepare the surface by taping and applying the joint compound.
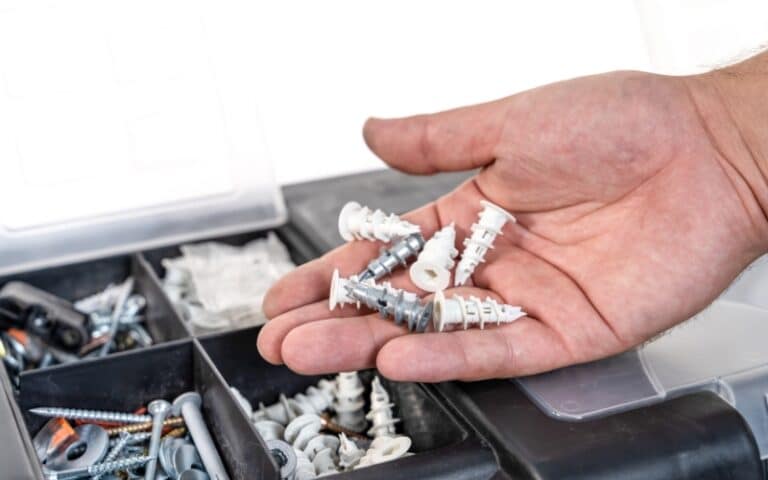
What are the Consequences of Not Using Drywall Anchors?
When it comes to hanging heavy objects on a drywall, the consequences of not using drywall anchors can be disastrous. Without these essential hardware, the drywall might not be able to support the weight properly, leading to potential wall damage, cracks, and even accidents. Ensuring the use of drywall anchors is crucial for maintaining the integrity of your walls and preventing costly repairs.
How to Use Orbital Sander on Drywall?
You have to be very careful when using the orbital sander. You must follow through with a series of processes before and during the orbital sander to get the best result.
Preparing the surface is the first and most crucial step before you use the orbital sander on the Drywall. Preparing the surface of the Drywall involves taping and applying joint compound.
Here are steps how on how to tape and apply joint compound on your Drywall:
Step One: Prepare the Wall
- Check if the nails and the screws are correctly in place. Use a hammer or a screw gun to secure all nails and secure and ensure that the surface is as smooth as can be
- Make sure that the seams on the Drywall fit properly
- Ensure that there are no gaps in any part of the Drywall. Fill smaller gaps with joint compound and more significant gaps with more Drywall
- Clean out any dust or dirt particles on the wall with a vacuum or a brush
- Some joint compounds might drip and stain the floor when you use them. To avoid these stains, cover up the floor.
Step Two: Prepare the Joint Compound
The two types of joint compounds are hot mud and premixed mud.
Premixed mud is also known as a ready-to-use joint compound. For premixed, you only need to go about some of the mud process mixings before you use it.
Hot mud, also known as quick-set mud, requires mixing before use.
Here are steps on how to mix hot mud:
- For the drywall mud mixing, you’ll need to buy some buckets, a mud mixing drill, and Drywall quick-set mud from a brand like CGC lifeline or the USG plus three.
- Open the drywall mud from its packaging by unfolding the box and tearing open the plastic bag containing the content. T
- Transfer the content carefully by turning it over into a bucket, then dispose of the bag.
- If you purchase drywall mud from a brand like CGC, you will notice that the mud is dry. The dryness of the mud makes it good enough to use in place of the quick set, just in case you can’t find one available.
- Pour some water into the bucket of mud and use the mixing drill to break it down for a while.
- Hold the bucket between your legs, and allow the drill to spin at the bottom.
- Pause the drill in between spins as you slowly work your way to the top of the bucket
- Add more water into the bucket and lift the drill to the top to spin. The mud will get smoother as you spin the mud.
- Once the mud is smooth enough, use it to prefill the joint.
Before you start with the application of the joint compound and tape on the Drywall, here is a table for sizes of knives to use:
| Task | Knife Sizes |
|---|---|
| Tape and cover nails and screws | 4”-6” |
| Black coat | 8”-10” |
| Final coat | 10”-12” |
Here’s how to properly apply the joint compound on the wall:
- Use your knife to pack up a joint compound that is a quarter of its capacity
- Stroke the knife along the wall vertically for a while
- While stroking the knife, flatten it up the knife gently
- While smoothening the joint compound on the wall, maintain the knife position at a 45-degree angle to prevent air pockets from forming.
- Keep stroking the knife along the surface to ensure it is smooth enough.
For the taping process, there are alternatives in case you don’t have drywall tapes. Here are some of the alternatives for drywall tapes:
- Paper tapes
- Thin fiberglass tapes
- Mesh tapes
- Metal tapes
- Flexible tapes
- Perforated tapes
- Rolled tapes
- Inside corner bead
#1. Flat Joint
Here’s how to properly use mesh tape on a flat joint:
- The first step is to open up the mesh tape
- Place and hold the tape at one end and draw it over to the other. Avoid pushing the tape into the space in between the joint.
- Flatten it out with a tool with a smooth surface
#2. Bevel and Cut Edge Joint
Here’s how to properly use tape on an angle and cut edge joint:
- The first step is to mix the drywall mud. Next, you’ll need to prefill the joint with mud before you use your mesh tape to finish it off.
- For the drywall mud mixing, you’ll need to buy some buckets, a mud mixing drill, and drywall mud from a brand like CGC lifeline or the USG plus three.
- Open up the drywall mud from its packaging, transfer it into a bucket, and dispose of the bag.
- If you purchase drywall mud from a brand like CGC, you will notice that the mud is dry. The dryness of the mud makes it good enough to use in place of the quick set.
- Pour some water into the bucket of mud and use the mixing drill to break it down for a while.
- Hold the bucket between your legs, and all the drill spin at the bottom.
- Pause the drill in between spins as you slowly work your way to the top of the bucket
- Add more water into the bucket and lift the drill to the top to spin.
- You’d notice that the mud gets smoother as you spin.
- Once the mud is smooth enough, use it to prefill the joint
- After prefilling the mud, leave the mud for some time to firm up.
- Open up your mesh tape and use it over the mud.
After adequately preparing the drywall surface before using the orbital sander, the next step is to wear your safety gear.
Put on safety goggles and a duct mask because it can suffocate when you use the orbital sander. Open out the windows for dust and dirt to freely escape the room.
Next, choose a sandpaper grit for your Drywall and load it on the orbital sander. Again, choosing a finer grit between 150-180 for sanding your Drywall would be best.
Carefully apply pressure on the wall with the orbital sander in a circular motion. Make sure that you do this slowly and gently to ensure that the outcome is a smooth finish.
After using the orbital sander on the wall, smoothen the rough surfaces through hand sanding.
What is the Best Sander for Drywalls?
Depending on the task or project, you can use many different sanders for Drywall. Some sanders can only handle more minor tasks, while others can handle larger ones.
Here is a list of some good sanders that you can use on your Drywall:
- Dustless turbo drywall sanders
- Orbital sander
- Random orbital sander
- Belt sander
- Electric drywall sanders.

