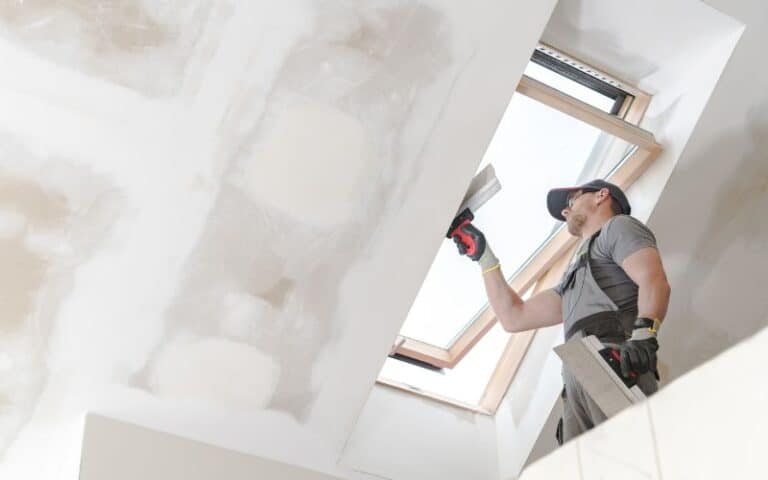
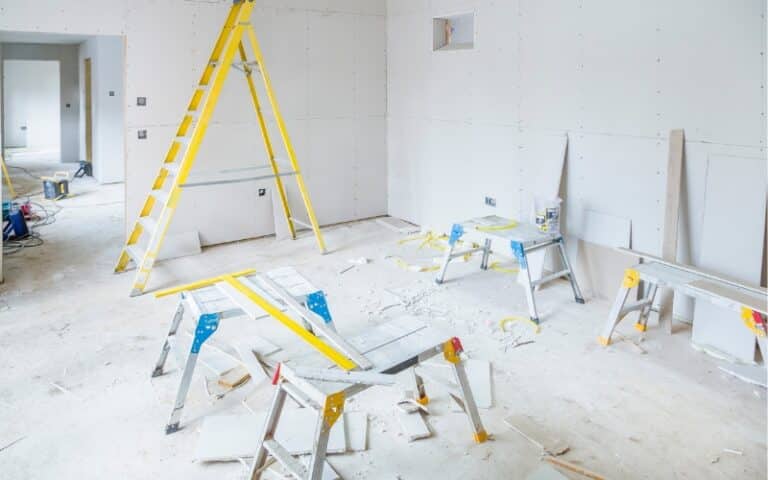
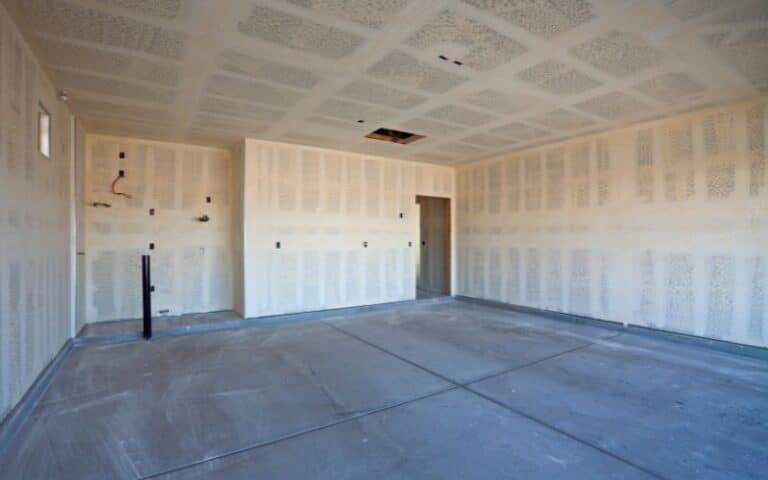
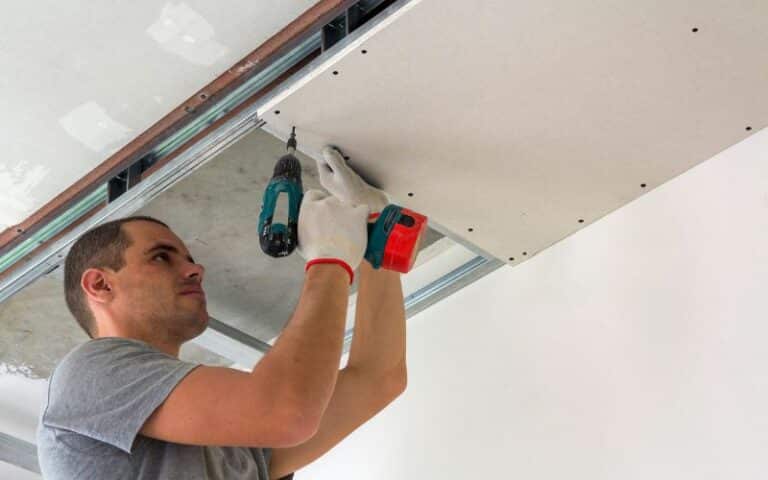
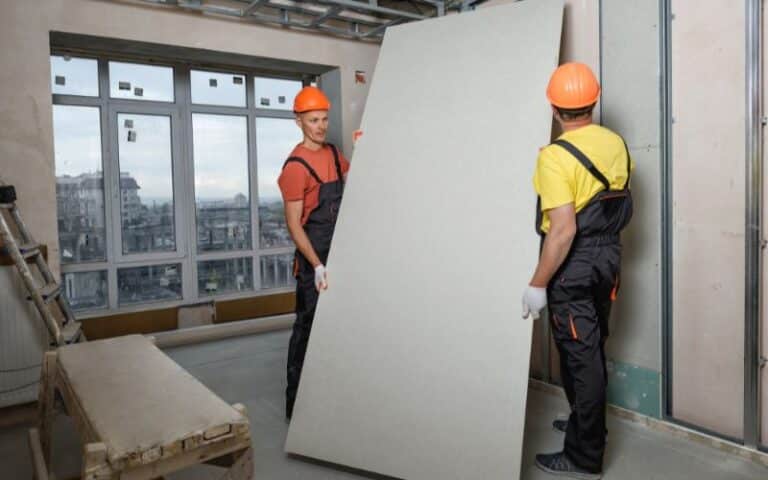
Drywall is one of the most popular building materials for walls and ceilings since it’s very easy to install and adds more beauty to your home.
Also, it’s durable and reduces the way you clean your home. Aside from that, it requires minimal effort when carrying out repairs.
However, there are two types of drywall installation: drywalling the ceiling or installing the drywall on the wall. Therefore you might wonder which you should drywall first.
It’s always best to drywall the ceiling before moving to the wall. Not only is installing drywall on a ceiling simpler, but it also lasts long. However, whether you want to drywall the ceiling or a wall first depends on several factors, including your choice and specific project conditions. Some situations may warrant drywalling your wall first.
This article makes a detailed comparison of these processes to help you make an informed choice.
I will cover their features, advantages, and a step-by-step guide to help you Drywall your building perfectly.
Ready for a Drywall Quiz?
Should You Drywall the Ceiling or Walls First?
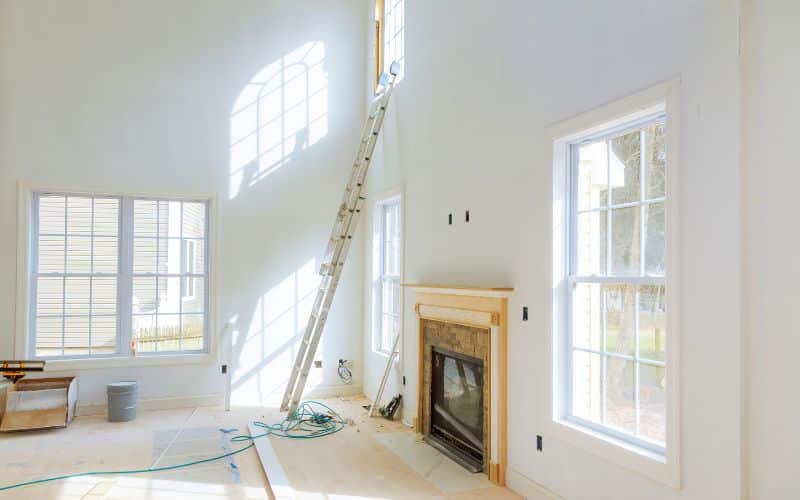
Once you get your fixing right from the beginning, it will save you from many repairs in the long run.
Therefore fixing drywall on a ceiling first is more durable and has the best and most successful results ever.
Drywall is an important and primary part of your home’s ceiling and wall foundation. So the foundation must be strong and reliable so that it doesn’t tear down suddenly.
Therefore, how you install your drywall has a great impact on the strength and durability of your home.
But why must you install your drywall on the ceilings before the walls?
- For improved ceiling support
- Tight and clean corners
- To make your work simpler and faster.
Let’s dive into these reasons one after the other.
#1. Improved Ceiling Support
When you install drywall on the ceiling first, you can support it with the wall pieces.
Doing so offers additional support and stability and pushes the ceiling sheets into the perfect position while placing their weight on the wall panel.
Although while installing the drywall on the ceiling sheet, the nail and taping used will keep the ceiling in its position.
However, as time goes on, the drywall weight can cause the screw to slack, thus leading to cracking. That’s why the screws and adhesion should not be the only support for the drywall.
Once you install the drywall on the ceiling first, even if there is cracking and breakdown around the edges, the drywall will not fall off.
#2. Tight and Clean Corners
The drywall edges are a bit crafty. Therefore fixing the wall sheets after you have installed the drywall in your ceiling gives you a beautiful and neater look.
Drywall installation is mostly at the outer layer of your house.
Thus, no homeowner wants the drywall edges and corners to look ugly and filled with gaps; therefore, when you install drywall on the ceiling before the wall, it rules out any opening.
Still, while installing your drywall on your ceiling, it’s best to ensure adequate space between the sheets and the joints is not overly tight. Doing so will prevent breaks and cracks.
#3. Simple and Faster Job
The ceiling is undoubtedly the hardest part of construction because you are practically working above your head.
Starting from the hardest part makes your work easier and faster. Furthermore, when you start from the top, you can adjust the size as you work down to suit your preference.
Also, when you start your drywall installation from the ceiling, it allows you to ensure your drywall fits perfectly against the ceiling and fill up the leftover space at the bottom.
It is not the case when you start from the wall first. You might be unsure how much space you must leave for the ceiling installation.
Can I Drywall My Walls Before the Ceilings?
You can drywall the walls before the ceilings. This process is not a common method used among contractors.
There are diverse reasons why you choose to drywall your wall before the ceilings.
Here are some of the reasons.
#1. Efficiency
Installing drywall on your wall first makes it easier to complete your projects quickly. After drywalling, you can move to other jobs while the wall is undergoing painting or finishing.
Doing so helps reduce the time you spend on construction and allows amazing coordination of different projects.
#2. Accessibility
Working on the wall first gives you full access to the wall surface without any obstruction from the ceiling.
Also, you can position yourself and your instruments anywhere since you have a bigger working room. Thus, you can do your job efficiently with better quality.
#3. Dust Control
You will not install drywall without creating a significant amount of dust.
Therefore, if you have finished the flooring and other installation in your house, it’s best to install your drywall on the wall before the ceiling.
#4. Flexibility
When you start with the wall, you can always make some modifications. If you have any design issues or want to make repairs, it’s easier to tend to them before you move to the ceiling.
Also, drywalling the wall first allows you to focus on one area at a time, reducing the probability of making a mistake.
In addition, it makes you feel accomplished as you move from one section to another.
Choosing whether to drywall first depends on precise project conditions, such as your ceiling structure and complex electrical appliances or HVAC systems.
Also, it’s best to follow the construction procedures of your locality. You can meet with experts like contractors to tell you the best technique for your installation.
Where Do Pros Start Drywalling: Ceiling or Walls?
There is no strict rule guiding where to start drywalling between a ceiling and a wall. However, some popular practices and reviews guide the decision-making process.
Mostly, drywall professionals start drywalling from the ceiling before moving to the walls. The main reason these experts take this approach is because of gravity.
Starting from the ceiling allows all spills and drywall dust to fall, which is easily covered up when installing the walls. Therefore you don’t need to rework the wall later.
The table below highlights the differences between drywalling your ceiling first and drywalling a wall first.
| Drywalling a Ceiling First | Drywalling a Wall First |
|---|---|
| Contractors and professionals prefer this method. | It’s less common and used in specific situations. |
| It offers an efficient and smoother installation process. | You must exercise caution and ensure the wall aligns perfectly with the ceiling. |
| It’s easier and reduces the chance of damaging the wall. | It’s very challenging to install and there is a high chance of damaging the wall. |
The Proper Sequence for Drywalling (Step-by-Step Guide)
Hanging drywall isn’t time-consuming, provided you know and have what it takes.
Here is the step-by-step guide.
Step 1: Prepare the Drywall Sheets for the Ceiling
Before starting your installation, measure, mark where it will fit, and check if you need additional panels.
Also, keep in mind the following:
- Fixing the first board might be tricky, so measure a 90-degree angle with the joists.
- If the board is shorter than the ceiling, ensure it ends in the middle of a joist.
- You can also extend your measurement to the center of the framing component that overlaps the board and is the farthest.
- Use a utility knife to mark your measurements and a square as a guide.
- If there is excess material, place the drywall on the edge and use a knee to cut it off, and mark the spot where the joists join the wall.
Step 2: Install Drywall on the Ceiling
Installing the drywall is easy since you know where to put the panels. Follow the procedures below:
- Use a lift to position the first board against the top corner, ensuring the edges are the same as the framing components.
- Secure five screws evenly spaced in a line, and use the top plate marks to keep the screws in line.
- Make a line of five acres into each joist the board touches in each row. Make sure each row is at least a few feet from the next.
Step 3: Measure and Cut Drywall for the Wall
Now that you have covered the ceiling, you can place the wallboard. Here are a few tips:
- Make sure the sheet is about ¼ inch shorter than the measurement, and position it tight against the ceiling.
- Mark with a utility knife and a drywall square.
Step 4: Install Drywall on the Wall
Before installations, use drywall adhesive across the studs. Doing so will help lessen the number of screws and reduce noise.
Ensure the board sits in the center and place the board against the stud perfectly. Then you can drive the screws into the center of the board and ensure your space evenly.
Hang the drywall horizontally to cover the wall easily and reduce the amount of adhesive you will use. While installing your wall, ensure you cut out your window and door space.
Step 5: Install Corner Beads
Corner beads installation makes your wall edges neat and beautiful. Measure the appropriate length of the edges and cut the corner beads.
You then secure it using screws. You can also apply a joint compound to smoothen the looks.
Step 6: Add the Finishing Coat of the Joint Compound
Tape the seams between drywall sheets and apply a thin layer of drywall compound using a trowel.
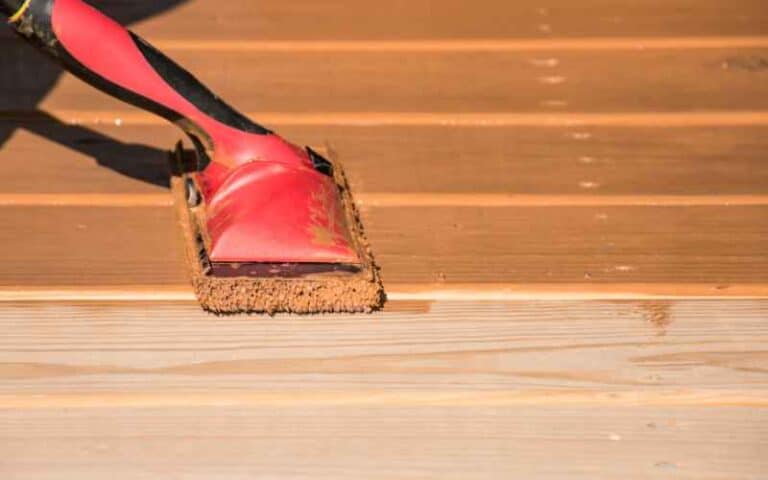
When the compound dries completely, you can sand it with fine-grit sandpaper to smooth the surface. Repeat the process until you get a seamless and flat surface.
You are free to make any repairs or retouching you want to make before you can add primer and paint.

