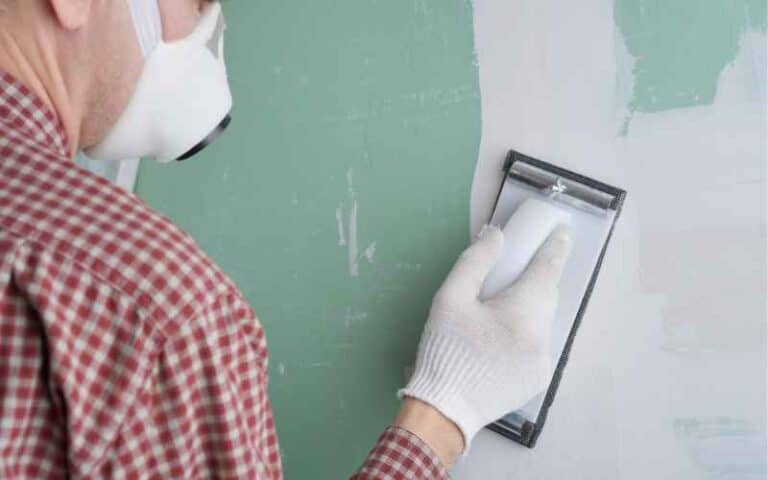
A 45-degree corner is often round, also popularly known as a bullnose corner. A bullnose bead has a rounded head, giving it a round appearance.
Nevertheless, before hanging the drywall, you have to install corner beads. And this project is relatively easy to carry out.
However, if you’re new to this project, you’ll discover the most helpful tips for preventing overlapping and installing a drywall and a 45-degree corner angle.
To hang a drywall, you’ll need to: measure out the drywall while you make an intersection for another. Then, using drywall screws, take two more measurements above the last two. Test fit the new lines, then continue the installation until the ceiling point is reached. Lastly, drive the screws through the holes for the beads while securing the drywall.
This process can be quite simple and quick, depending on your expertise. Regardless, you’ll undoubtedly have acquired a lot of useful knowledge and tricks for performing a drywall project.
Ready for a Drywall Quiz?
Should Drywall Corners Overlap?
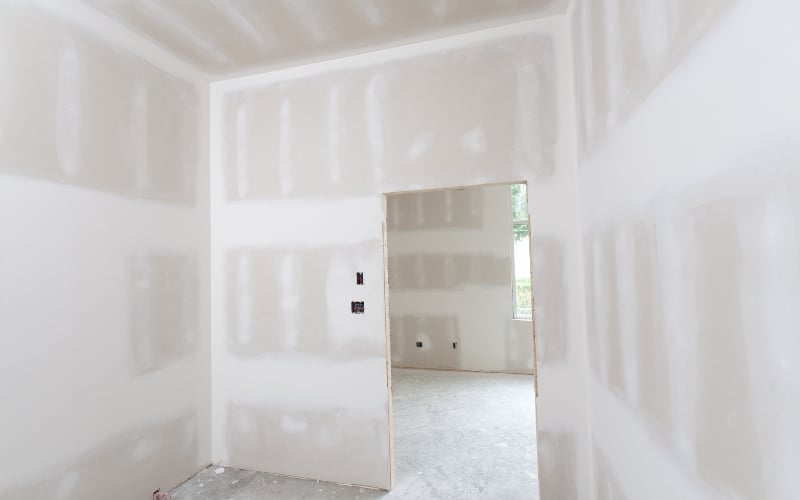
No, drywall corners should never overlap. As in applying drywall to your walls, overlapping will cause and leave cracks.
However, you don’t need exact fits here either. That is, you can fill the gaps with joint compound during the process of float and tape.
Achieving a perfect finish is one of the most challenging bits of drywall installation, especially when it involves the corners.
And this is because you need to mix several drywall sheets and surfaces smoothly.
Of course, delivering on this is easier said than done, but it’s the only way your work can come out successfully.
So, applying a tiny layer of paint is the best way to prevent bulges on your finished wall.
It’s best you use paper tapes because you can achieve a strong joint when you use it together with an all-purpose joint compound.
Having clean corners don’t just look beautiful, but they also help in giving your drywall a more stable and neat finish. Thus, you should always be careful to even out and avoid bumps.
However, as surprising as it may seem, there are some benefits to allowing your drywall to overlap. One of which is the structural support it provides.
You should skip smoothing your drywall until it’s complete, especially in a new building. After this, you can apply a drywall layer to smoothen the overlapped edges.
There are still some downsides to overlapping. However, we must recognize the good parts.
Thus, find the pros and cons of overlapping below.
| Pros | Cons |
|---|---|
| Makes the drywall thicker due to double joint compound. | Creates weak points on your wall. |
| Provides good thermal insulation. | Leads to costly future repairs. |
| Allows you to mix colors on either side of the drywall. | Gives your project a muddy look. |
| The installation process is faster. | Prone to moisture damage. |
How to Overlap Drywall on 45-Degree Corner?
Fastening your drywall in a corner can be more challenging than installing it in other areas.
However, one thing you should refrain from doing is leaving behind wide gaps while clamping the drywall panels.
To achieve smooth corners void of bumps, try using a drywall lift (also known as a drywall hoist) to achieve the best results when performing a drywall attachment.
This tool eases drywall sheets’ lifting, handling, and anchoring, especially when working with a partner.
That said, follow these steps to hang your drywall successfully:
- Use the drywall lift to raise and place the panel as close as possible to the ceiling edge, and secure it.
- Put the second panel on the first one and screw it in.
- Apply a coat of joint compound on both sides of the corner and conceal the area with sheetrock tape.
- Seal the outer corner walls with a corner bead.
- Apply at least two to three coats of joint plaster. And after allowing it to set and dry, seal and sand the corner walls.
You can also use paper tape to avoid bulges on your drywall corners. They always deliver a solid joint, especially when you use them with a multi-purpose joint compound.
This tape application is relatively easy, and you can do it by following these steps:
- First, apply a thin coat of joint compound to the entire standpoint of the joint.
- To seamlessly spread the mud around the whole joint, use a knife with a flexible blade.
- Then, carefully put a piece of paper tape on the wet mud. The tape should be shorter than the joint by at least two inches (5.08cm).
- Smoothen the center of the tape while moving towards either side of the joint, and pull the joint knife gently.
- By doing this, you’re ensuring that the tape is secure in the mud.
- Lastly, repeat this process with all sides of the vertical joints.
Also, when paper-taping horizontal joints, it’s always best to cut the tape to comfortably fit between the vertical joints without resulting in overlapping, as overlaps tend to leave bumps.
How to Drywall an Angled Wall?
Below is a step guide on achieving a perfect angled wall measurement for your drywall corner.
But first, here are the materials/tools you’ll need:
- Drywall lift
- Corner beads
- Measuring tape
- Utility knife
- Drill
- Drywall screws
- Driving bit (preferably Philips)
- Tin snips
- 4-foot level
Step One:
Fasten the tape’s metal edge to the corner wall stud. Then starting from the wall stud, measure the wall to the last piece of sheetrock.
Afterward, move this measurement to a full-size piece of drywall compound – one at the top and another at the bottom.
Step Two:
Next, divide both marks using the 4- foot level by cutting the drywall. Stick to the level’s edge with the utility knife.
Then, cut through the drywall’s paper backing while at the same time bending it along the cut line.
Step Three:
Take another measurement from the same wall stud from the corner’s side.
Move to a second full-size piece of drywall, and repeat the same cutting process you did with the first measurement.
Step Four:
You may need help from a friend or partner to hold one of the pieces of drywall you’ve cut while you hold the other.
And when you’ve done this, align each drywall edge with that of the corner wall’s stud. Again, you should notice a tiny gap between the two pieces you’ve cut at the corner.
Step Five:
Run the drywall screws through the drywall pieces and into the wall stud they’re flush with.
It’s best to use a minimum of four screws per stud. Insert the screw heads slightly beneath the surface of the drywall.
Step Six:
Take two new measurements above the pieces of drywall you’ve just successfully installed on the corner.
Then, cut two more pieces of drywall to fit those measurements accurately.
Step Seven:
Try out the new drywall pieces by aligning them along their edges with the edge of the corner wall stud.
Then, place their edges on the upper edge of the other two pieces you made earlier. Seal the two pieces in place in the same way you’ve done with the first two pieces.
Step Eight:
Continue fastening the drywall until you’re close to the ceiling from the corner.
Then, measuring the corner’s height from top to bottom, install a baseboard around the corner.
Subtract the adapter of the baseboard from the exact measurement.
Step Nine:
After transferring the measurements, you’ve taken from step eight onto a piece of corner bead, cut the bead to be the same length as the tip snips.
Then, place the corner bead on top of the 45-degree corner while driving the drywall screws into the bead’s holes. Finally, secure the drywall in place.
FAQs
Is It Necessary to Use Drywall Corner Beads?
Although they may seem important for use on corners, corner beads are optional.
What Is a Simple Way to Cut a 45-Degree Angle?
One easy way to get this perfect angle is by using a miter saw. Miter saws guarantee perfect 45- degree corner cuts when you accurately saw them with the right materials.

