Cinder blocks give a building’s interior a unique feel. As a result, these blocks have become desired by many people in recent times.
But they are often bare and do not add warmth to the space. However, hanging drywall on them is the solution to give the place the insulation and classy and cozy look it needs.
If you are confused about how to hang your drywall on a cinder block, it is best to continue reading for help to complete this project.
You can hang drywall on the cinder block, but first, you’ll need to install a wooden frame. The wooden frame is a barrier against the moisture seeping through the blocks. This moisture can cause mildew, mold, and rot on the drywall. You can create the wooden frame from furring strips or 2-by-4 studs, although the strips are cheaper.
In this article, I will explain if you can install drywall directly on a cinder block, how to install it, and if the drywall will last.
By the end, you’ll also know if drywall studs will hang on cinder blocks and if drywall screws are good for cinder blocks.
Ready for a Drywall Quiz?
Can You Install Drywall Directly on a Cinder Block?
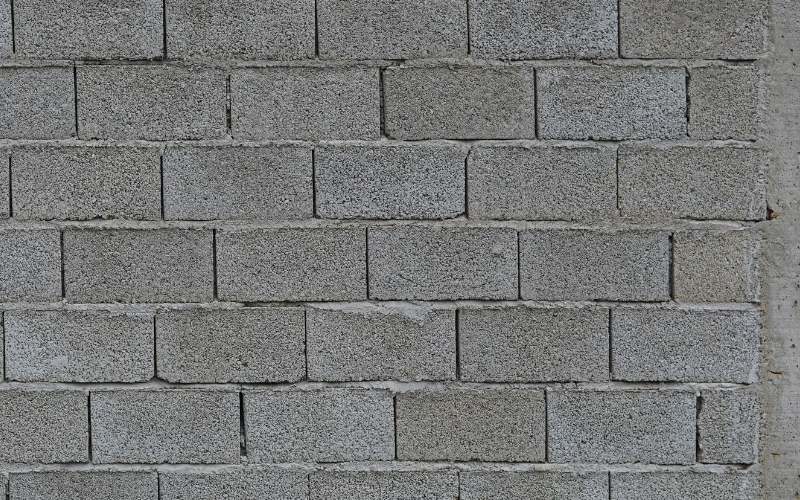
You can’t install drywall directly on the cinder block. First, create a wood grid or wooden frame to hang the drywall on the cinder block.
Cinder blocks are permeable, meaning moisture can easily pass through them. Therefore, installing drywall directly on the block can damage it.
The moisture passing through the block can cause mold and mildew, eventually ruining the drywall.
However, making a wood frame will create a barrier wall between the block and drywall to prevent moisture movement.
You can make the wood frame from thinner furring strips or 2-by-4 studs. This method will preserve the drywall and help it last longer.
The frame will also make installing water, phone, electricity, and cable on the wall possible.
In addition, it is essential to ensure the cinder block and surrounding area have no moisture problems before installing the drywall.
If you notice such a problem, add a drain system or contact a professional to help resolve it.
How to Install Drywall on Cinder Block?
Installing drywall on a cinder block is pretty lengthy; an inexperienced person can make mistakes that will affect the project.
Following the right steps and using the right tools are essential to getting the best results. Conversely, installing it the wrong way can shorten the drywall’s lifespan.
The first step involves preparing the cinder block wall, then installing the furring strips and drywall.
You should follow the steps below to install drywall on the cinder block.
Step 1: Measure the wall
- Ensure the wall is clean and moisture free.
- Measure across both the top and base of the wall.
- Mark the wall at every 16 or 24 inches distance (equivalent distance between studs inside the wall).
- It is best to use the 16 inches measurement for the best results.
- Repeat this process for other additional walls.
Step 2: Chalk line the mark
- Put a chalk line on the first mark at the top of the wall.
- Then, stretch it to the corresponding mark at the base.
- Next, pick up the chalk line. Then pull it slightly away from the wall and release it.
- The chalk line will snap back into position when you release it.
- This process will create a straight line on the wall to guide you when installing the furring strip.
- Repeat this step for every mark on the wall and other walls.
Step 3: Span the polyethylene plastic
- Cut a polyethylene plastic sheet and extend it from one end of the wall to another.
- Ensure the plastic is several inches wider and a foot longer than the wall.
- You can use a similar moisture barrier if you don’t have polyethylene plastic.
- Repeat this step for subsequent walls.
Step 4: Run the adhesive across the wall
- Run the construction adhesive across the walls’ top, base, and side edges.
- Use the adhesive to make wavy lines about every 12 inches.
- Please avoid using too much or too little adhesive, and make enough broad streaks to support the plastic.
Step 5: Glue the plastic
- Next, hold up the plastic and place it at the top of the wall.
- Let it run down the wall length and width.
- Smoothen and press the plastic on the adhesive.
- The excess plastic will trail across the floor to prevent moisture from moving into the wall.
- It is crucial to avoid seams and holes in the plastic.
- If seams are present, use some duct tape to overlap them. It will prevent moisture and air penetration.
- Repeat this step for any additional walls.
Step 6: Lay the top furring strip
- Raise a furring strip to the ceiling.
- Leave about a 1/4-inch gap between the ceiling and the strip.
- Ensure to use a furring strip that covers the length of the entire wall.
- Next, put the broadest face of the furring strip against the wall, and flatten it.
- Check the strip level by putting a carpenter’s level underneath it.
Step 7: Drive the concrete screws
- First, get a hammer drill and masonry bit that has an equivalent diameter to the concrete screws.
- Next, use them to create a hole through the strip into the joints between the cinder blocks.
- Give the screws about a 12 to 18 inches gap.
- You should ensure the screws hit mortar joints, not the cinder blocks.
- Drive some concrete screws through the holes you created.
Step 8: Attach the bottom strips
- Once the screws are in place, attach the horizontal bottom furring strips.
- Make sure to use a level to check it.
- Then, drill pilot holes like before and insert some concrete screws.
- Repeat this for each wall.
Step 9: Attach the vertical strips
- Cut vertical furring strips one at a time to each vertical chalk line.
- Then, use a level straight up and down to check for plumb.
- Attach and install the strips.
- The walls will have vertical furring strips between the horizontal ones.
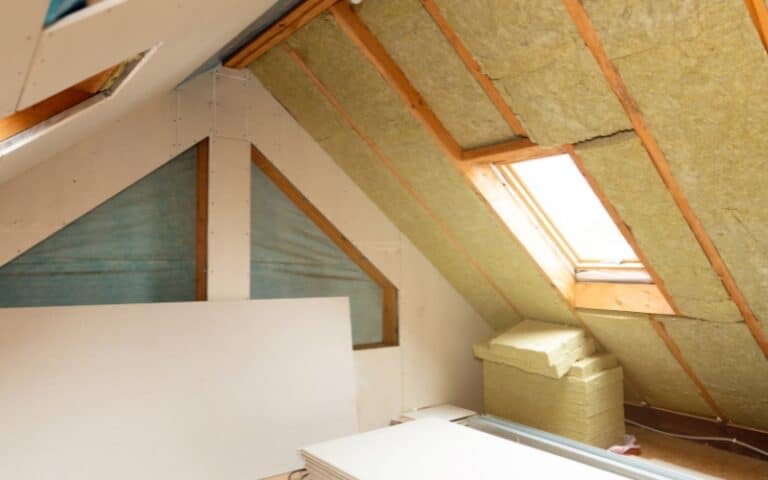
Step 10: Add some insulation
- Use fiberglass or foam board to insulate between the furring strips.
- Trim each piece to fit into the space.
- Next, glue the foam insulation with a small amount of foam-compatible construction adhesive.
- Alternatively, you can staple the paper backing on the fiberglass to the strips.
- Adding some insulation material helps to insulate the wall and adds an extra vapor and moisture barrier.
- Another method is to staple a layer of plastic sheeting on unfaced fiberglass or foam in place to cover them.
Step 11: Hang the drywall
- Hang sheets of drywall on the wall.
- Run the length of each sheet of drywall horizontally.
- Avoid long vertical seams by shaking the seams on the second row.
- Next, use a utility knife to mark through the face of the drywall and snap to break.
- Then, cut through the paper on the back to get drywall pieces.
- Attach it with drywall screws and give them about 6 to 8 inches of space.
- Drive the screws underneath the drywall surface, but be careful so you don’t break the paper covering the drywall.
- Although, the screw head will create a slight dent in the paper.
Step 12: Finish the drywall
- Apply a layer of mud or joint compound over every seam and screw.
- Then, apply a layer of tape, followed by another layer of mud.
- Dry and sand smooth it.
- Repeat the process with another layer of mud.
- Smoothen that layer of the application and add another layer.
- Keep repeating this process until you get satisfactory surface smoothness.
- Finish it off with primer and paint. You can also install wallpaper over it.
Will Drywall Over a Cinder Wall Last?
Drywall over a cinder wall will last as long as you use furring strips to frame it. It will prevent moisture from seeping through the block into the drywall.
Moisture can cause mold, mildew, and rot that can damage the drywall. However, the drywall will last longer if moisture doesn’t reach it.
In addition, you need to treat the wall with an elastomeric sealant to waterproof it. The sealant will further prevent the moisture in the wall from getting to the drywall.
Once you use this method and the right materials, expect your drywall to last long.
However, it is essential to inspect the drywall regularly to confirm the waterproof system is still effective.
Will Drywall Studs Hang on a Cinder Block?
Drywall studs will hang on cinder blocks. Therefore, they are one of the best materials to hang drywall on the block.
Although cinder block walls do not contain studs like other walls, it doesn’t mean they won’t hang on the block.
The only reason studs are not suitable for cinder blocks is that they tend to shift and move. This movement can harm and damage the blocks.
Therefore, you must check the studs regularly to prevent wall damage. At the same time, these studs extend the lifespan of the drywall.
So, you should have no problem with hanging drywall studs on your cinder block wall as long as you maintain them.
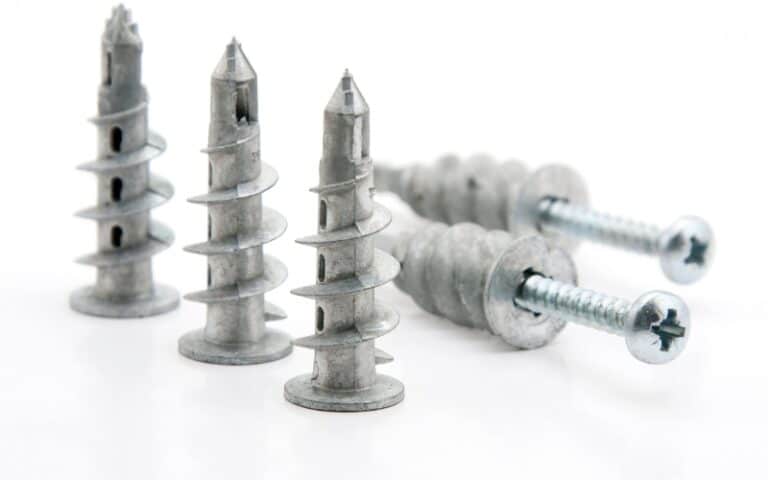
Are Drywall Screws Good for Cinder Blocks?
Drywall screws are not good for cinder blocks; they rust and deteriorate over time. The screws eventually collapse and damage the wall.
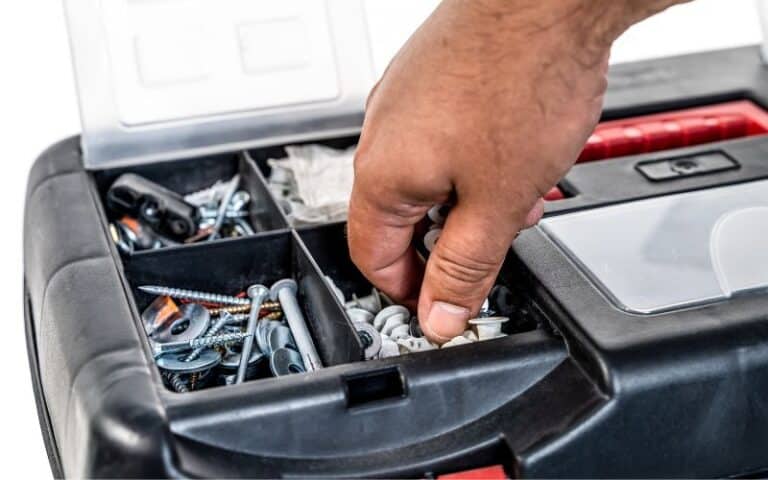
Use concrete screws to attach things to your cinder block instead. Concrete screws are sturdy enough to hold items on cinder block walls.
They do not rust, nor do they collapse the wall. The thread on concrete screws is perfect for creating holes in the block and attaching to it.
It can be quite challenging to differentiate drywall screws from concrete screws because both screws have a few identical features.
The table below outlines the differences between both types of screws to help you identify each.
| Drywall Screws | Concrete Screws |
|---|---|
| They have a bugle-shaped Phillip’s head. | They have slotted hex washer heads or Philip flat heads. |
| The thread has a larger diameter than the shaft. | They are self-tapping. |
| They are best for fastening drywall to wood and metal studs. | They are best for concrete, mortar, brick, and cinder block. |
| They have a piercing tip. | The lead thread cuts through the block. |
| They can have either a coarse or fine thread. | They need pilot holes to install. |
| They mostly look black. | They mostly look blue. |

