No matter how diligently you work to maintain your house, it will eventually show signs of wear and strain.
The drywall is vulnerable to wear and tear from daily activities and soon gets damaged.
Undoubtedly, filling up cuts and gaps in the walls is strenuous, especially when doing it yourself.
However, having the correct repair supplies and equipment can ease the process.
Consequently, how do you patch a drywall with a pumpkin cut?
A simple and quick solution to fix a hole in your wall is to use a pumpkin patch. The process isn’t nearly as complex as it seems. Like after cutting a pumpkin, one angled edge fits into the other angled edge where you remove the top. When done correctly, a pumpkin cut in drywall will fit just the same way.
In this article, I will explain the best way to make a pumpkin cut in drywall without causing additional damage to your wall.
Ultimately, you will know all that one needs to fix drywall with a pumpkin patch.
Ready for a Drywall Quiz?
How to Make a Pumpkin Cut in Drywall?
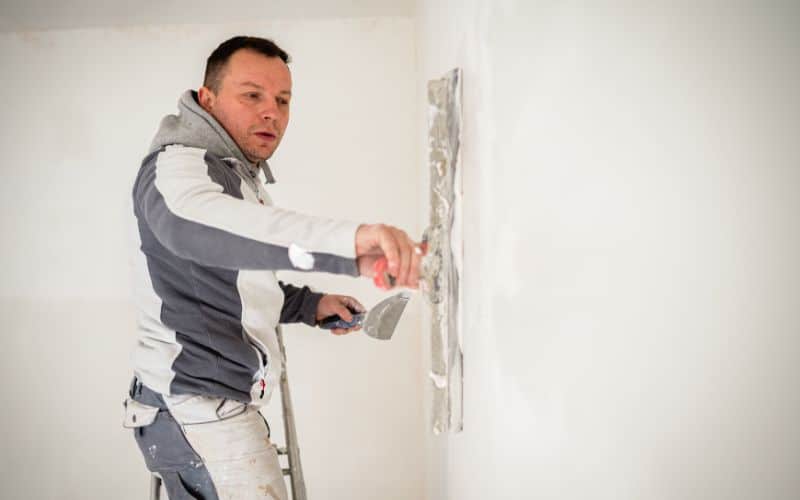
A pumpkin cut is considered one of the best options for drywall repair as it is solid and easily concealable.
The good thing is that a pumpkin patch is speedy to make; the only materials you require are drywall and mud.
Making a pumpkin cut in drywall is not a big deal; first, measure the damaged area to help create a patch that will fit. Get a fresh piece of drywall after that.
Ideally, you’ll be able to locate some and won’t need to purchase an entire sheet because you’ll have enough extra.
It would help to understand that making a pumpkin cut in drywall is one of the essential steps for preparing a pumpkin patch when repairing your drywall.
As such, you must be careful to avoid mistakes. You can use a drywall saw to cut the wall.
Hold the drywall saw at an angle when cutting, with the handle tilted away from the grip and the blade tip facing the hole.
The drywall patch you are about to construct to fit into the hole will now have an edge like the bottom of the pumpkin.
It would help to know that sloped margins will give the pumpkin patch a more solid base at the end of the day.
How to Fix Drywall With a Pumpkin Patch?
Fixing drywall with a pumpkin patch is simple if you know the best way to go about it.
When you want to repair your drywall with a pumpkin patch, the first thing to consider is to check out the hole size you want to fix.
Please keep reading to learn more about the best method for fixing your drywall with a pumpkin patch. Let’s learn how to fix your drywall with a pumpkin patch.
First, you must clear out the damaged area and remove all dust and scrap that could interfere with the process.
After clearing the area, outline, carefully marking the edges you intend to cut through. Cut along the line while clasping the blade, or drywall saw at a 45-degree angle.
Because mud buildup can make it difficult for the chunk to fit in flush with the surface, a little lower angle is more suitable.
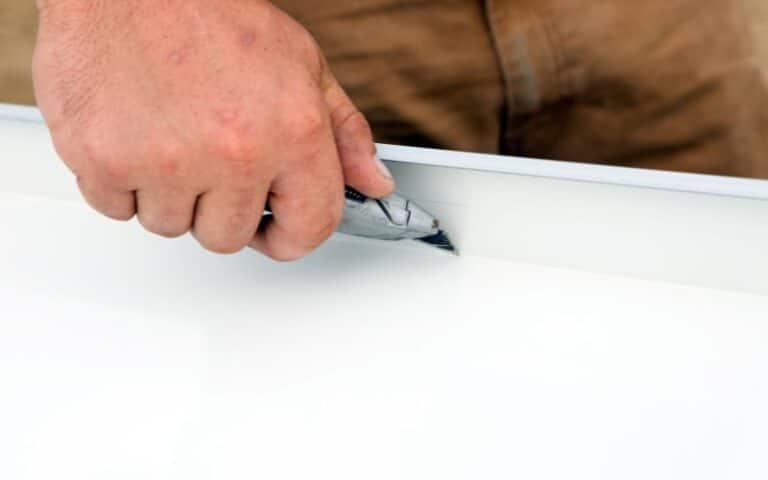
The next step is to clean up the cutout edges to properly prepare the piece for fixing. You can prune the fuzzy margins using a blade, scissors, or a utility knife.
After the prep, you can apply a joint compound to the margins of the opening together with the margins of the pumpkin patch.
When using a joint compound, you can use a regular or a setting compound. If you use a regular joint compound, you will need a heat gun to help speed up the drying process.
Press the patch into the opening to adjust the fit, then use the blade inserted between the patch and the cutout to remove any high places.
When your patch is dry, run your hand over it to ensure it is smooth. To eliminate any visible points on the patch, sand any rough areas and feather the borders.
Sanding blocks are available for purchase and very ideal for this task. They aid in keeping the surface smooth and free of gouges by adding a tiny bit of structure.
It would help to avoid sanding directly on mesh tape as it will disclose the tape squares.
However, if it does happen, you can always re-smooth by adding extra mud. Lastly, apply a second skim layer after lightly sanding the first one, then prime and paint your patch.
What Are the Tools for Making a Pumpkin Cut Through Drywall?
You can easily make a pumpkin cut through drywall with suitable tools. It would help to know that different people use different tools depending on what works best for them.
Here are some of the tools for making a pumpkin cut through drywall.
- Drywall saw
- Drywall utility knife
- Taping knife
- A piece of drywall
- A putty knife
- Scrapper
- Measuring tape
- A pencil
- A blade
- Scissors
With the above tools, you can make a pumpkin cut through drywall. The good thing about making a pumpkin cut is that the process is simple.
As such, you can easily do it yourself. However, it would help to call on an expert if you need help with how to go about it to avoid causing more damage.
Using the pencil to mark out the area you intend to cut, you can use your drywall saw to cut through; however, other people prefer using a utility knife.
After making your pumpkin cut through the drywall, you shape it to ensure it properly fits the opening you want to repair, and you are good to go.
Like every other drywall repair method, pumpkin cutting through drywall has advantages and drawbacks.
The table below contains some pros and cons of making a pumpkin cut through drywall.
| Pros | Cons |
|---|---|
| A pumpkin cut is easy to make. | It requires cutting replacement pieces. |
| A pumpkin patch is solid. | Getting the angles can be easier if you are knowledgeable. |
| A pumpkin patch is highly obscured. | Repairing drywall with pumpkin cuts can be strenuous. |
What is the Proper Technique for Caulking Corners of Drywall?
To achieve a clean and polished finish when caulking corners of drywall, follow these caulking corners of drywall tips. First, ensure the area is clean and dry before applying caulk. Use a caulk gun and apply the caulk in a steady and even motion, making sure to fill any gaps or cracks thoroughly. Smooth the caulk with a caulk-smoothing tool or your finger for a professional-looking result.
How to Cut Drywall to Install Electrical Wires?
Undoubtedly, most electrical cables in homes are covered under drywall to preserve and conceal wire packets.
For instance, you must drag wires through walls when adding an outlet or switch to a room.
It would help to know that plumping ducts, electrical wires, and insulators are concealed in drywall.
When cutting through drywall, you must shield yourself from any dangers using a mask, a hearing protector, and glasses to protect your eyes.
Here is how to cut drywall to install electrical wire.
- First, turn off the electrical supply to the area you intend to cut through.
- Next, cut through the drywall’s painted and papered surface with a utility knife. Take care to avoid damaging the wallboard beneath.
- Make a berth cut at the side and a plane cut at the top of the wall.
- Use a stud finder to locate the studs in the wall; it will help you know where to avoid cutting.
- Using a drill, open through the drywall and ensure the hole is large enough to accommodate the wires easily.
- Next, cut a hole in the electrical box using a drywall saw and make it simple to access the cables within.
- Now screw the electrical box into the studs and carefully install it, then pass the cables into the electrical box.
- The next thing is to fasten the electrical cables to the studs using wire staples. Ensure to leave adequate slack in it when attaching wires to the outlet.
- To hide the cables, install a surface-mount raceway over them, then patch the drywall and paint over the raceway.
FAQs
What Is the Easiest Way to Cut an Outlet Hole In Drywall?
Find the studs and then mark them for the outlet. After which, you can cut along your lines using a drywall saw.
How Do You Cut Drywall Without Creating a Mess?
Create a dust barrier in the space where you intend to cut by enclosing it with plastic sheeting. Use drop cloths, which you can wrap up and carry outdoors after cutting.

