Brad’s nails are mostly perfect for woodwork projects since they provide a cleaner finish. In addition to using drywall, you can use them to create thinner cuts on fibreboard and plywood.
With brad nails, you’re sure the project results will be excellent with fewer holes before painting.
To make brad nails hold in drywall perfectly, you need to use the nails with a braid nailer that serves the same function as a nail gun. The major difference is that the nailer will shoot brads and not nails. Brad’s nails are most suitable for pliable and light wood.
No matter what you’re using brad nails for, it would be best if you used them correctly. Continue reading to learn more about brad nails’ use in drywall.
Ready for a Drywall Quiz?
How Strong Are Brad Nails?
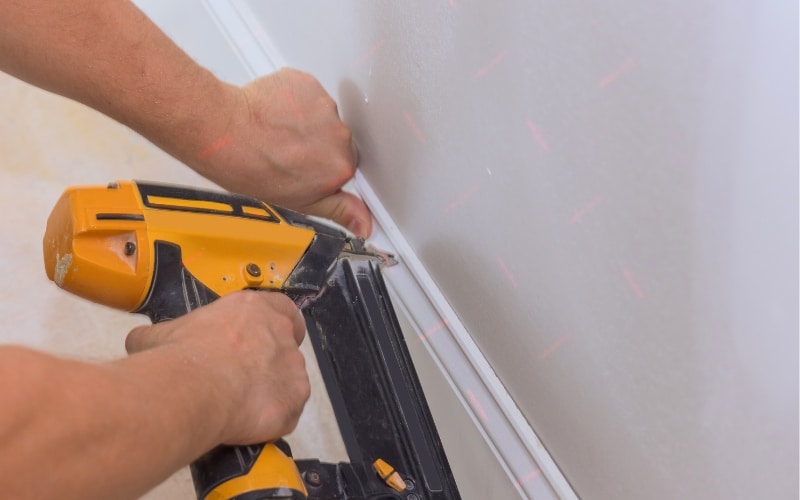
Brad’s nails are best used for DIY projects and as finishing trims because they are thinner and shorter than normal nails.
Most people argue whether their small size can make them strong enough for ‘hard’ jobs like baseboards. However, they’re even more essential for items you produce yourself.
Good enough, we’ve gathered all vital information on how strong brad nails are and how they can perfectly hold things for you.
Generally, brad nails are weaker than traditional nails. So, they aren’t the best for mid or large-sized projects.
The delicate nature of brad nails prevents the wood (or wall) from splitting when you’re working on it.
The small size allows them to be easily hidden when the project is complete. For the records, some of brad’s nails do not have a nail head.
The table below shows the pros and cons of using brad nails.
| S/N | Pros | Cons |
|---|---|---|
| 1 | They’re best for temporary use. | They are very difficult to drive using a hand. |
| 2 | They can be easily removed. | They can bend easily. |
| 3 | They can be easily concealed (or hidden). | Because of their small size, it’s difficult to hold them. |
Can Brad Nails Go Through Drywall Studs?
The easiest resort is to nail into wall studs rather than directly on the wall. Studs are hard wooden beams contained in the framework inside the walls.
With the help of brad nails and a nail gun, you’ll be able to drive the nails through the drywall into the studs easily. When nailing into drywall studs, you’ll need a nail gun.
Trying to nail through a wall (or metal) with a hammer could go wrong since the nail can easily slip, probably causing you to hammer your fingers instead.
However, you must understand that using a nail gun requires full attention and concentration.
The easiest way to navigate this process is by reading the manual. Also, the nail gun has a combustion chamber and can fire at a very high speed.
So, be careful when aiming and wear your protective gear (earplugs and eyewear). Most times, it’s not easy installing brad nails successfully without a gun.
Using the recommended nail gun to drive the braid nail without ruining your handwork.
In most situations, you’ll be unable to use a hammer on the brad nails. That’s because they’re built for precision work and quite tender.
They don’t have a blunt force. They’ll certainly bend or even break if you attempt to hammer in brad’s nails.
What Size of Brad Nails Should You Use for Drywall?
Drywall is made up of a material known as gypsum plaster. This material is relatively weak and highly vulnerable to water damage.
So, an 18 gauge brad nail for drywall won’t provide the needed support (and grip) since they’re quite thin.
Some experts advise against using brad nails on baseboards since they’ll need to be directly installed on the drywall.
The most suitable brad nails for drywall are the ones of 15 gauge. Plus, it’s best to use specialized nails and screws for drywall.
Since drywall isn’t strong, you’ll need to use strong fasteners that can countersink it very well.
Nail countersink refers to burying the nail underneath the surface of the material.
While putting the nails, you must ensure that they penetrate well enough to connect with the studs behind the drywall. However, brad’s nails are very thin and smooth to hold the wall studs.
But, the drywall nails are designed with heads that can be easily countersunk. They also have ribbed shanks that allow them to hold onto the drywall.
Most of all, drywall nails are carefully sized to prevent them from damaging the weak plaster.
How Much Weight Can Brad Nails Hold?
Brad nails are thin metal nails with a diameter of approximately 18 gauge. The wire used in producing them is very thin, but their strength-to-weight ratio is quite high.
One of the factors to consider when choosing a nail is the amount of weight it can support. Brad nails are of varying gauges and lengths.
Generally, brad nails are about 5 to 8 inches long. As a result, they’re incapable of splitting the wood and creating large holes.
Finish nails are relatively stronger and can support heavier materials like hardwood.
Brad nails hold softer woods perfectly but they may come off where heavier loads are applied. All you need to use either of the nails is a nail gun or a hammer.
Therefore, finish nails are weightier and are best for heavier tasks, while brad nails should be used on the precision tasks.
How Do You Hide Brad Nails?
There are diverse ways to hide the nails. They include;
#1. Wood Putty
This process involves sinking the nail into the wood a little bit. The best way to carry out a wood putty is by using a nail punch (made specifically for that job) or another nail as a substitute.
Once the nail sinks into the wood, scrape off the excess to create a shiny and smooth surface. After it dries, you can sand it down for a perfect look.
#2. Wood Plugs
The use of wood plugs is a more advanced method. If you’re using wood plugs, you’ll need to take off a bigger chunk of the wood, relatively smaller than the plug’s diameter.
Then, use a mallet to pound in the plug. You must be cautious while doing it to avoid splitting the trim after securing the plug and sand away the excess for a seamless and smooth finish.
#3. Wood Gouge
Use a gouge to remove a part from the wood and nail it into the hole you’ve cut out. Then, use glue to reposition the cut wood back in place.
For the best results, remove some of the wood from the side that’ll be on top of the screw so that the nail head won’t have space to create a gap.


