Interior constructions require a lot of accuracy. You want to know how much material you can add to the edges.
When you need precision in finishing, you should look for a drywall corner. The complexities at these edges need some extra care.
Drywall corner beads have accurate precision. Making a transition from one edge of the wall to another is important.
The 45-degree drywall corner is a perfect corner protector for your home and office interior works. This drywall corner is also known as the bullnose corner. Many 45-degree drywall corners are often rounded, and you can cover these corners with a corner bead. These corner beads hang on the surface of a 45-degree drywall where two walls meet.
In this article, I will give you a detailed guide on how to make a 45-degree drywall corner easily.
I will also outline various means by which you can overlap these drywall corners. Furthermore, you will learn to apply finishes on a 45-degree drywall corner.
Ready for a Drywall Quiz?
How To Make A 45-Degree Drywall Corner (Detailed Guide)?
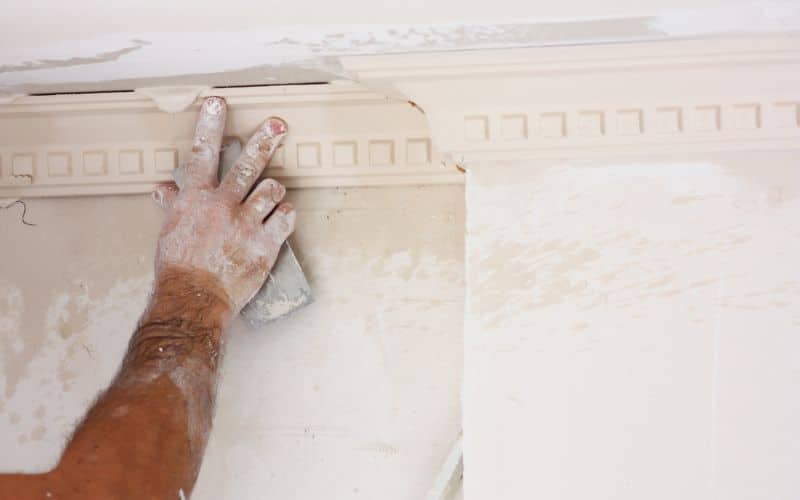
The 45-degree drywall corner is a common wall joint system in interior construction. You can find this system where two walls meet.
When two walls meet, the outside angle has a degree that you can measure. The angle between this wall measures 45 degrees on the outside.
This angle is called the 45-degree drywall corner. This corner is also called a bullnose corner.
Here is how you can have a 45-degree drywall corner:
#1. Gather Your Equipment
Having all your equipment in place before beginning the construction work would be best. Aside from having an organized workspace, it helps your work move smoothly.
Some essential equipment that you should have before you can begin the work includes:
- Measuring tapes
- Utility knife
- Drywall screws
- Drill
- Philips driving bit
- Bullnose corner bead
This equipment comes in handy at different stages of the construction work. Most professional workers have a kit where they can have all this equipment in one place.
#2. Measure The Distance You Want to Cover
A very important step, to begin with, is measuring the distance you want to cover.
With a measuring tape, measure the distance from the last of the drywall to where the 45-degree stud will stand.
The stud is the centerpiece of wood or steel, which the walls hang on. You have to identify the stud and take your measurements from there.
Once you have this measurement, move them to the drywall material’s top and bottom. Make sure you have very accurate measurements.
Leave about half an inch of space to expand the edges in hot times. The tape measure is the most precise equipment to measure the drywall material.
#3. Cut The Drywall According to The Measured Lines
Once you have the right measurements, cut the drywall material. Use a utility knife to cut the drywall into the measured sizes.
When you use the utility knife, make scoring marks on one surface, then tap the other surface for the scoring marks to break the board on the spot you have measured.
You can use the utility knife to achieve a smooth edge in places where the edges break unevenly. An even cut will give you a perfect finish.
#4. Place The Cut Materials on The Ground
once you have the appropriate drywall measure, place the material along the lines where you have measured initially.
Ensure that you have an accurate alignment. Make sure the drywall touches the floor and reaches the ceiling.
#5. Fasten The Materials in Place
At the edges where the drywall material meets, fasten the drywall at the pre-measured angle of 45 degrees.
Ensure that the edges do not overlap. You can allow a space of half an inch to make sure you prevent an overlap.
With the screws and drill, you can drill some screws into the drywall to further fasten it.
#6. Install The Drywall Corner Beads.
You can now install some finishing to the edges at the center stud. You can apply the corner beads at this point.
If you do not want a corner bead, use joint compound or tape to finish at the 45-degree corner.
The table below summarizes the tools you need at each stage of your work:
| Stage Of Installation | Recommended Tool. |
|---|---|
| Measuring the distance to cover | Measuring tape. |
| Cutting the drywall material | Utility knife |
| Placing the drywall on the ground | Measuring tape |
| Fastening the material in place | Drywall screwsDrillFastening bit |
| Installing the corner beads | TapesJoint compound |
Can You Overlap Drywall At 45-Degree Corners?
You should not overlap drywall at 45-degree corners; when you allow drywall to overlap, you may have bumps at those edges.
It is essential to note that when joining drywalls at corners, you do not need to allow the edges to touch the stud.
When you measure the drywall, leaving some space at the edges is best. These spaces will face the point of the 45-degree corners.
A bulge will appear when you allow the edges to overlap at the 45-degree corners. The bulge appears after some time.
The bulge appears because the drywall usually undergoes some changes, especially as the temperature changes.
During the hot weather, the drywall board may expand. This feature applies to all building materials. In hotter temperatures, the sizes increase by a few inches.
When this happens, a bulge appears because both edges need more space. This bulge usually leaves a bad impression on the 45-degree corners.
Once the 45-degree corners bulge out, they will begin to crack. When the drywall board cracks, it leaves a dent in the wall at the 45-degree corners.
In lower temperatures, the drywall will contract and becomes smaller in size. When the drywall material becomes smaller, the space where they meet caves.
Once the 45-degree corners cave in, they will begin to crack at that point. When the drywall board cracks, it leaves a dent in the wall at the 45-degree corners.
The space you leave at the 45-degree corners allows for the expansion and contraction of the drywall at the 45-degree corners stud.
How To Tape A 45-Degree Corner When Drywalling?
Applying tape on drywall is easy and simple. In the case of a 45-degree corner, you need extra care to apply tape.
Here is a detailed step-by-step guide on how to apply plasters to a 45-degree corner:
- You must have all your equipment in place before beginning the construction work. Aside from having an organized workspace, it helps your work move smoothly.
- Some essential equipment you should have before you can begin the work includes
- A tape measure,4-foot level, utility knife, drywall screws, drill, Philips driving bit, bullnose corner bead, a tin snip, and tape.
- Once you have the right measurements, cut the drywall material. Use a utility knife to cut the drywall into the measured sizes.
- When using the utility knife, make scoring marks on one surface, then tap the other for the scoring marks to break the board on the spot you have measured.
- You can use the utility knife to achieve a smooth edge in places where the edges break unevenly. An even cut will give you a perfect finish.
- Spray the edges of the wall with adhesive. You can apply this adhesive on different sides of the 45-degree drywall corners.
- You can apply the tape in place once the edges of the corner are intact.
- Remember to leave about half an inch of space between all the boards at the center stud.
How To Finish A 45-Degree Corner After Drywalling?
You can have several finishings on the drywall. Particularly, you could use a plaster or a 45-degree corner bead.
Here is a step-by-step guide on how to finish a 45-degree corner bead.
- You must have all your equipment in place before beginning the construction work. Aside from having an organized workspace, it helps your work move smoothly.
- Some essential equipment you should have before you can begin the work includes
- A tape measure,4-foot level, utility knife, drywall screws, drill, Philips driving bit, bullnose corner bead, a tin snip, and tape.
- Once you have the right measurements, cut the drywall material. Use a utility knife to cut the drywall into the measured sizes.
- When using the utility knife, make scoring marks on one surface, then tap the other for the scoring marks to break the board on the spot you have measured.
- You can use the utility knife to achieve a smooth edge in places where the edges break unevenly. An even cut will give you a perfect finish.
- Place the cut drywall on the measured surface. Adjust until you have a perfect fit.
- Spray the edges of the wall with adhesive. You can apply this adhesive on different sides of the 45-degree drywall corners.
- Please measure the size of the joint and the size of the bead and make sure they correspond.
- Apply the comer bead to the measured point and align them properly. Trim the edges of the excess joint compound.
- You can apply the tape in place once the edges of the corner are intact.
- Remember to leave about half an inch of space between all the boards at the center stud.
Can You Make a Perfect 45-Degree Drywall Corner Without Beads?
You don’t always need to apply a corner bead at a 45-degree drywall corner. It is not compulsory to always have a corner bead.
A corner bead is an accessory that you can do without in this instance. However, a corner bead adds to the perfection of the drywall corner.
In many cases, having only joint compound and plaster will be ok. In some other instances, just taping it will suffice.
There are many other finishing technics you can apply to the 45-degree. This includes mudding, painting, and filling with interval material.

