When it comes to plumbing in a home, the bathroom and toilet are the most important parts to consider.
While traditional floor-mounted toilets have always been the standard, there are times when the floor drains are not easily accessible or require some repairs.
In cases like this, rear discharge toilets take the lead as better alternatives. For optimal efficiency, rough plumbing has proven to be a vital technique.
Rough plumbing for the rear discharge toilet is a process of installing the necessary plumbing components at the back of the bowl rather than using the traditional floor-mounted waste outlet. This technique is relatively modern and has a lot of advantages. One of the main advantages of rear discharge toilets is that they save space, especially in high-rise buildings.
In this article, we will look at what rough plumbing and rear discharge toilets are.
We will also give you a detailed guide on how to install rough plumbing in a rear discharge toilet.
Furthermore, we will examine the main differences between rough plumbing in rear discharge toilets and traditional plumbing in floor-mounted toilets.
What is Rough Plumbing for Rear Discharge Toilet?
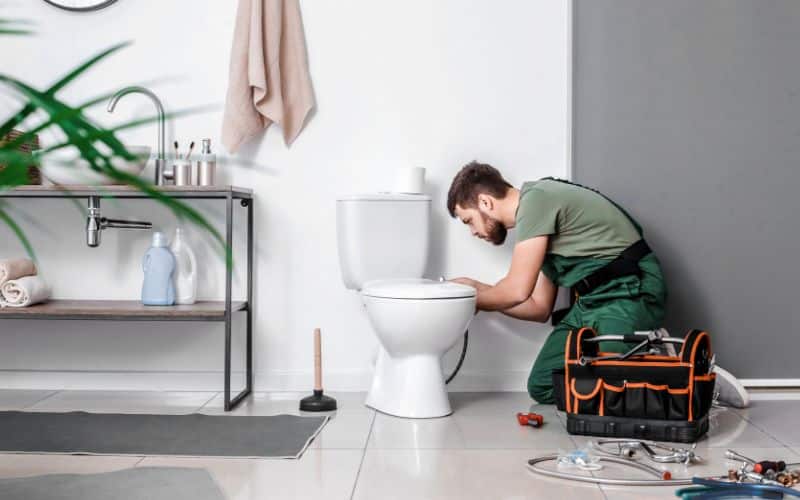
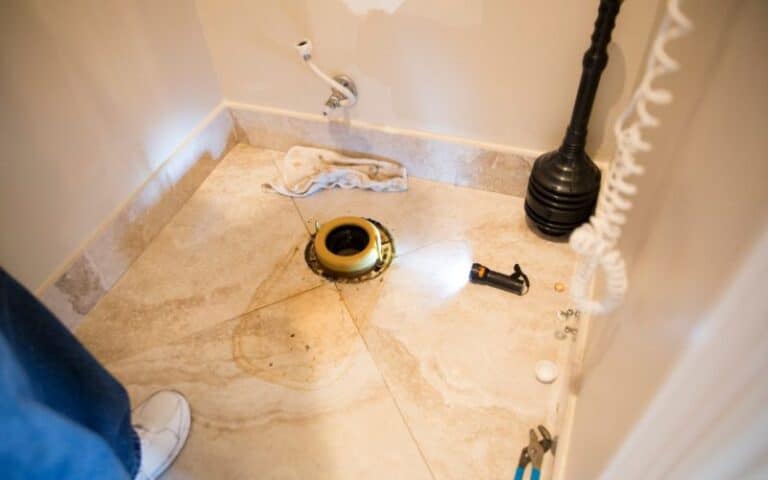
Rough plumbing is a technique that involves fitting the waste drainage pipes at the back of the toilet bowl and through the wall.
Because of this installation style, the waste outlet does not flush downward like the floor-mounted outlets. Instead, they flush at a slightly tilted angle into the drainage pipe on the wall behind it.
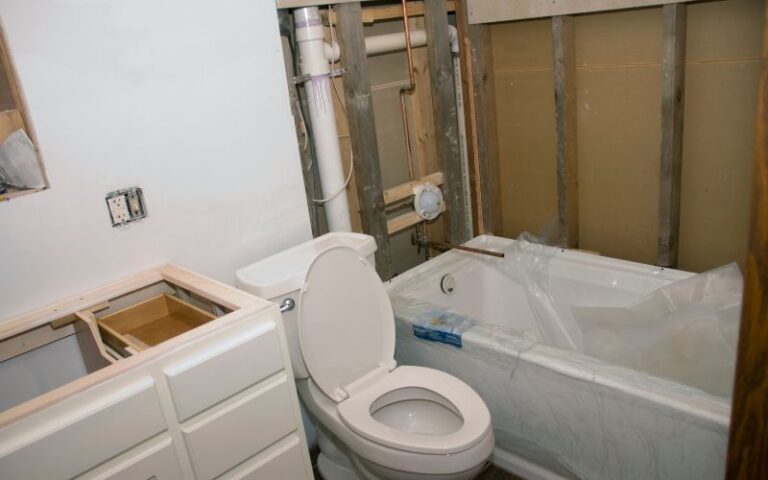
This type of plumbing is also known as “rough-in.” The reason is during installation, the pipes and fittings are roughly placed before the permanent fixtures.
Rear discharge toilets have other names like rear outlet and back outlet. One of the key advantages of this toilet plumbing style is they are easier and quicker to install.
This feature makes them an excellent choice for people who own high-rise buildings and those who wish to remodel their homes in the future.
They are also functional in basement bathrooms, bathrooms directly on concrete slabs, or when there are space limitations.
Rear discharge toilets can come in two ways – either as wall-mounted or floor-mounted toilets. These toilets can have tanks, wall carriers, or flushometers.
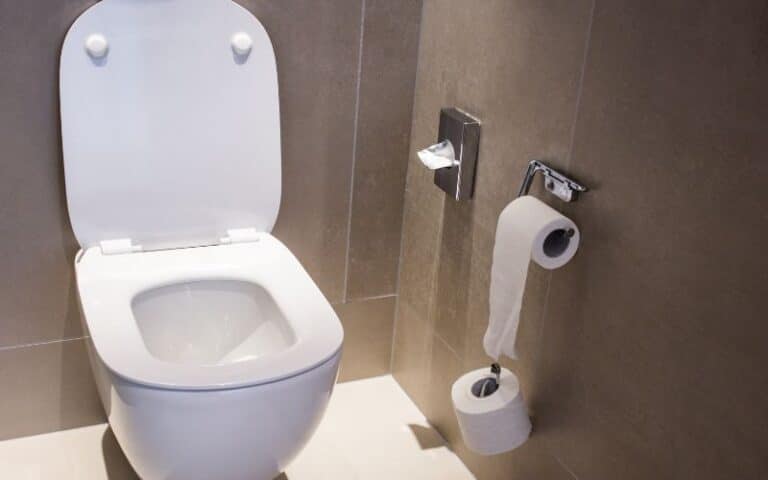
A wall-mounted toilet hangs on the wall and does not rest on the floor in any way. Since there is no connection to the floor drain, these toilets are, by default, rear discharge toilets.
The floor-mounted options rest on the ground and have visible pipes leading through the walls.
There are five main types of rear discharge toilets grouped based on their additional fixtures.
They are floor-mounted rear outlets, wall mounted with the in-wall carrier, tank-type wall hung, commercial floor-mounted rear outlets with flushometer, and the commercial wall mount rear outlet toilet with flushometer.
How To Install Rough in for Rear Discharge Toilet (A Detailed Guide)?
Proper rough-in installation for a rear discharge toilet requires careful planning, exact measurements, and a reasonable level of expertise in plumbing.
Toilets are important parts of a home, and any mistake can lead to disastrous messes in the future,
Therefore, you must follow the appropriate steps and comply with the plumbing codes in your area.
Before you begin the installation, the first thing to do is to get all the equipment and tools you will need for the job.
These include:
- Rear discharge toilet and flange
- Drainpipes
- T-fittings or rear discharge toilet connector
- Vent pipe
- Water supply lines and fittings
- Pipe cutter
- Wrenches
- Level
- Hacksaw
- Plumber’s tape
- Pencil
- Measuring tape
- Screwdriver/Drill
When you have your tools ready, it is time to begin the installation process.
#1. Prepare the Location & Drainpipe Openings
If you are remodeling, you should first turn off all water supply to the new installation. Doing this will prevent water leaks and other similar incidents.
If this is a fresh installation, the first step would be to choose an appropriate location. There are some factors to consider before making this choice.
These factors include access and closeness to the main drain line, other existing plumbing, and the local plumbing codes, if available.
After consideration, mark the bowl’s position on the floor and ensure it is level. Then, use the measuring tape to determine where the waste outlet will be and mark the position on the wall.
After marking this position on the wall behind the toilet’s location, use your saw to create the opening for the drainpipe.
This opening should be such that the drainpipe goes in slightly downwards by about a quarter inch per foot towards the main drainpipe.
#2. Install the Drainpipe & Connect to the Main Drain Line
Measure the distance from the toilet’s waste outlet to the main drain and cut the drainpipe accordingly. You can make this cut with the pipe cutter or hacksaw.
Next, fit the pipe through the wall and hold it in place using the appropriate brackets.
Depending on your installation pattern, you can use a T-fitting or rear discharge toilet connector to join the drainpipe to the main line.
Use your plumber’s tape or water-resistant glue like PVC or any other glue recommended for specific fittings.
At this stage, secure the toilet bowl to the ground with the provided bolts. Doing this ensures that the toilet does not move about and shift from the connection.
#3. Ventilation & Water Connection
All plumbing systems, especially those in toilets, require proper ventilation. The essence of a vent pipe is to prevent sewer gases from entering the house. Vent pipes also aid proper drainage.
There are two options to consider when installing a vent pipe at this stage.
You can install a new vent pipe extending directly from the drainpipe or connect the drainpipe to an existing vent pipe.
When this is done, use the water supply lines to connect the toilet tank to the water source. Ensure you use suitable valves and fittings.
Also, double-check to ascertain that the connection is tight and leak-free. It is best to follow standard plumbing practices for these connections.
#4. Testing & Inspection
When all connections are complete, test the entire process carefully. Turn on the water supply and check for leaks or any loose connections.
Flush the toilet and follow the drainage to ensure everything works as it should. Use your level to check the alignment and stability of the toilet.
When you are confident that the installation is good to go, complete the other toilet installations.
These involve fixing the flange, attaching the tank, and cross-checking the water supply.
Every step in installing rough plumbing for a rear discharge toilet requires precision and care.
If you encounter any difficulties, it is best to consult a professional to guarantee a successful project.
Is Rough Plumbing Better Than Traditional Toilet Plumbing?
Rough plumbing in rear discharge toilets has many advantages. However, there are several factors to consider when comparing rough plumbing to traditional toilet plumbing.
Full knowledge of these factors, which we will now consider, will guide you in making an informed decision.
#1. Flexible Installation
Rear discharge toilets have greater flexibility in plumbing installations. They work perfectly in areas where floor drains are challenging to access.
The ability to customize the routing of drainpipes and connect them to the main drain line makes them versatile for plumbing configurations.
#2. Space Considerations & Aesthetics
In homes with limited space, rear discharge toilets are your best option. With this plumbing system, there is no need to install a waste pipe in the ground.
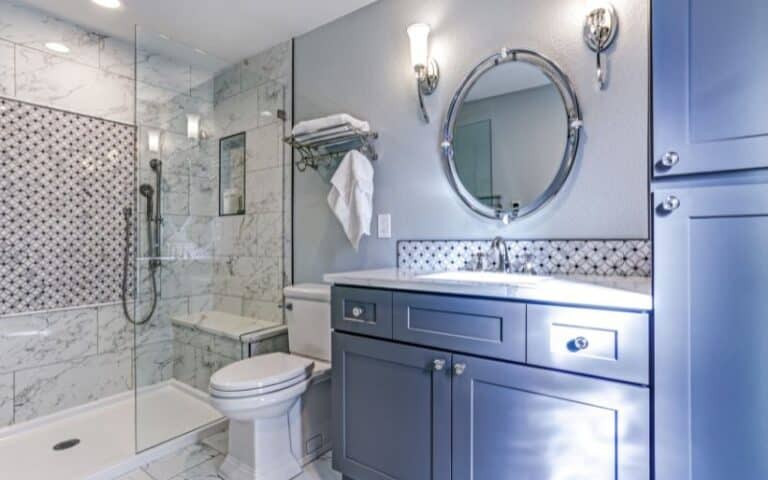
This design presents a cleaner and more streamlined appearance in your bathroom.
Traditional plumbing makes the waste pipe visible on the floor and may require additional fixtures to conceal it.
Overall, deciding between rear discharge toilets and traditional toilets depends on your preference and the plumbing requirements. Both systems are efficient, effective, and functional.
3 Common Problems with Rough Plumbing for Rear Discharge Toilets
Even though rough plumbing for rear discharge toilets is a practical and flexible system, various problems can arise during or after installation.
Knowing these potential problems beforehand makes you ready to prevent or address them if they occur.
#1. Improper Slope
When installing your drainpipe, it must be properly and consistently tilted. If the slope is not appropriate, it can lead to poor drainage, clogs, and foul smell.
The standard drainpipe slope is a quarter inch per foot. Alternatively, it is advisable to consult the local plumbing codes.
#2. Inadequate Ventilation
Ventilation is critical in any plumbing system, including the rear discharge toilet.
If the ventilation is inadequate, it can cause slow drainage, gurgling sounds, and an accumulation of sewer gases which will cause a bad smell.
#3. Loose Connections
If any part of the plumbing system is not properly fitted, there are bound to be leaks which can cause water wastage and even destroy surrounding structures.
Therefore, it is important to perform regular checks to ensure the entire connection is leak-free.
Other possible problems include drain blockages and incorrect installation practices.
These can be resolved by minding what you flush down your toilets and following the manufacturer’s guides carefully.

