Working with Roofing-felt is a straightforward activity. You don’t need to employ a specialist before working on it. But as simple as it may be, you can’t work on it if you lack some basic knowledge.
This article will discuss all you need to know when working with a roof felt in your residential construction or commercial buildings.
Yes, it does. Roofing-felt has a right side, but some people still make the mistake of installing it wrongly. Roofing felt underlayment has both smooth and rough sides, and you should ensure that the rough side is the one that faces the elements when attaching it.
Ready for a Roofing Quiz?
What’s Roofing Felt?
Perhaps, this is the first time you are coming across the word “roofing felt,” and you might have wondered what it means. But, then, this is for you.
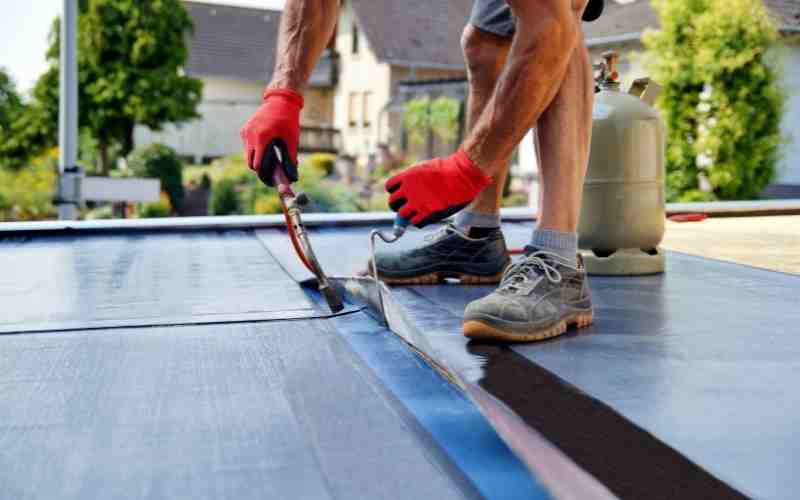
Roofing felt is simply a water-resistant material. It’s a paperboard composed of bitumen mainly blended with polyester, and it’s produced in rolls.
Roofing felt paper is an underlayment installed between the roofing shingles and roof deck. It’s usually installed immediately beneath the shingles. The most commonly used underlayment is asphalt-saturated felt.
You should note that installing roofing felt is crucial to your rooftop, irrespective of the type of asphalt shingle roof you’re using. Roofing felt is also known as roofing tar paper or roll roofing.
What Are The Advantages Of Roofing Felt?
Truly, shingles protect your houses well but attaching roof felt is also essential in your roofing systems.
Therefore, below are the benefits of installing underlayment roofing felt during your roofing system:
- Roofing felt roof serves as a water-repellent, thereby functioning as extra protection for your roof. It prevents water from leaking into your house, works as an ice water shield, and saves your roof from harsh weather conditions such as hot, humid climates, heavy wind, etc.
- It serves as a secondary defense for your house against any problems in the future. For example, if your shingles get damaged, they will prevent water or snow from slipping into your home. In short, roofing felt underlayment guides residential constructions and other buildings.
- Roofing felt underlayment is durable: It lasts for a long time if installed correctly and has a lifespan of about 10-20years.
- Roofing felt paper is lightweight. This property makes it suitable for various houses. You can use it for buildings with simple structures and those with hefty designs.
- And lastly, it’s inexpensive and straightforward to install.
What’s The Right Side On A Roofing Felt?
The right side of the roofing felt paper is its rough side. Like I said above, roofing felt paper has two sides; one is smooth, and the other is rough. So, the rough side is the one that must face the element.
Therefore, you should avoid the mistake of attaching it wrongly.
Which Side Of Roofing Felt Goes Up?
The side of the roofing felt that goes up is the smooth side. People do mix them up, but the truth is, the sides are apparent. The soft side has parallel lines and letterings, while the rough side is sticky.
Which Side Of The Roof Felt Goes Down?
The side of the roof-felt that goes down is the rough side. The rough side is somewhat sticky, so always ensure to lay the sticky side down when installing the roofing felt.
What Will Happen If I Choose Wrong Sides?
The best thing is to try as much as possible to avoid any mistakes when laying your tar paper. However, such mistakes happen sometimes, but you can avoid them.
Therefore, these are the things that will happen if you choose the wrong sides when installing your underlayment roofing felt;
- If you choose the wrong sides when installing roof felt, it will become weak and sag quickly. This will prevent it from repelling water, therefore collecting the water and leading to water leakage into your house.
- Another consequence of choosing the wrong sides when attaching roof felt is bubbling and blistering in the roof felt. If you discover this on time, you can repair it quickly without the felt causing any problem. But if you detect it lately, the blisters will develop so large that you will have to replace the whole roof.
- Lastly, roofing felt is naturally easy to maintain, but if your roof felt is installed incorrectly, it will lead to high-cost maintenance.
Related: How Much Roofing Felt For 8×6 Shed?
How To Install Roofing Felt?
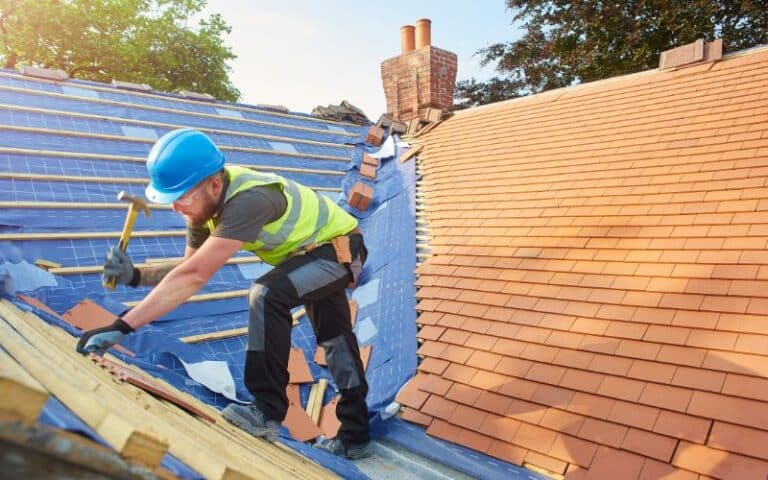
Installing roof felt isn’t a big deal if you can follow instructions. Below is the installation of the roof felt step by step process:
- The first step is to measure the roof surface area: To feel a roof, you will need to know how much tar paper you will need to complete the project. If your roof is a flat one, simply measure the length and width of the roof and multiply the two to determine the area of the surface.
However, if there is a slope to your roof, measure the length of your roof and, likewise, the height of the slope, and multiply the two together to determine the area of the roof. The value you get will determine how much underlayment roofing felt you would need for the project. - The second step is to get the roofing felt paper according to the value you obtained for the roof surface area.
- Cut the felt to size. After cutting it, unroll it on a flat surface to straighten it.
- Perhaps, you’re replacing the roof felt; get rid of the old one from the roof.
- Clean and dry the roof surface before installing a new one, then apply quality waterproof paint to the surface.
- Start from the bottom of one side of the roof, either the bottom-right or bottom-left, then lay the first layer of your tar paper. As you’re laying it, ensure that the felt is flat and free from bubbles by adjusting it. The roof felt must be installed horizontally; therefore, avoid rolling it vertically.
- Use your tack gun to tack the felt to the initial rolling position.
- Proceed by laying another roll of felt in the opposite direction of the initial one. For example, if you spread the initial North-South, you should apply the next one from South-North. Ensure that the new felt overlaps the first one for about 4 inches (10cm).
- Continue this process until you’re close to the roof drip edge, i.e., the roof’s peak. Once you get there, lay another roll of the roof felt and ensure that it overlaps the roof’s edge by at least 1 foot (0.30m). Repeat this process when installing it on the opposite side.
- Next is to nail the felt using galvanized clout nails of about 0.59 inches (15mm). When nailing it, ensure that there are at least 30-36 inches spaces along the felt’s side nearest the roof drip edge and areas of about 12 inches along with the one closest to the bottom. Be careful when nailing the felt so that the nail won’t pierce it to avoid leakage.
- If it’s long-term roofing, use a caulking gun to cover all the nail’s heads. But if the roofing is for a short time, you may not need to do this.
Conclusion
This article contains all you need to know about felt, and the step-by-step process you need to follow when installing the roofing felt underlayment either during your construction or when replacing it.
I give you a 100% guarantee that it will help you if you read it carefully.

