Wood paneling is currently enjoying popularity in the DIY home improvement niche. Almost everyone wants wood paneling in their homes.
You just have to visit Instagram to find out. The common practice when paneling is to install drywall behind the panels.
However, some people may want to save costs and time and install the panels directly.
If you’re wondering if this is possible, this article is for you. So, can you put up paneling without drywall?
Although it’s not recommended, you can install paneling without drywalls if it is more than a quarter thick. However, you must consult your area’s local building code because this practice may not be allowed. That’s because wood paneling is very flammable and can spread fires quickly, and using drywalls puts that in check.
In this article, you’ll learn all you need to know about installing paneling without drywalls. Keep reading to learn more.
Ready for a Drywall Quiz?
Can You Install Paneling Without Drywall?
Installing panels without drywalls depends largely on the building code of your local area.
You can install paneling without using drywall if you want. That’s especially true if your panel is more than a quarter thick.
However, there’s a catch. Because wood paneling is flammable, installing paneling without drywalls is not advisable.
That’s especially if you can avoid it. Paneling can catch and spread fire easily. Although this method of wall covering has some benefits.
Installing paneling without drywalls is cost-effective and less laborious than doing them both. However, installing paneling on drywalls also has its own added benefits.
In terms of fire safety, installing paneling on drywall helps to reduce the spread of fires because wood paneling can burn quickly at a high temperature and spread fires rapidly.
Therefore, installing drywalls reduces the risk tremendously, which is why so many people install drywalls.
Drywalls retard the growth of fires. Because it is very rich in gypsum, it won’t easily go into flames or spread. 20 percent of gypsum’s weight and about half of its volume is made of water.
That explains why having drywall behind your wood paneling provides so much fire safety than when you install only wood paneling.
Almost half of the gypsum’s volume and more than 20% of its weight comes from water, so wood paneling with drywall behind it is much better for fire safety than wood paneling alone.
Drywall acts as a flame retardant. While it’s not as fire-resistant as concrete, it’s still slow to catch on fire and spread it. That’s because of its high gypsum content.
Almost half of the gypsum’s volume and more than 20% of its weight comes from water, so wood paneling with drywall behind it is much better for fire safety than wood paneling alone.
Furthermore, installing drywalls and wood paneling gives you a better-finished product than wood paneling alone.
That’s because installing wood paneling on drywalls keeps the wood panels from bulging between the studs. Unfortunately, that can give you an unprofessional look you don’t want.
With drywalls underneath the paneling, evenly distributing the adhesive is much easier, and you can make the application of the panels more uniform.
Additionally, installing drywalls and paneling gives you multiple options for hanging items like decorations and others.
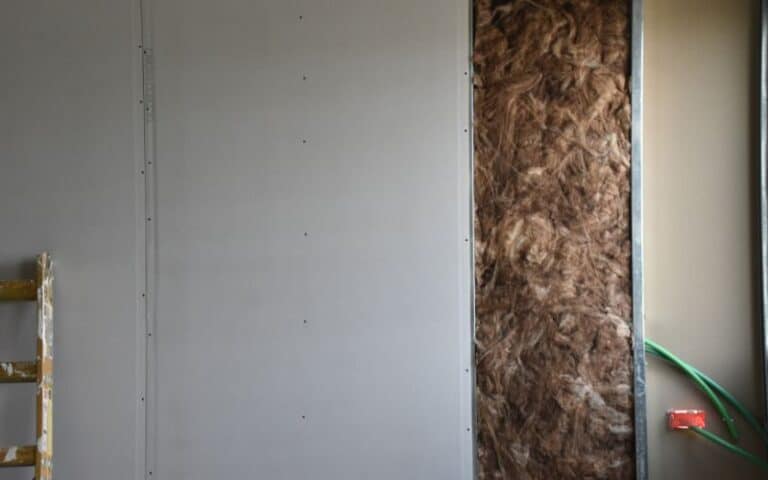
You can’t hang items anywhere you want when you don’t install drywalls behind your paneling. You can only hang stuff where you can find studs.
However, with paneling and drywalls, you can hang items anywhere.
Do You Usually Put Drywall Behind Paneling?
Yes, people usually put drywall behind the paneling. That’s especially true when your paneling is not over a quarter-inch thick. In that case, it needs solid drywall backing.
There are so many reasons why you should have drywall behind your paneling. First, drywalls help to limit the spread of fires.
If you don’t have drywall behind your paneling, fires will spread faster at a higher temperature if there are accidental fires.
Also, drywall gives you a more classy and professional look after installing the panels.
You can also hang items on your walls because they are stronger with drywall.
Below is a table that compares the benefits of installing paneling with drywalls and installing paneling without drywalls:
| Installing Panels with Drywalls | Installing Panels Without Drywalls |
|---|---|
| Fire safety | Less laborious |
| More professional and classy look | Less capital intensive |
| More options for hanging items | Less time consuming |
What’s the Best Way to Attach Paneling to a Wall?
If you want to attach paneling to a wall, the best way to go about it is described below.
Step 1: Get the Items You’ll Need
You’ll need some essential things to attach paneling to a wall. They include:
- Wood paneling
- Glue
- A spirit-level or a laser level
- A pen and notebook to record sizes
- Decorators caulk
- Paint
- Saw or cutter
- Electric sander or sandpaper
- Pin
- Hammer
- Calculator
- Tape measure
Step 2: Planning
You should not just jump straight into the paneling. You need to plan properly first and clearly understand what you want your panel walls to look like.
You can do this by sketching it in a notebook. That will give you a fair idea of how many panels you’ll require to finish the task.
Paneling a wall is a meticulous process, so planning well is important before you begin.
You can also check Instagram to see the wood paneling designs others have installed before and get inspiration from there.
Don’t rush this step. Instead, take your time, take it slow, and get the full picture before beginning the next step.
Step 3: Measure the Wall You Want to Panel
This step is important because it helps determine the number of wood panels needed. Next, use a tape measure to determine your wall’s height and width.
Determine the number of panels you need based on those measurements, and account for the horizontal and vertical panels and the base and top panels.
Remember that your measurements must be accurate to give you the perfect look you want.
Carefully and clearly record all the measurements in the notebook, and always double-check them.
Determine the space you want between each panel, as this will also give you a fair idea of the number of panels you’ll need.
Step 4: Cut the Panels
The next step is to cut the panels using a miter box and a saw. That depends on how much of your wall you want to panel and the size of the wall.
You can do this yourself or get professional help.
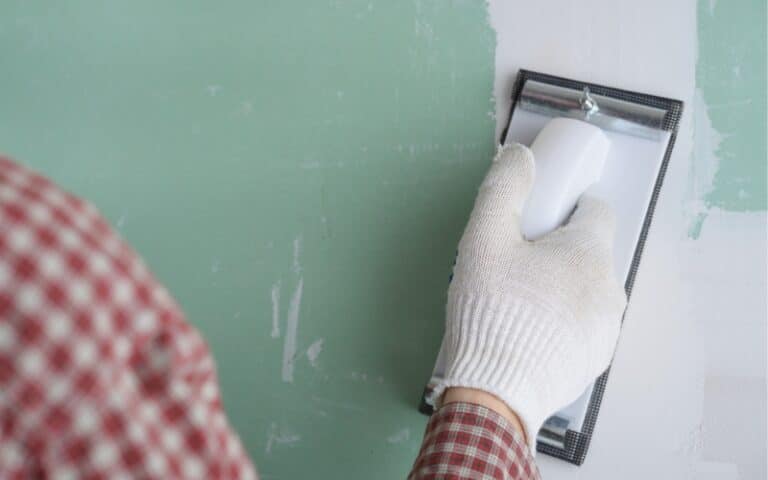
Step 5: Smooth and Sand Your Walls
After cutting the panels as accurately as possible using your recorded measurements, the next step is sanding and smoothing the walls.
You can use an electric sander which will be faster or sandpaper. This process eliminates all the bumps and lumps that will disfigure your panels.
Step 6: Install the Panels
This step is what you’ve been waiting for. Begin with the frame. Install the base panels first and then the top.
Keep the wood panel on the wall you’ve marked and check if it’s straight with a laser level. Then, apply the adhesive to the back and install it on the wall.
Press it firmly, so it’s well attached, and leave it to dry. Next, proceed to the vertical panels and then the horizontal panels. Again, you can use adhesives and nails for a strong fit.
Step 7: Fill in the Gaps
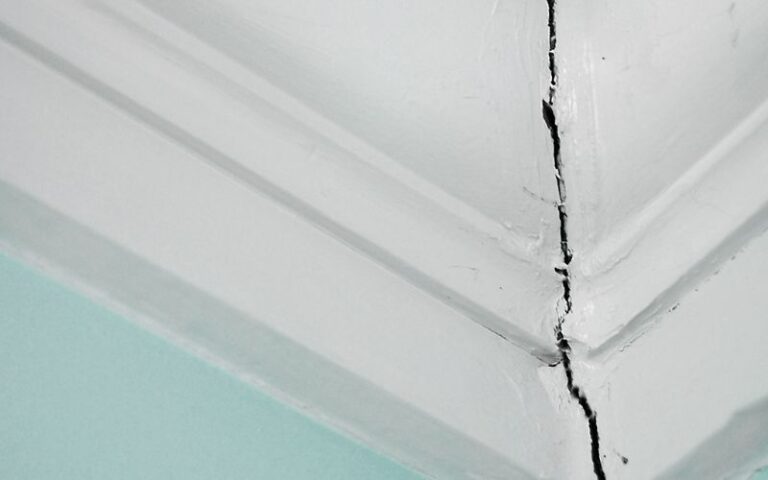
After installing the panels, you may sometimes have gaps, holes, or cracks, making your paneling look unsightly.
Therefore, it’s necessary to patch the gaps, holes, or cracks with a decorator caulk.
If you have any panels short by some millimeters, fill them up with Polyfilla. Then sand the panels to give you a seamless, smooth joint.
Step 8: Painting
This step is the last one that’ll give you that classy, professional look you crave. For the best outcome, wait till the decorator’s caulk, adhesive, and filler is completely dry before you paint.
Some recommended classy paint colors include inky blue, blush pink, or green.
How Do You Prepare a Wall for Paneling?
Preparing your wall is an essential step when you want to panel. An improperly prepared wall may give you an unprofessional look after paneling.
You don’t want to have lumpy or bumpy projections on your panel walls after you’ve done all the hard work.
You can prepare your wall by sanding the whole area before installing any wall boards.
This process will not only make your paneling look neat and classy, but it’ll help the adhesives to stick better.

