Drywall is one of the best construction materials for creating the perfect interior decor in your home, as it’s easy to install and design.
Due to drywall’s remarkable features, you might wonder if installing it around an electrical panel is possible.
And if you can, are there any adverse effects to look out for? Let’s quench these burning questions below.
You can install drywall around an electrical panel. There will be no adverse effects if you follow the right procedures, use the right tools and install the installation flawlessly. This way, your drywall and electrical panel will stay stable without problems.
This article will provide a comprehensive guide on installing drywall around an electrical panel.
And how to repair or fill gaps between the electrical panel and drywall. Let’s jump right in!
Ready for a Drywall Quiz?
How Do You Install Drywall Around an Electrical Panel?
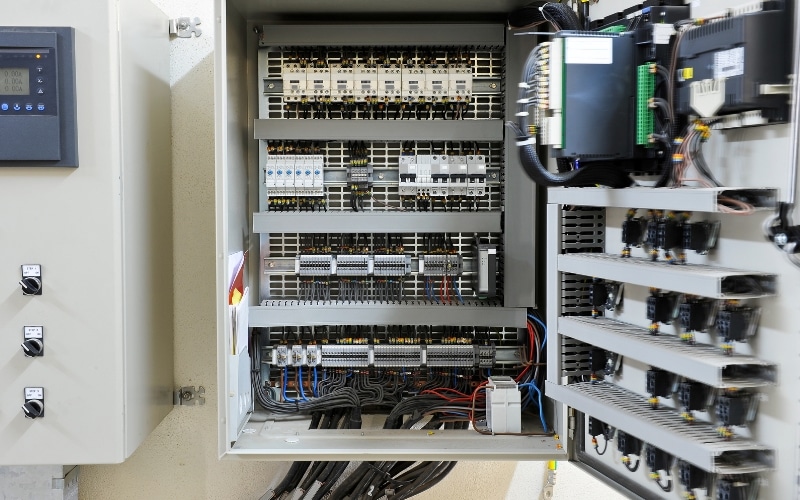
An electrical panel often serves as the powerhouse of electricity supply in every part of the home.
Hence, installing drywall around this powerful source of electricity is usually a cause of concern to many homeowners.
That’s quite understandable, as any fault could trigger a fire or damage the electrical panel.
But the great news is that drywall is fire resistant, and its installation around your electrical panel is safe. However, you must install it with utmost caution to avoid unfortunate circumstances.
But how exactly can you install drywall around an electrical panel? As tricky as the procedure seems, it’s simple to carry out.
Before I accentuate the procedure, you must acquaint yourself with the right tools to use to get a clean job.
Below are the tools you’ll need.
- Utility knife
- Drywall knife
- Jab saw
- Drywall screws
- Power drill
- Drywall mud pan
- Tape measure
- Sandpaper
- Tin snips or scissors
- Pencil
These tools are essential, and you must purchase them before proceeding with the installation procedure.
I’ll extensively explain the procedure for installing drywall around an electrical panel below.
- First, use a tape measure to measure the size of the entire electrical panel.
- Using a pencil or pen, write down accurate measurements of the electrical panel on paper.
- Using the first measurements of your electrical panel, draw its size on your drywall.
- Using the jab’s saw, carefully cut out the electrical panel size on the drywall to get a perfect shape.
- Using the power drill, drill holes into the drywall.
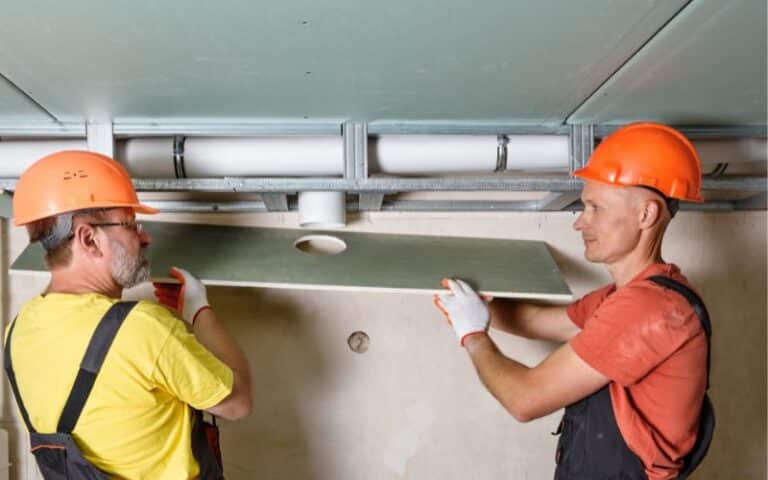
- Install the drywall around the electrical panel.
- Hold the drywall in place, insert the screws, and tighten them properly.
- Install the other drywall below the electrical panel and complete the process.
- Ensure the drywall is flush with the electrical panel. If there’s space between them, use hot mud to cover up the space for a neat finish.
- Paint the drywall with the color of your choice.
It’s crucial to note that you must give a minimum space of ¼ inch or 6 mm between the drywall and electrical panel.
Therefore, you must use the drywall screws a little farther from the electrical panel. This way, you can reduce the possibility of electrical fires and arcing.
However, if this procedure is difficult for you to perform, you can always seek the services of an experienced technician.
How Many Inches of Clearance Do You Need Around the Electrical Panel?
You need approximately 36 inches of clearance around your electrical panel for the front and 30 inches for the sides.
NEC, OSHA, and NFPA often lay out specific and strict regulations governing the clearance of electrical panels.
These regulations are established to ensure the safety of homeowners and electricians.
Since your electrical panel is the powerhouse of your home, it’s imperative to follow these regulations judiciously.
When installing an electrical panel in a new home, ensure a minimum space of 30-36 inches in the front. And another 30 inches by the sides of the electrical panel.
This enables the electrician to work on your electrical panel without any problems. Furthermore, it decreases the risk of electrical fires.
Since this space provides enough room to work, the paramedics can attend to you easily in case of electrocution.
Unfortunately, some homeowners fail to abide by the regulations set by these electricity bodies, leading to devastating consequences.
For instance, many homeowners leave little to no space around the electrical panel, especially when other electric appliances are nearby.
When this happens, there’s a high risk of electrical fires, which could burn the house.
Plus, it increases the risk of electrocution, and since there’s little to no space, the paramedics will not be able to treat the individual due to fear of another electrocution.
In the worst-case scenario, this situation might lead to death. Hence, leaving enough space around your electrical panel is best to reduce these potentially life-threatening risks.
Note that it’s not wise to carry out a DIY on your electrical panel, especially with little experience.
An electrical panel contains many wires that transfer electricity; hence, a mistake can land you in a huge dilemma.
Therefore, it’s advisable to seek an experienced electrician’s services when installing an electrical panel.
Plus, you can give the electrician a detailed description of the space you want around the electrical panel.
Furthermore, it’s best to stay and observe the procedures for the installation to rectify any issue you might encounter later.
How to Frame Drywall Around Electrical Panel?
Framing drywall around an electrical panel may appear difficult, but it’s easy. You often wonder how constructors get that perfect framing and unique drywall design.
Well, there’s no magic trick involved in this process, as you can do it right in the comfort of your home. Amazing right?
So you don’t need to consult a constructor as you can carry out a little DIY project with the right procedure. However, you must use the right tools and know their functions.
Well, the table below will do justice to this; afterward, I’ll dive into the procedure for framing your drywall around the electrical panel.
| Tools | Functions |
|---|---|
| Steel stud crimper | It holds any runner or width in place without using screws or fasteners. |
| Drywall T-square | It delivers a straight edge to allow the cutting of drywall. |
| Drywall utility knife | It enables you to cut drywall properly. |
| Sandpaper | It sands and smoothens drywall. |
| Jab saw | It enables you to cut small shapes drawn or traced on drywall. |
The following are the steps necessary for framing drywall around the electrical panel.
- First, purchase new drywall and tools of high quality.
- Layout the drywall on the floor and use the t-square and pencil to draw the shape of the electrical panel.
- Use the jab’s saw to cut out the shape.
- Using the sandpaper, carefully smoothen your drywall.
- Gently frame the drywall around your electrical panel.
- Seal any gap or space between the drywall and electrical panel with the joint drywall compound.
Endeavor to seek the assistance of a professional if you encounter problems in the process.
How Do You Fill the Gap Between Electrical Panel and Drywall?
Filling the gap between your electrical panel and drywall is easy, and the best part is that you can do it yourself.
However, some homeowners are usually apprehensive about carrying out this process due to the involvement of electricity.
On the bright side, there’s nothing to worry about as long as you follow the right procedure. First, you must purchase the right drywall mud before you proceed with the process.
Note that there are different types of drywall mud in the market; thus, you must get the suitable one for the job.
Notwithstanding, let’s look at some tools you need to fill the gaps.
- Drywall mud/hot mud
- Spatula/mixing tool
- Bowl
- Water
Below is a detailed explanation of how to fill gaps between your electrical panel and drywall.
- In a bowl, pour the 2 cups of drywall mud and 1 cup of water.
- Mix thoroughly to get a thick texture.
- Fill the gap between the electrical panel and drywall with mud and seal it carefully.
- Ensure it’s flush with the drywall and electrical panel.
- Leave it to dry for the specified time mentioned.
- Apply the paint of your choice to conceal the mud.
How to Repair Drywall Around Electrical Panel?
It’s nerve-wracking when you discover that your drywall has holes or is chopped off. The worst part is that it’s around your electrical panel! So, what can you do in this situation?
The easiest way out is to look for a quick but highly effective solution to repair the damage.
Therefore, you can repair the drywall using strong tapes. Alternatively, you can use hot mud to repair the drywall around your electric panel.


