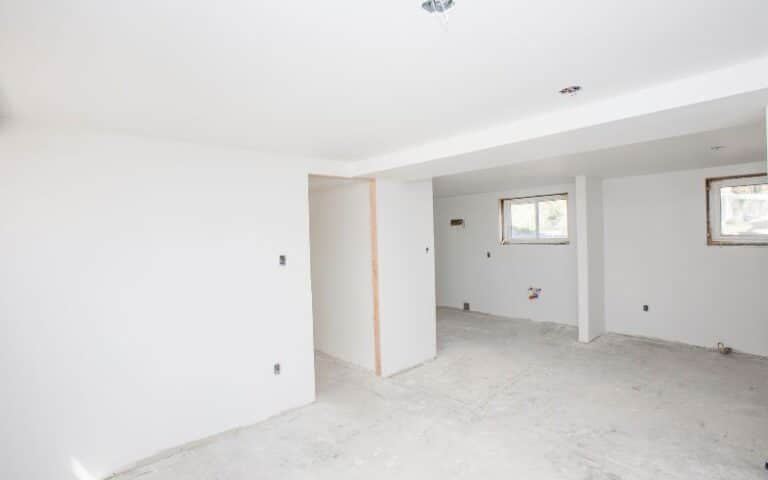
Mudding and taping is a process that conceals the seams in the Drywall. However, this method of hiding seems can be tiresome, expensive, or just plain and boring.
Other items can provide the same effect that mudding and taping has on Drywall. You can also beautify your home with simple alternatives that won’t compromise the Drywall.
As you proceed in this article, you’ll find fantastic alternatives to mudding and taping Drywall.
Perfect alternatives to mudding and taping Drywall include caulk, sealant, crack filler, wood filler, and crown molding. Each option is effective for covering Drywall seams. Caulk, sealant, and fillers are simple substitutes that perfectly conceal seams. Crown molding, on the other hand, is a more sophisticated alternative that adds a classy touch to your Drywall.
The article below will highlight the alternatives to mudding and taping Drywall. Reading on, you’ll learn which substitutes are expensive and which are budget-friendly.
At the end of the article, you’ll be able to weigh the advantages and disadvantages of each alternative to help you choose.
Ready for a Drywall Quiz?
Caulk
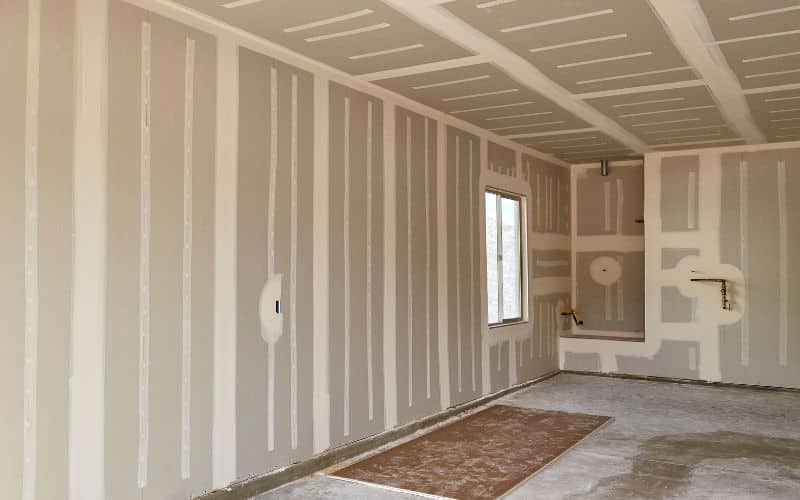
Usually, caulk fills gaps in the home to keep away moisture and any problems it can create. However, caulk is also a good substitute for mudding and taping Drywall.
A vital point to note is that different types of caulk have applications in different situations. If you want to cover Drywall seams with caulk, it’s essential to pick the right kind.
The first thing to consider is the drying time. Caulk dries after about thirty minutes, although it can take 1 to 10 days to adhere to the area thoroughly.
Therefore, if you need the caulk to dry quicker, you can find the ones with the quick-drying formula. These types can dry entirely in just a day.
Other attributes of caulk include color and texture. You need to consider the Drywall’s color before using caulk.
The caulk color should be similar to the Drywall or complement it. Make sure to pick a caulk color that won’t contrast with the Drywall and give your room an odd look.
Also, there are sanded and unsanded caulk pastes. Sanded caulk sticks to wet areas better, while unsanded caulk has a smoother texture.
This better texture is excellent for creating smoother finishes in applications.
Below are some caulk examples you can use for sealing drywall joints.
#1. Acrylic Latex Caulk
Acrylic Latex Caulk is the proper kind of caulk for drywall seams because it’s suitable for wood. You can use this caulk in moisture-free locations of the house.
You can purchase this caulk here.
#2. Acrylic Caulk and Silicone
This caulk is the right one for places with high moisture. Mix acrylic caulk with silicone to enhance its moisture resistance and elasticity.
Apply this caulk on the Drywall seams in the kitchen. You can get this caulk here.
#3. Cost
A professional can apply caulk for over $1.24 to $4 every 12 inches. On the other hand, mudding and taping drywall costs are $1.50 – $3.50 every 12 inches.
Comparing the two, you can see that caulking is slightly more expensive than applying mud to seams.
#4. Pros of Caulk
- Silicone caulk resists heat which is suitable for sealing drywall seams outside the house.
- Caulk sticks appropriately and lasts.
- Silicone caulk can stretch if drywall panels shrink.
#5. Cons of Caulk
- You can’t paint on some silicone caulks.
- The application can be messy.
- Due to its sticky nature, dirt can quickly adhere to it.
Sealant
Sealant is similar to caulk but possesses higher elasticity. This feature gives it an edge over caulk since it is better to use on items that might shrink, shift or expand.
Locations like door frames and window frames are notorious for shrinking or expanding.
You can use sealant instead of Drywall mud to cover the seams between drywall panels and frames. Note that sealants also have varying drying periods.
Therefore, get a quick-drying formula that can dry fast and not attract dust and dirt.
Below are the types of sealants to consider for use.
#1. Butyl Rubber Sealant
Butyl Rubber Sealant has excellent elasticity and is a good choice for covering drywall seams.
You don’t need to worry if your Drywall panels shrink or expand. This sealant will respond appropriately to any movement on the wall. Buy this sealant here.
#2. Masonry Repair Sealant
This sealant is of construction-grade quality. It can conceal drywall seams properly and remains flexible for a long time. The adhesion is top-notch, and it is durable.
You can get this sealant here.
#3. Cost
Applying sealant is similar to caulk, costing $1.25 – $4 every 12 inches. Sealant is a good substitute for mudding and taping but still costs higher.
You can eliminate labor costs by applying the sealant yourself. Applying sealant is easier than mudding and tapping, so you can try it.
#4. Pros of Sealant
- Sealant has incredible elasticity.
- The sealant offers excellent water resistance.
#5. Cons of Sealant
- The surface is difficult to paint over.
- It isn’t easy to come off.
Crack and Wood Filler
Crack and wood fillers are primarily for filling cracks in walls and other holes of various materials. However, they can be decent substitutes for covering Drywall seams.
Any of these fillers are appropriate if you want to avoid using mudding and taping on your Drywall. You can apply to crack filler paste into drywall seams to cover them up.
The compounds in these fillers can seal concrete and other rigid materials. Therefore, they can serve well on drywall seams.
Crack fillers come in different colors, so ensure you get one that matches the color of your Drywall. This way, the filler will not look out of place on the wall.
Crack fillers are inflexible and rarely shrink. Their durability is good across different seasons. There are several good examples of crack fillers.
Wood fillers are also excellent for covering Drywall seams. You can sand down wood filler to create a flat surface after application.
This property allows it to blend with the Drywall. Wood fillers are products of binders and wood threads, meaning they won’t look odd next to drywall panels.
You can paint over the filler even if you apply wood filler with different colors to the Drywall. The wood filler gives surfaces a smooth and finished look.
You can get good wood fillers here.
#1. Pros of Crack Fillers
- Crack filler works well with wooden surfaces like Drywall.
- Applicable to interior and exterior surfaces.
#2. Cons of Crack Fillers
- It can crack if the foundation is shifting.
- It doesn’t dry quickly, so it can attract dust.
#3. Pros of Wood Fillers
- Wood filler dries off fast.
- You can adjust the consistency.
- One can sand down wood filler for a finished look.
#4. Cons of Wood Fillers
- It is prone to shrinking and expanding due to weather changes.
- Does not stick to painted surfaces.
- It is unsuitable for outdoor applications.
#5. Cost
Crack and wood filling can cost 35 cents to $1.00 every 12 inches, although this depends on the filler used.
You can get decent crack and wood fillers for under $30. However, if areas of application are much, you will need multiple filler tubes or tubs.
Crown Molding
You can install a crown molding to cover up seams between your wall and floor or ceiling.
This alternative adds a classy touch that would be missing if you used tape and mud on the seam.
What’s appealing about crown molding is that there are many varieties you can choose from. There’s dentil molding that features tiny rectangular tablets similar to teeth.
Other moldings feature oval shapes interposed with dart-like figures and even leaf-like forms.
Also, there are different materials to complete the job, including wood, metal, and even plastic.
Now, crown molding is an excellent addition to the home. However, the cost can be high due to the sophistication of some designs.
#1. Cost
Installation costs can vary but most times, labor costs around $3 – $15 for every 12 inches. The materials used also determine the cost of installation.
The table below breaks down the cost of crown mold installation.
| Material | Material Costs | Installation Costs |
|---|---|---|
| Plaster | $6 – $12 | $10 – $15 |
| Solid wood | $10 – $15 | $5 – $10 |
| Exotic hardwood | $14 – $40 | $10 – $20 |
| Polyurethane | $2 – $6 | $4 – $5 |
| PVC | $1 – $3 | $4 – $5 |
| Moderate Density fiberboard | $1 – $3 | $4 – $5 |
| Polystyrene | $1 – $2 | $4 – $35 |
| Flexible | $4 – $35 | $7 – $12 |
Additionally, crown molding installation costs also hinge on the number of installation areas. The more areas for installation, the more costs you’ll incur.
You can install crown molding in living rooms and other places guests can access. This way, you won’t have to install them all over the house.
Modest crown molding designs can make your room appear more prominent than usual. On the other hand, decorative designs can give the room a smaller appearance.
Therefore, you can choose a design that suits your preference. However, before installing crown molding, you must consider the pros and cons.
#2. Pros of Crown Molding
- Crown molding beautifies the home.
- A home with crown molding has good resale value.
- Variety of designs.
#3. Cons of Crown Molding
- Installation requires hard work and skill.
- Installation can be costly due to specialization.
- Crown molding collects dust that can be difficult to clean.

