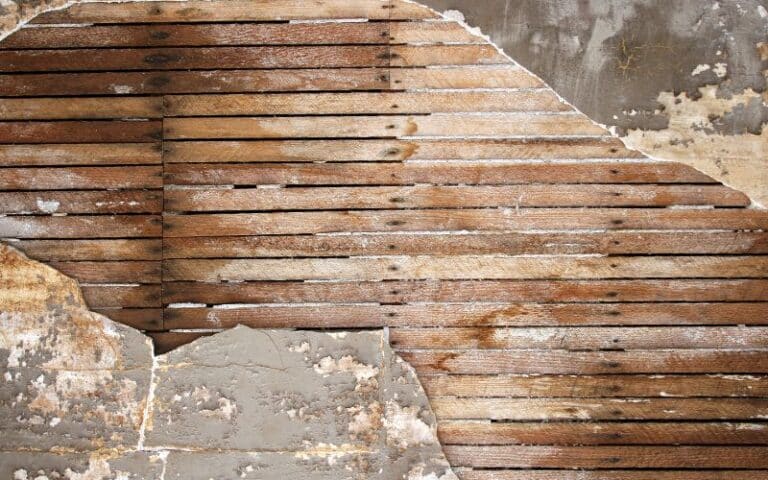
The paneling in your home might have developed mold, broken, swelled, or just looks plain and boring.
Whatever the case, if you’re finding a way to cover it up, then using drywall is a great option. Drywall sheets can cover paneling nicely; this article will tell you how.
It’s possible to drywall over paneling, provided you utilize extensions on the power outlet and trims. Screws or adhesives will hold the drywall to the wall studs and paneling. The only challenge is matching the drywall thickness with the paneling on the door and window trims or moldings.
The article below will explain how to install drywall over paneling and how to overcome any challenges along the process.
Also, you’ll learn the estimated cost of installing drywall over paneling. Furthermore, the article will also identify alternative options for covering paneling in your home.
Ready for a Drywall Quiz?
Can You Put Drywall Over the Paneling?
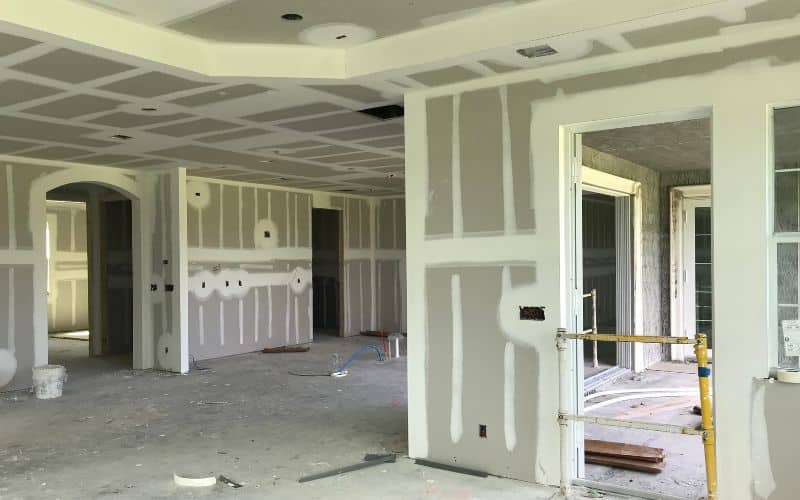
You can mount drywall over paneling if the job is well done. Most times, installation involves screwing the drywall past the paneling and into the stud in the wall.
Also, putting drywall over paneling saves money since removing the paneling can be expensive. However, the process takes a lot of time and can cause pollution.
Therefore, if your paneling is without structural damage, you can proceed to mount drywall on it.
However, if you have damaged panels, consider removing them. With the paneling removed, drywall installation will be easier since you can directly access the studs.
Furthermore, you won’t have to worry about extensions to compensate for the wall thickness increase. As a result, the entire installation will be cleaner and more aesthetically pleasing.
How Do You Install Drywall Over Paneling?
Installing drywall over paneling is hard work and requires a level of skill. In addition, the work requires measurements and some technicalities that inexperienced persons lack.
The following process explains how you can mount drywall over paneling.
- Remove any baseboards or frames from the wall. To begin, you’ll want a flat wall without any swellings.
Pry out any trims and frames with a crowbar; do so carefully so you don’t break them. If any nails remain in the wall, remove them using a hammer.
- Buy 3/8 inch thick drywall sheets for the walls. The drywall will not extend too much from the wall with this thickness. Also, 3/8-inch thick drywall sheets are lighter and easier to handle when working.
Examine the area you want to cover and put down the measurements before heading out to the store to buy the drywall sheets.
- Stud finders can identify studs in the wall, even beneath the paneling. So get one, locate the studs beneath the paneling, and mark out all of them using a pen.
If you don’t mark the studs, getting a sturdy wall after installation will be difficult.
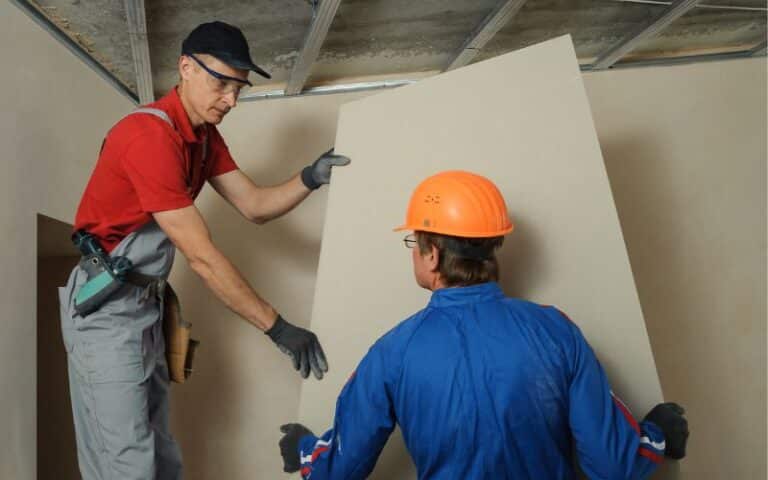
- Place the drywall pane where you found the studs. Ensure you place a drywall pane over two studs to enable stronger attachment to the wall.
- With a power screw gun, you can send drywall screws through the drywall and into the paneling.
Give a gap of 12 inches between each screw as you travel up the drywall pane. The design of these screws allows them to keep the drywall in place without dropping.
When screwing, push the drywall pane into the paneling before screwing. This way, you can ensure there won’t be gaps between the drywall pane and paneling.
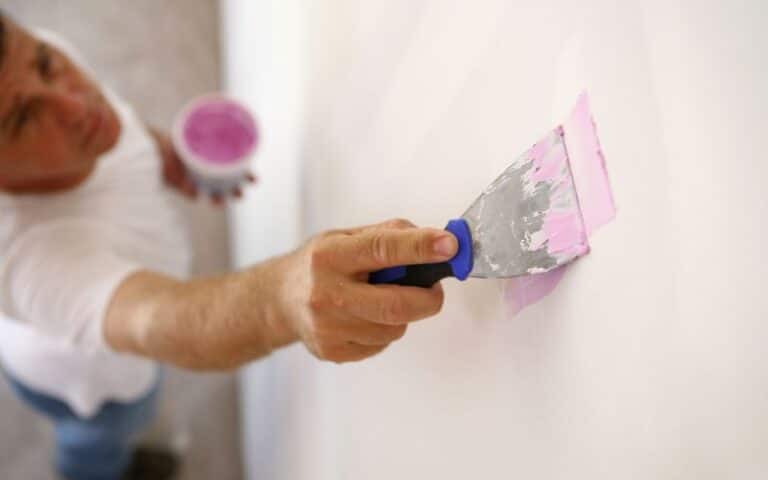
- The screw creates a hole as it drives into the drywall pane. You can fill this hole using caulk; apply it with a putty blade to provide a neater finish.
The following are some tips for mounting drywall over paneling.
- Start the work by identifying the upright studs. The installation procedure will be simpler if you do so. To make locating easier, ensure you use a power stud finder.
- It is essential to send screws deep into studs for a firm installation.
However, you shouldn’t send them so deep that they break the paper exterior of the drywall pane. Doing that will reduce the drywall’s integrity and cause it to break quickly.
- You’ll need to create switch and power outlet cutouts in this job. To hasten this process, use colored chalk to write on the fixture’s edges. Then, place the drywall pane in position and push it on the fixtures.
The colored chalk will stain the drywall pane, providing the exact measurements required to make the exact cutouts.
- To prevent any trims and attachments on the wall from looking dipped, use extensions so they can marginally lift off the wall.
Extensions will help compensate for the wall thickness increase from mounting drywall over paneling.
How Much Does It Cost to Put Drywall Over Paneling?
The cost of mounting drywall over paneling can differ among contractors, but most times, it’s relatively cheap.
The table below breaks down the cost of putting drywall over paneling.
| Service | Time/Quantity | Low Cost | High Cost |
|---|---|---|---|
| Drywall over-paneling cost | Per square feet | $1.1 | $3.0 |
| Drywall over paneling labor | Per hour | $50 | $100 |
| Drywall over paneling cost per room | 10 X 12 room | $132 | $360 |
| Drywall over paneling per sheet | Per sheet | $65 | $100 |
| Drywall over vaulted ceiling paneling | Per square feet | $2.25 | $3.0 |
| National Average | 1,5000 square feet house | $1500 | $4500 |
What is the Best Way to Cover Paneling?
You can cover paneling using paint or wallpaper. If you’re looking for a makeover, either of these options is a great way to remodel your home.
There are various paints around; you can select whichever color you want to paint your house. Likewise, you can find different varieties of wallpaper.
You can browse for options, make your choice and cover it over your panels.
#1. Painting the Panels
The following steps will guide you on how to paint over your panels.
- After buying your desired paint, the first thing to do is to clean the wood panels with Trisodium Phosphate (TSP).
Ensure you wear latex gloves and a face mask before starting. Then, dip a rag into TSP and wipe across the panels to remove grime, dust, and other particles.
- Next, sand down the panels using sandpaper. The essence is to smoothen the panels, so the paint looks neater on them.
- Cover up any deep indentations on the panels. Covering these grooves or gaps in between panels is essential to produce a smooth wall.
Use a putty blade to apply spackle in these gaps and allow it to dry. After drying, you can sand down the spackle if it rises above the wall’s surface.
- Sweep the mess on the floor, then place a large cloth to collect the dripping paint. Next, make sure you move away furniture to create space for you to work.
- Your next step is applying primer on the panels and leaving them to dry for an hour. If your panels are solid wood products, use an H20-based primer.
On the other hand, a veneer product will require a shellac-based primer. Use a roller and apply the primer on the paneling.
- The final step is applying the paint over the primer. Grab a paint roller and smear the paint over the panels. Leave it to dry for sixty minutes, then apply the paint again.
#2. Wallpaper Application
The following steps will guide you on how to apply wallpaper over your panels.
- Wipe the panels using TSP to eliminate grime, dirt, and other particles. Don’t forget to slip on gloves and wear a mask for protection.
- Use a roller brush to apply wallpaper primer. The primer will cover gaps on or within the panels to create a smoother surface for your wallpaper.
Apply the primer once and leave it to dry for sixty minutes.
- Measure the dimensions of your wall and write the numbers down. Next, cut a piece of wall liner about 4 inches longer than your wall measurement.
Wall liners come before the wallpaper to hide grooves from the wall panels.
- Soak the wall liner inside a container filled with water. This action will activate the gum in the liner. Remove it and allow it to dry for over five minutes.
- Apply the wall liner onto the wall and use a putty blade to smoothen it. Make sure you cover the entire liner to remove bumps.
You can cut smaller sections of the wall liner to fix other areas. Wall liners need about two days to dry.
- Apply adhesive to the back of the wallpaper and plaster it on the wall. Use a putty blade to smoothen creases and bumps across the entire area.
Next, use a blade to cut off the extra inches of wall liner and wallpaper to complete the work.

