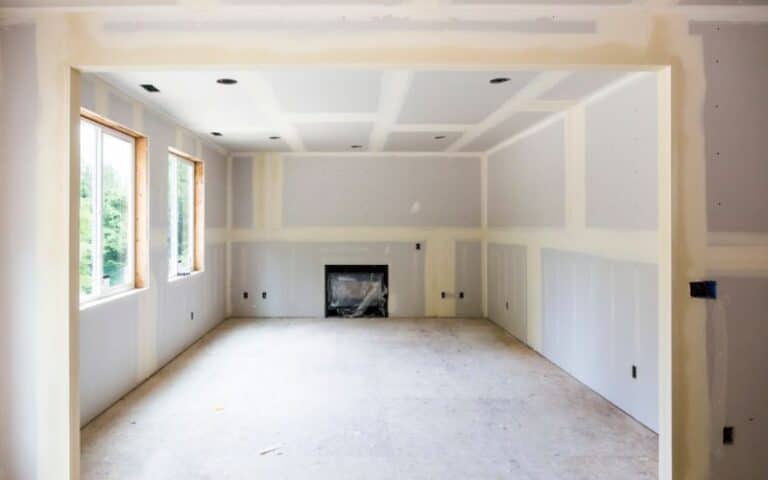
After priming, imperfections such as pits and air bubbles can appear in drywall. In addition, sometimes, imperfections may even appear after painting.
This issue is frustrating for homeowners who might eventually have to reprime and repaint their drywall to eliminate these imperfections.
However, repairing these flaws is quite easy if you use the correct tools and diligently follow the required steps.
This article gives a detailed and comprehensive explanation of drywall imperfections after priming and how to correct them.
Imperfections such as raised areas tend to occur where a procedure such as sanding was done after priming or was done improperly. To correct these imperfections, sand or re-sand the area, scrape off the loose primer, apply spackle into the pits, and reapply prime or repaint the drywall. Also, always let the drywall air dry completely before applying primer.
In this article, I will answer what causes imperfections in drywall after priming, how to fix these imperfections, and the likeliest solutions that can work.
I will also explain if imperfections can occur after painting and how to fix such an issue when it happens.
Ready for a Drywall Quiz?
What Causes Imperfection after Priming Drywall?
The cause of imperfections in drywall is mainly tied to the finishing process before priming. Usually, you may only notice imperfections in your drywall after you’ve applied primer.
Let us go through some common errors that can cause imperfections in drywall after priming:
#1. Incorrect Joint Compound Mixture
A joint compound is an essential component in drywall finishing. It is a muddy mixture of calcium carbonate and water.
The purpose of a joint compound is to cover up fasteners and close gaps in the drywall. In addition, applying joint compound gives the drywall a smooth, even surface.
However, this is only possible if the joint compound is in the correct mixing ratio. Applying too much water can make the mixture too thin and harder to dry.
On the other hand, more water can make the compound too thick and easier to work with.
If you apply a poorly mixed joint compound on drywall, there will always be a probability of imperfections developing.
The solution to avoiding imperfections such as these is to ensure you use only the correct mixing ratio in your joint compound.
#2. Wall Angles Not Drying Properly
Always allow the compound on one side of the drywall to dry properly before commencing work on the adjoining side. When coating wall angles, ensure you do so one side at a time.
Coating both sides randomly can leave bumps and imperfections that may be difficult to sand down and smoothen.
When you allow one side of the drywall to dry first, you can easily scrape out excess wet compound while applying it on the adjoining wall.
Therefore, giving you a smooth and precise finish.
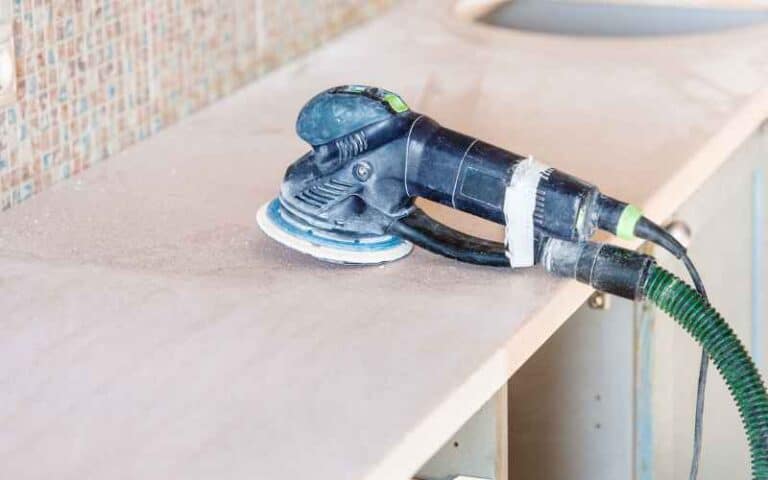
#3. Poor Sanding Technique
Sanding is a crucial part of drywall finishing. If the sanding is incorrect, imperfections will develop in the drywall.
Sanding ensures the paint holds nicely and evens out bumps and other imperfections. The sanding technique used matters a lot to ensure a proper finish, free of imperfections.
Here are a few guidelines every sanding technique must follow:
- Make use of at least 120 grit sandpaper. Use sandpapers with finer grit sizes, such as 220 grit sandpapers. But avoid sanders below 120 grit.
- Avoid sanding the boards too much.
- Angle your sanding head slightly as you move across the surface.
- Move the sandpaper parallel to the joint you are working on.
Can You Fix Drywall Pits after Priming?
Yes, you can fix drywall pits after priming.
Below is the step-by-step procedure on how to cover up pits after priming:
#1. Sand The Area
Use good grit sandpaper; I recommend one within the 120-150 grit range. To ensure you remove all the sanding dust after sanding, use a clean damp cloth to rub the sanded area.
After doing this, leave the area to air dry before proceeding to the next step.
#2. Scrap Away Primer And Dust
Scrape off any loose primer or dust with a putty knife. The putty knife can also remove any drywall fragments around the pit.
Take care not to scrape too hard. The aim of scraping with the putty knife is to make the finish smoother.
After scraping, use a clean cloth to rub the area and remove any residual dust. Avoid using a damp cloth for this stage.
#3. Add Spackle Into Pits
Apply some spackle to the corner of the putty knife and apply more to the pits.
Gently push it in using the tip of the putty knife, then draw the knife’s edge over the area to level the spackle with the drywall.
Repeat this procedure with other pits you find in the drywall. Allow them to dry for a few hours after each procedure.
Use a clean rag to clean out any excess spackle while working to avoid it drying on the wall.
#4. Clean The Drywall
After going through the steps above, use a damp cloth to wipe over the repaired areas on the drywall. Then allow it to dry for a while before proceeding to the next step.
After drying, examine the wall carefully. Ensure the repair is smooth and level. If you notice areas where the spackle has sunk in, reapply more spackle to be level with the wall.
#5. Apply Primer
Reapply primer to the repaired areas of the drywall. You can use either a brush or a roller to do this. Ensure you follow the primer manufacturer’s instructions while applying.
Also, follow instructions concerning ventilation if you are using an oil-based primer.
#6. Paint the drywall
After applying primer, the next step is to paint the drywall. It is best to allow the primer to dry properly before painting.
You may have to repeat the pit repair process if you still notice pits after painting. Hence, you must follow the repair instructions dutifully.
Can Paint Cover Priming Imperfections?
Paint can cover priming imperfections in drywall; however, it will not repair them.
To repair priming imperfections, you have to reprime the drywall all over again or just the specific areas that need repriming.
To do this, you need to use only the best primers available. A good primer will seal in holes, allowing tools to glide through seamlessly for a better finish.
Below are examples of great primers and their features:
| Primer | Features |
|---|---|
| Zinsser Bulls Eye 1,2, 3 water-based Primer Sealer | This primer performs excellently overall and is very durable once applied to drywall. |
| Glidden PVA 5 gal. Drywall interior Primer | The Glidden primer is one of the most affordable, quality primers available. |
| Kilz Odorless Primer and Sealer. (Oil Based) | It is arguably the best oil-based primer available. It is also odorless, which is a big plus. |
| Kilz 2 All Purpose Interior and Exterior Primer. | This primer is also one of the best water-based primers available. It is very versatile and applies well on drywall. |
Will Priming Multiple Coats Cover Imperfections?
Priming Multiple Coats will not cover imperfections. Painting can do this, however. In addition, priming multiple coats will ensure even paint absorption on the drywall during painting.
Using two coats of primer for unfinished drywall and one for painting over a white wall is advisable.
The essence primer coating twice is because the first coating will get soaked up by the wall and then the second replenishes primer absorbed by the surface.
It also does a good job of hiding tiny flaws in the wall. Even though multiple coating does not cover imperfections, it can reduce their visibility to some level.
In his case, they can be very helpful in hiding imperfections, especially after painting.
Can You Fix Imperfections after Painting Drywall?
Yes, you can. However, you will still need to reprime and repaint the drywall after repairing the imperfections.
Below is the step-by-step procedure on how to fix imperfections after painting drywall:
#1. Clean The Wall
Use a sponge with a solution of detergent in warm water to clean the wall. I recommend strong detergents that are effective on both gloss and semi-gloss paints.
Detergents like trisodium phosphate are quite good.
#2. Scrape Off Loose Drywall
Scrape off any loose drywall mud on seams if you come across any. You can also puncture bubbles with the scraper. Finally, brush off any loose mud or dust remaining with a paintbrush.
#3. Apply Primer
Apply primer on all the places that need repair and allow it to dry. Next, apply a coat of mud on uneven seams and scrape the mud flat with the putty knife.
Allow this first coat of mud to dry overnight.
#4. Sand The Areas
Sand the repaired areas with 120 or 150-grit sandpaper. Wear a dust mask while doing this to prevent yourself from inhaling dust particles.
#5. Apply Texture And Allow To Dry
Apply texture to the drywall but ensure it matches the existing texture if there was one beforehand.
Allow the texture to dry, apply a second coat of primer to the repairs, and allow the primer to dry.

