Drywalls are applied on surfaces to give them a smooth finish. It is important to be cautious of where you install your drywalls because they cannot deal with specific conditions.
Regular drywalls comprise gypsum and are not water resistant. Therefore, regular drywall will crumble on exposure to moisture. That said, can you use regular drywall in a bathroom ceiling?
No, you cannot use regular drywall in a bathroom ceiling. The bathroom is where you often find moisture, and regular drywalls are not water resistant. The best drywalls to install in a bathroom are green and cement board drywall because they can handle moisture.
In this article, I’ll give you information on the properties of green drywall, how to install the drywall and the types of drywall that are best for your bathroom ceiling.
Ready for a Drywall Quiz?
Are Special Drywall Required for Bathroom Ceiling?
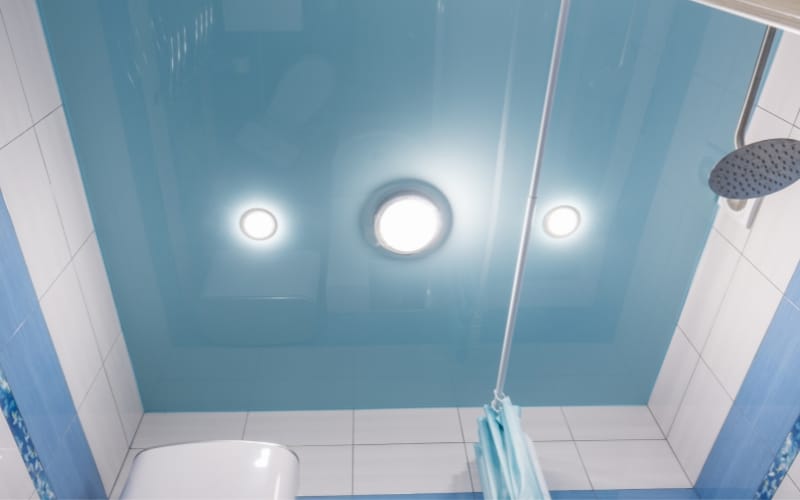
It would be best to use special drywall for the bathroom ceiling. Use water-resistant drywall for the bathroom ceiling.
The kind of drywall to use for a bathroom ceiling is green and cement board drywall. Green drywall is water resistant and can withstand exposure to moisture compared to regular drywall.
However, green drywall is not waterproof and will crumble upon exposure to excess moisture.
An alternative for green drywall is cement board drywall. You can use this drywall for the ceiling of your bathroom.
Cement board drywall is similar to green drywall, but the main difference is that cement board drywall is waterproof while green drywall is water resistant.
Can You Use Green Drywall for Bathroom Ceiling?
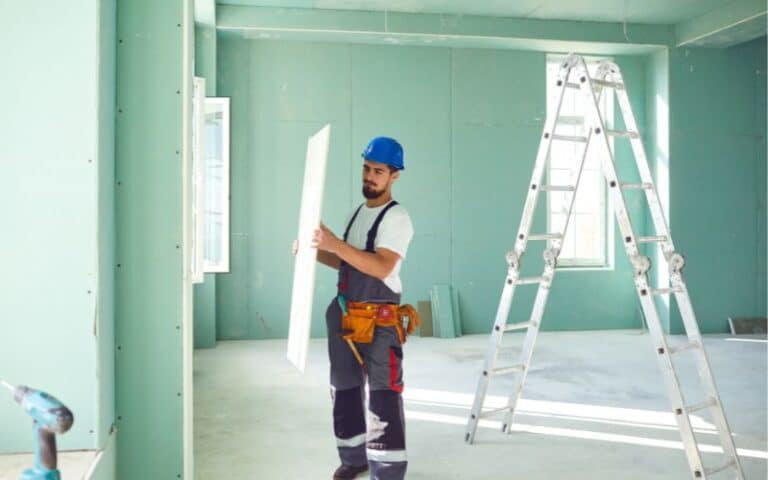
Yes, you can use green drywall for your bathroom ceiling. Green drywall is a drywall product that is moisture resistant, which makes it suitable for installation in bathroom ceilings.
Green drywall’s water-resistant nature is because of the waxy coating around it. Just like regular drywall, green drywall’s inner core comprises gypsum.
Here is a list of the properties of green drywall.
#1. Green Drywall Is Water Resistant
Green drywall can handle contact with moisture compared to regular drywall. The water-resistant property of green drywall is due to the wax coating around it.
This water-resistant property is essential because molds start forming on regular drywalls when you expose them to moisture.
It would be best to remember that green drywall is water-resistant, not waterproof. Therefore, exposing green drywall to excess moisture will cause it to suffer damage.
#2. Green Drywall Is Thick
Compared to regular drywall, you can buy green drywall in thick sizes. However, you can only get regular drywalls in sizes from ¼” to ½” while you can buy green drywall in sizes ½” and ⅝.”
The thickness of green drywalls is because the additional treatment is done on them to possess their water-resistant property.
#3. Green Drywall Is Not Fire Resistant
Although green drywall is thick, it will crumble on exposure to fire.
#4. How to Install Green Drywall
Here is a table showing the materials you will need to install green drywall and its functions.
| Tools/Materials | Functions |
|---|---|
| Measuring tape | To measure the dimensions of the green drywall. |
| Pencil | To jot down the measurements. |
| Utility Knife | To cut out the green drywall. |
| Screw/Nails | To secure the drywall into the wall. |
| Screwdriver/Hammer | To drive in the screws or nails. |
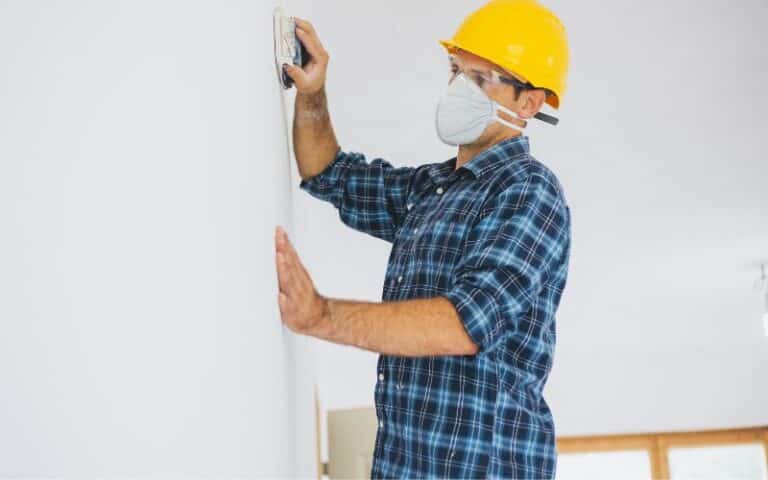
| Sander | To smoothen out the mud on the drywall tapes. |
If you decide to install green drywall in your house, here are steps on how to do it appropriately:
- The first step is to use a measuring tape to measure the dimensions of the space where you’d like to put the green drywall. Then, use a pencil to jot down the measurements.
- Use the measurement to cut out the correct size of green drywall you need
- Pick up the green drywall and snap it in half. Use a utility knife to cut through the rest of the drywall
- Get some drywall screws and nails for this step. Use a power screwdriver for the screws and a hammer for the nails.
- Drive the screws or nails into the wall studs through the drywall
- After securing the green drywall, the taping process is the next step. You’ll need to mix mud and apply it to the drywall for taping.
- After you finish the taping process, you’ll need to apply mud on the drywall tape. You can then use a sander to smoothen out the surface.
- After installing the drywall, you should apply waterproofing primer over the drywall. The primer provides added protection against moisture and mold formation.
#5. Drywall Mudding Process
There are two types of mud include premixed mud and hot mud. Premixed mud does not require any mixing process, while hot mud does.
Here are steps to mix hot mud:
- You’ll need to buy buckets, a mud mixing drill, and drywall quick set mud from a brand like CGC lifeline or the USG, plus three for the drywall mud mixing.
- Open the drywall mud from its packaging by unfolding the box and tearing open the plastic bag containing the content.
- Transfer the content carefully by turning it over into a bucket, then dispose of the bag.
- If you purchase drywall mud from a brand like CGC, you will notice the mud is dry.
- The dryness of the mud makes it good enough to use in place of the quick set in case you can’t find one available.
- Pour some water into the bucket of mud and use the mixing drill to break it down for a while.
- Hold the bucket between your legs, and allow the drill to spin at the bottom.
- Pause the drill in between spins as you slowly work your way to the top of the bucket
- Add more water into the bucket and lift the drill to the top to spin. The mud will get smoother as you spin the mud.
After mixing the mud, apply it to the drywall joints before applying the tape. You can buy self-adhesive tape for your drywall if you want to skip the mudding process.
For self-adhesive tapes, you do not need to mud the drywall beforehand. Here are steps to use self-adhesive tape:
- The first step is to open up the tape
- Place and hold the tape at one end and draw it over to the other. Avoid pushing the tape into the space in between the joint.
- Flatten it out with a tool with a smooth surface.
Best Drywall for Bathroom Ceiling
The best drywall for your bathroom ceiling is green or cement board drywall. The bathroom usually has moisture, so you must use moisture-resistant drywall for your ceiling.
Regular drywalls get damaged when you expose them to moisture. However, green drywall and cement board drywalls are moisture resistant.
You can expose green drywall to moisture, which will not get damaged. However, the drywall will crumble over time upon exposure to excess moisture.
Cement board drywall, on the other hand, is water-resistant and waterproof. Exposing cement board drywalls will not cause them to crumble.
Overall, always coat the drywall with waterproof primers for whatever drywall you use. These primers will help to strengthen the protective barrier against moisture damage.

