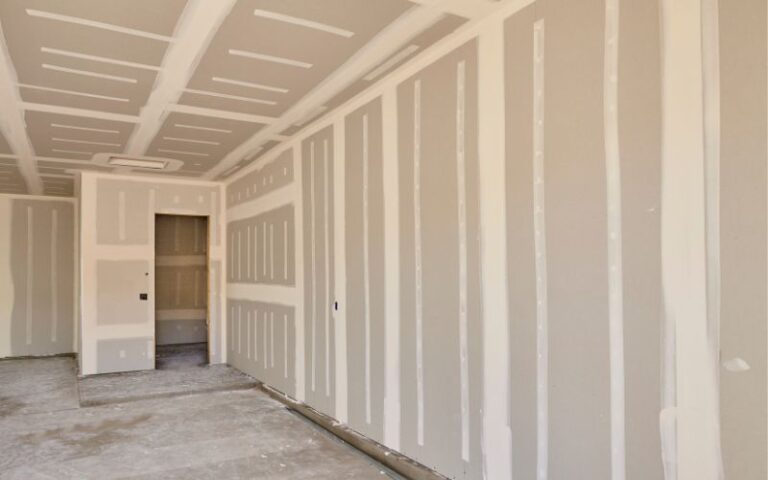
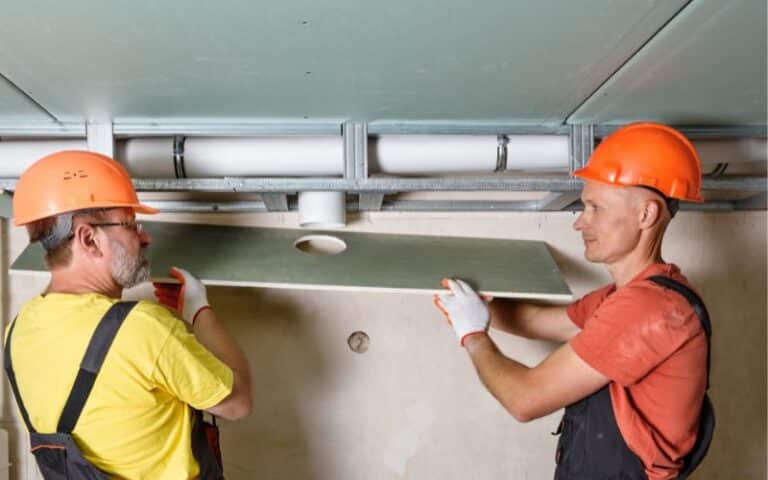
After installing new drywall in your space, the next step is to think about ways to improve your interior decor using paints and other designs.
However, adding mud to smoothen out the joint surfaces and other areas, such as screw holes, is necessary.
Hence, it is frustrating to find the mud not sticking to the wall. So, what are the likely causes?
Humidity and temperature are common causes for mud not sticking to the wall. These environmental factors affect the rate of evaporation and, in turn, the rate at which the mud turns solid. Another common reason is when you add paint without painting.
This article will discuss the various instances where the mud might come off drywall.
There are also suggestions on how to prevent reoccurrence. You also enjoy the guide to proper application.
Ready for a Drywall Quiz?
Why is My Drywall Mud Coming off?
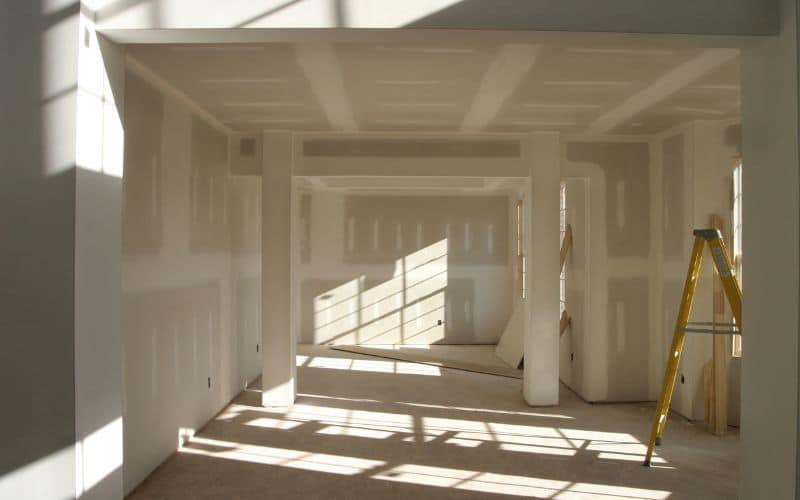
Improper application is a common reason the mud is coming off your drywall. Adding mud requires more than mixing up the joint compound and adding it up the wall.
There are specific steps to follow, which include sanding and dust. Environmental factors can also affect the wetness of the mud, making it come off.
However, with proper application, you can get the mud to stick to the drywall. Note that this process takes time, and it is essential to be patient with this process.
How Do You Get the Mud to Stick on Drywalls?
Getting mud to stick to the drywall is a matter of proper preparation. Admittedly, some of these types of jobs require experience and a level of expertise
However, you can still get the mud to stick without much expertise. Here are simple steps to help you get your mud to stick on drywalls:
- Add mud to the right parts, including the drywall joints and the surface.
- Add tape on top of the mud gently to avoid bumps.
- Smoothen out the tape on the mud using the drywall knife.
- Sand and smoothen out the dry mud. It is common to find bumps or stone-like surfaces at this stage. The sanding process at this stage should be gentle. It is essential to keep the process gentle to keep the integrity of the tape paper.
- Apply another coat of mud and patiently wait for it to dry out. This step might take more than 12 hours, depending on the type of mud.
- Apply another layer of mud to blend out the surfaces.
- Sand to smoothen out the drywall again.
- Remove the dust and clean off any residue on the wall.
Your wall is ready for priming or painting, depending on your next project.
Should you Prime Drywall before Mudding?
Generally, you don’t need to prime drywall before mudding. Your joint compound sticks well to new drywall surfaces.
The adhesive properties of the joint compound are enough to create a proper mudding job. With the right expertise, the mud sticks to the wall.
However, some situations require the need to prime the drywall before mudding. A typical example is when adding the joint compound to painted walls.
Painted walls usually have glossy surfaces that make mudding work a bit complex. This surface’s smoothness reduces the adhesion between the wall and the mud.
Some other situations also require the need to prime the wall before mudding. If it becomes necessary to prime drywall before mudding, there are simple steps to follow.
The proper priming method ensures you have a wall ready for joint compound.
Can You Add Glue to your Drywall Mud?
Adding glue to your drywall mud is practical if you need more adhesion for your project. The glue helps to increase the solidity and makes the job easier.
There is little chance of it coming off when you add glue. However, the process is not simple. There are specific situations where you need to add glue to drywall mud.
These situations include the following:
#1. Repair Works
When adding drywall mud to old surfaces, it is better to add glue. Repair works usually include situations where the drywall mud is flaking off the wall after a while.
Hence, there is a need for more adhesive properties. Adding glue to the solution for this work ensures better stability.
#2. Glossy Surface
These types of surfaces are usually part of bathroom walls or on a painted wall. More than usual, there is flaking when adding drywall mud to these surfaces without glue.
Hence, it is another situation where glue addition is advisable and necessary.
Another option is to sand the surface before adding drywall. Still, if you prefer a more assured result, glue is the answer.
#3. On Screw Hole
When blocking screw holes, both broad and hollow, it is advisable to add glue to the drywall mud.
The mixture forms a solid in no time and forms a solid that keeps the wall’s integrity.
Here is a point to note about the choice of glue you use when mixing drywall mud:
When getting glue for your joint compound, it is better to get the type that readily mixes with the mud. A good example is the use of PVA glue.
This vinyl-based glue is the type in the regular drywall mud. Hence, we are adding the same product to the mud’s glue content.
Another point to note is that the glue addition process is not just a simple one. There are specific instructions to follow if the glue is to do the right job.
Before adding glue, note that it is not advisable to add glue to the all-purpose mixture.
The best practice is to add glue to the sanding mixture when mixing with water. Here are the steps involved:
- Pour a bit of glue into a bottle and mix with water. Depending on the type of job, you can make the glue-to-water ratio one to ten or 50:50.
- The aim is to dilute the glue to a level that doesn’t affect the mixing system. Here is a point to note, adding glue affects the mixing time.
- The compound forms solid quickly; hence, adding just a tiny amount of glue is advisable.
- After mixing in a bottle, pour out into the joint compound mixing bowl.
- Add the solid joint compound or mud and add water
- Mix the mud thoroughly till it is even.
Start using the drywall mud immediately because it forms solid faster than when there is no glue.
Related: Drywall Around Water Heater (Read This First)
Why Does Drywall Mud Come off When Painting?
Sometimes, the mud on drywall seems like a perfect job until it is time to paint. What happens during painting?
The mud starts to flake off and fall, making the painting job difficult. In such instances, there is a need to start the entire process again.
However, understanding how this error happens can help to prevent it. Here are some of the reasons for these issues:
#1. Humidity and Temperature
Humidity affects the solidifying rate of the mud. Hence, it stays wet for an extended period.
Painting in this condition leads to mud coming off because there is no adhesion to the drywall.
In highly humid conditions, the drywall absorbs water instead of evaporating. The mud remains wet in such conditions.
Applying paint on the surface at this point also leads to the mud coming off.
The temperature in the room also affects the relative humidity. Hence, its effect on the mud is visible in this regard.
#2. Type of Paint
The type of paint used on drywall can affect the job. For drywall with mud, it is best to use acrylic latex paint.
Depending on your choice, this paint is easily absorbable on mud or primer.
Mud coming off due to paint type is not as common as the issue with humidity and temperature.
However, it is a worthy mention. Hence, make sure to buy high-quality paint for your job.
#3. Priming Before Painting
The addition of primer is the simple solution to this particular problem.
It helps to minimize the effect of humidity and temperature on the mud. It is a simple yet effective process.
There are various types of primer available. However, the most suitable is the latex-based primer. It increases adhesion between the wall and the paint.
It also has a polished surface with absorbing qualities. For repair jobs with old painting on the drywall, then there is a need to use another type of primer.
A stain-blocking primer is best for this occasion. It helps remove scratches and dents.
However, this is only necessary if you are not applying mud before priming.
Priming drywall after mudding is the most effective way to prevent the mud or paint from coming off.
Priming helps to keep the mud intact irrespective of the temperature and humidity in the room.
Here are the steps involved in priming before painting:
- Clean and smoothen out the wall by sanding it.
- Remove the sand using a vacuum or any other appropriate tool.
- Clean it down using a clean cloth to remove the sand dust altogether.
- Apply the primer evenly throughout the surface
- Let it dry out before painting.
After these few steps, you can start painting the wall. Note that it is beneficial to get a latex-based primer. The result gets better when this primer is high quality.
Here is a table summarizing the type of paint or prime for different situations:
| Job Description | Type of Prime or Paint |
|---|---|
| Before painting new drywalls | Paint absorbing Primer |
| Before painting, repair works | Staini-Blocking Primer |
| Painting on Primer | Arcylic-Latex Paint |
Final Words
With the proper guide and style, you can learn to add mud to your drywall successfully. These steps prevent cases of mud from coming off after a while.
In some instances, the mud comes off when painting. This issue is due to poor application. You can prevent this with the right guide.
Here are the essential tips to keep in mind when using joint compound or mud for your drywalls:
- Prime the wall if the surface is glossy before mudding
- Apply glue when doing repair jobs
- Prime is not necessary before mudding
- You can prime before painting to achieve smoother results.
All these tips ensure you do a job that doesn’t require another fixing in just a few months.
The paint also remains as long as the mud sticks to the wall. Hence you have your decor intact.

