Due to its versatility, working with drywall is common in residential homes. However, it remains a tricky material to deal with.
That’s because drywall offers only slight structural support. Thus, it helps to remember that fact during installations and you have to watch weight limits to keep your setup intact.
Also, external support measures come in handy for weighty objects. Likewise, you have to make similar assessments when mounting an electrical box.
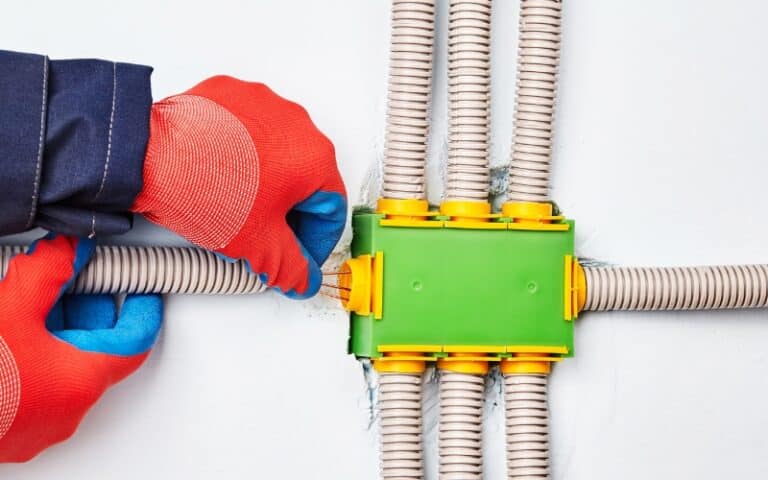
Despite the low support on drywalls, it’s still possible to mount an electrical box without using studs. In this case, remodeling boxes usually proffer the solution for installation without studs. Thus, you can grab one of the remodeling box types to suit your application and get to work. Remodeling boxes are simple to use and save a lot of stress.
Being stuck trying to mount an electrical box when there’s no stud usually happens only after installing the drywall setup. But here, you’ll find a way out of that fix.
This article will detail how to install electrical boxes on drywall without studs. You’ll also get to know the best time to install electrical boxes, before or after drywall.
Ready for a Drywall Quiz?
Can You Mount Electrical Boxes on Drywall Without Studs?
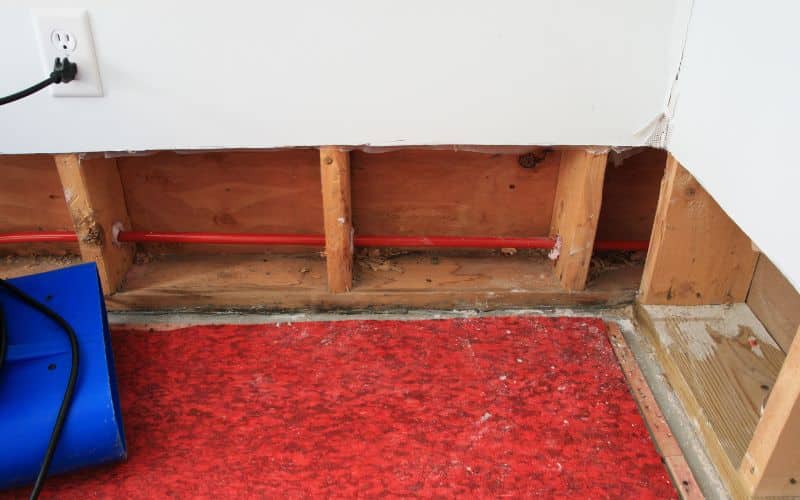
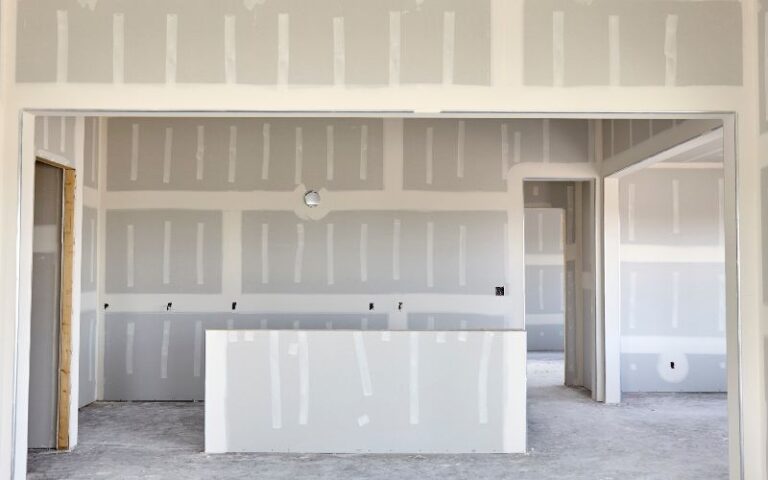
Yes! You can mount electrical boxes on drywall without studs. However, the usual practice is attaching electrical boxes to studs before installing drywall.
As such, this scenario leaves folks in a fix, as the electrical box will have zero support without studs. But we know so well that being at this crossroad is often unavoidable.
That’s because remodeling work will happen in your home sooner or later. So it’s understandable when you find yourself in that position.
Sometimes, you may be lucky, and your remodeling work will fall in a position with studs. But that’s only sometimes the case because studs fall across only parts of your wall.
Even if you find a stud when mounting an electrical box, it may lack room for new wiring. So it’ll still be the same story as there’s no stud in that area.
In all, remodeling work is the premise for mounting electrical boxes on drywall without studs. However, someone came up with remodeling boxes to save the day!
The design of remodeling electrical boxes is specifically for works after installing drywall over wall studs.
Remodeling boxes (AKA old work, retrofit, or cut-in boxes) come in different forms. It works that way so they can suit various applications and wiring setups.
The table below shows the remodel box types and their component materials.
| Remodel Box Type | Material |
|---|---|
| Clamping | Plastic or Polyvinyl Chloride (PVC) |
| Clamping with mounting brackets | Steel |
| Flanged | Plastic or steel |
| Low voltage | PVC |
The flanged remodel box type is the most commonly used because its design is versatile. Thus it suits a wide range of applications. Also, its large flange covers a wide area.
Regardless, the flanged remodel box may be less desirable, depending on your application. So be sure to use the proper remodel box for your setup.
Should You Install Electrical Boxes Before or After Drywall?
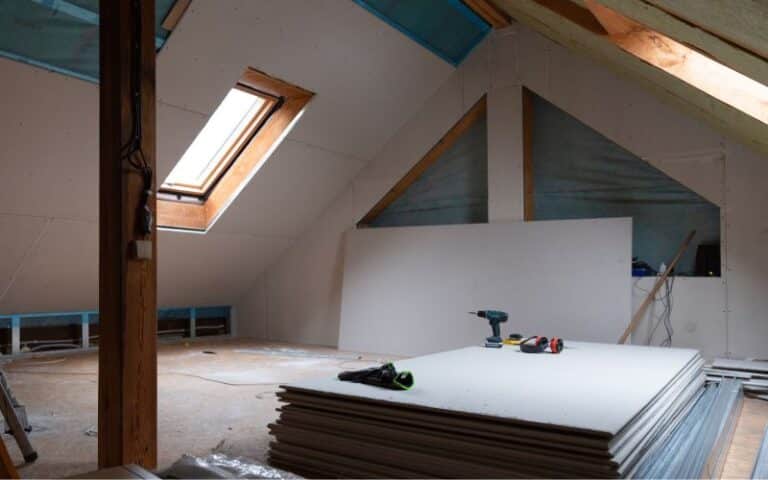
It’s always best to install electrical boxes before drywall installation. However, it would be best if you were careful to note the distinction between electrical boxes and outlets.
That’s so you don’t mix them up and have your outlets (switches) or receptacles in place before drywall installation. Those come after drywall installation.
So, installing electrical boxes before drywall is best because it allows you to position your wiring. In that case, you can correctly mark out positions for outlets.
However, placing your outlets after installing drywall will become exponentially more challenging. For starters, the whole mass of drywall will block your workspace.
Also, fitting or moving wires will take longer because you’ll have to drag them through tight spaces. Added to your worries is the struggle to not damage the drywall.
Thus, leaving your entire electrical work until after drywall installation creates an unnecessary headache.
So, before drywall installation, finish mounting electrical boxes to fit your orientation. That will serve a significant part of the electrical work in your home or office.
Any work that may follow should only be a small-scale job. As such, remodeling boxes will do the trick for you.
Next, electrical outlets and receptacles come after drywall installation. Again, it always helps to note what comes before and after drywall installation.
Here’s the relation: electrical boxes and wires only BEFORE drywall installation; electrical outlets AFTER drywall installation.
Outlets should come after drywall installation, making fitting in devices easier. If you place it before the outlets, you must work extra hard to cut up drywall.
Imagine cutting up drywall in several places so the outlets and receptacles can pop out. The imagination alone is exhausting compared to reality.
Also, fitting outlets after drywall installation will help keep paint and texture off them. Having paint or other materials on your switches will surely ruin them.
You can face issues from the outlet’s color being ruined to it not working at all. There’s double trouble here because you expose the drywall and outlets to damage.
So always ensure to fit your outlets after drywall installation. It’ll strike out damage risks and help you achieve a neat and working finish.
How to Install Electrical Boxes on Finished Drywall?
Installing electrical boxes on finished drywall can be a simple DIY project if you’re familiar with electrical repairs. But the entire process requires careful planning.
Here are the tools and materials you’ll need for this project:
- Bubble or torpedo level.
- Chisel.
- Drywall saw.
- Hammer.
- Pencil.
- Remodeling (retrofit or old work) boxes.
- Screw drivers or drills.
- Wire connectors.
- Wire stripper.
- Voltage tester.
Below are the steps to install electrical boxes on finished drywall. You’ll have to execute each step thoroughly to avoid a faulty setup or having to redo the project.
Grab your toolset, and let’s get to work!
#1. Turn Off Power
It’s essential to avoid the risk of electrocution when dealing with electricity. So always ensure to turn off the power before you start any work.
Also, using tools with rubber handles is a great idea. The wires may have residual voltage, so it’s best to be safe.
#2. Map the Cable’s Path
Use the point where you’ll install the new electrical box to determine the layout of the cables. That will determine if the existing cable length will do or if you must add a new length.
But in adding a new cable length, you’ll have to ensure the setup can handle the extra load. Once you establish the path, you can lay and hide the cables.
#3. Trace the Remodel Box’s Shape
It’s best to get the exact position for the remodel box before you cut a hole in the wall. Also, the position needs to be straight, so here’s where the bubble level comes in handy.
Use the bubble level and place the electrical box firmly on the wall. Then use the pencil to trace the outline of the box.
#4. Cut the Hole for the Box
Cut the outline you traced on the wall using a sharp drywall saw. Ensure to use only slight pressure when cutting the hole. It reduces the risk of breaking the drywall.
Also, you can avoid damage to wires or pipes behind the wall in that area.
#5. Thread the Cables
Guide the electrical cables to the hole using a suitable method. Routing is easier if you have access to an attic or basement.
You can also use a guidewire or fish rod to get the cables to the hole.
#6. Install the Remodel Electrical Box
Pass the cables to the electrical box, secure the cables, and place the box in the hole. Then secure the box in the hole by tightening the screws.
It helps to ensure you don’t overtighten the screws. Doing that makes it easier to unscrew them and avoid damage to the electrical box.
Installing the electrical box will differ slightly based on the type. As such, you may have to deal with expandable clasps or joist support.
But all it takes to keep the boxes in place is to tighten the screws.
How Do You Secure Electrical Boxes on Drywall Without Studs?
Remodel electrical boxes require zero additional support, so the absence of studs is of no consequence. Instead, the device uses a modified fastening system.
Old work boxes have retention tabs and mounting ears sitting at opposite ends. These two features hold the electrical box in place without studs.
The retention tabs open once you tighten the box’s screws. Then they hold firm against the back of the drywall.
For the mounting ears, they cling to the front of the drywall. Essentially, the remodel box has support at the front and back of the drywall.
Thus, it can stay firm, independent of wall studs. This feature becomes an advantage for walls without studs.
But the same feature is a disadvantage when dealing with studded walls. That’s because you can only use them on walls that lack studs.
So always ensure you get old work boxes for walls without studs. Then get new work boxes for walls with studs.

