Toilet renovations or repairs happen often, especially if there is a fault with the previous ones.
Or you may want to upgrade it to match the classic design of your concrete floor.
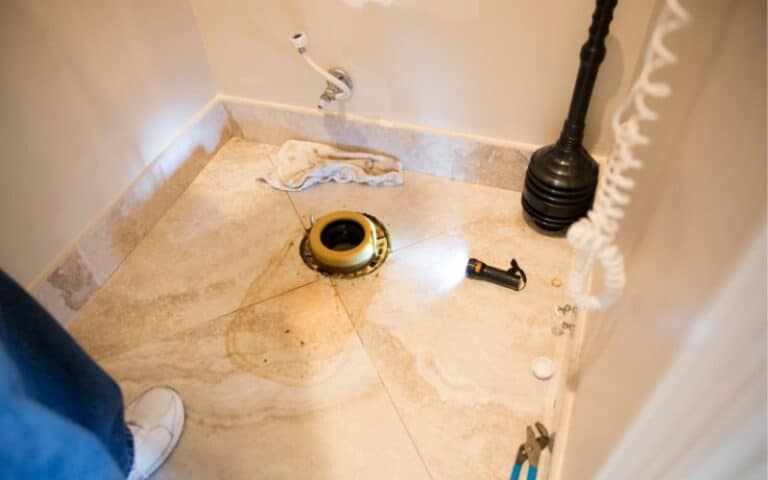
However, one problem may arise, one that is common in many households, discovering there’s nothing to screw the toilet flange with to the concrete floor.
If you find yourself in this situation, it’s easy to feel overwhelmed, but how can you solve this?
A possible solution is to use a flange repair kit. These kits usually include a metal or plastic ring to insert into the existing flange and secure to the concrete floor with screws or adhesive. You can also use a flange extender to raise the height of the old flange for proper connection to the toilet.
Discover how to solve problems of toilet flanges having nothing to secure them to concrete floors!
And you’ll also learn alternative methods to accomplish this and a step-by-step guide.
How to Secure the Toilet Flange With Nothing to Screw It?
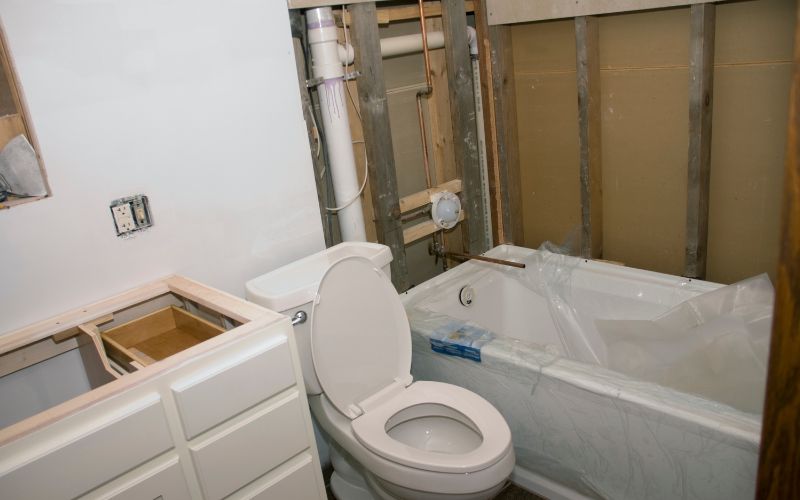
Toilet flanges are a crucial part of the toilet and require a secure connection to the flooring.
However, you can use an adhesive repair kit if you have nothing to screw the toilet flange with.
Let’s discuss that extensively.
#1. Adhesives
Using a strong adhesive will secure your toilet flange to the floor, but only choose plumbing-specific ones such as PVC cement or epoxy resin.
Here’s how to use it:
- Clean the area around the toilet flange thoroughly to ensure proper adhesion. Ensure to remove debris or existing adhesive.
- Apply the adhesive to the bottom of the toilet flange and press it firmly onto the floor. Ensure it aligns well with the drain pipe.
- Allow the adhesive to cure according to the instructions it came with. It could take a few hours or stay overnight.
#2. Repair Kit
Toilet flange repair kits also provide additional support and stability to a damaged or loose flange.
Here’s how to use a repair kit:
- Begin by removing the toilet from the flange to expose the damaged area.
- Clean the flange and surrounding area to ensure a clean surface for the repair.
- Follow the instructions provided with the repair kit to apply the necessary components.
- Since you don’t have screws, you can use bolts or combine adhesives with reinforcement plates.
- Once you’ve properly installed the repair kit, reattach the toilet carefully.
We cannot overemphasize the importance of a secure connection. Even without screws, adhering to other appropriate measures while securing flanges will work.
If you don’t, you may suffer the consequences such as:
- Experiencing water leakage from the toilet
- Dealing with sewage odor
- Having an unstable or loose toilet
Fortunately, there will be signs when you improperly install toilet flanges, so be on the lookout and act immediately to fix it.
Can You Install a Toilet Flange to a Concrete Floor Without Screws?
A screwless installation is often convenient for securing toilet flanges to a concrete floor.
And one of the primary reasons for not using screws is the potential damage they can cause to the concrete floors.
These screws can crack or weaken the concrete, weakening the floor’s structural integrity and often causing pricey repairs in the future.
Although this option seems perfect, it has limitations. However, there are alternatives to securing toilet flanges to concrete floors without screws.
#1. Epoxy Adhesive
Using epoxy adhesives is a durable solution as they create a bond resistant to moisture and can withstand the weight and pressure exerted on it.
Clean the surface and press the flange firmly on the floor to use it. Then, allow it to dry according to the manufacturer’s instructions before using the toilet.
#2. Expansion Anchors
These anchors are another effective solution, extending and gripping the concrete to provide a secure hold.
However, they involve drilling holes into the floor and tightening them with a wrench. It’s best to purchase an anchor torque wrench for this.
There are three recommended expansion anchor types:
- Wedge anchors,
- Sleeve anchors,
- Drop-in anchors
Below is a comparison and contrast between these anchors to help you choose the best one.
| Wedge Anchors | Sleeve Anchors | Drop-in Anchors |
|---|---|---|
| Design: Wedge-shaped expansion anchor | Cylindrical anchor with external threads | Cylindrical anchor with internal threads |
| Installation: Drill a hole, insert it & tighten nuts for expansion. | Drill a hole, insert the anchor & tighten the nut to expand it. | Drill a hole, insert anchors & tap with a hammer for expansion. |
| Suitable base Material: Concrete, brick & stone | Concrete, brick & stone | Concrete, brick & stone |
| Load Capacity: High load capacity | Medium load capacity | Medium load capacity |
| Removability: Non-removable | Removable | Removable |
| Considerations: It requires precise hole size & depth. | It requires precise hole size & depth. | It requires precise hole size & depth. |
| Applications: Heavy-duty application | Medium-duty application | Medium-duty application |
#3. Chemical Anchors
Such anchors are also reliable for securing a toilet flange to concrete flooring.
They use a chemical adhesive that bonds the flange to a concrete, creating a durable connection.
To use these chemical holes, begin by drilling holes thoroughly, inject the chemical adhesive into the hole, then insert the flanges and allow it to cure.
Note: Not all drill sets can effectively create holes in concrete, so endeavor to buy powerful concrete drillers.
What Do I Need to Install Toilet Flange on a New Concrete Floor?
- You’ll need the appropriate tools to install a toilet flange on a new concrete floor. And we’ve listed them below, along with their uses.
- A toilet flange to connect the toilet to the drainage
- Wax ring to seal the toilet and the drainage pipe
- Adjustable wrench for applying torque while tightening screws, nuts or bolts
- A screwdriver for turning screws and tightening anchors
- A drill/masonry bit for making holes in the concrete floor
- Hammers to drive anchors into the concrete
- Marker/pencils for marking holes for drilling
- Measuring tape to measure and mark the correct position
- Construction adhesive for securing toilet flange without screws
- Safety gear to protect yourself while working
Below is a step-by-step guide for securing a toilet flange on a new concrete floor:
#1. Gather the Necessary Tools
You can’t begin without having the necessary materials, as they’ll all be needed.
So, refer to the tools we mentioned above to guide you. Once you have all of them, proceed to the next step.
#2. Prepare the Area
Since you’re securing the flange to a new concrete floor, there will be no need for any old flange removal.
Proceed to clean the concrete floor using a damp mop. Ensure to remove all debris or dust. Place the wax ring on the flange and ensure to align it correctly.
#3. Get the Accurate Flange Measurement
Before placing the wax ring on the flange, select a flange with the correct size for the drain pipe. You can measure it with your tape to avoid making mistakes.
#4. Set the Flange
Position the flange over the drain pipe and confirm you have appropriately leveled it in the center.
There should be no spaces. Prioritize a snug fitting. Then mark the screw holes on the concrete floor using a pencil or marker.
#5. Drill Pilot Holes
You can use a hammer drill and a masonry bit to bore these holes into the concrete floor at the marked locations.
Ensure the holes are deep enough to accommodate the screws or anchors. You can use the hammer drill to confirm this.
#6. Apply Construction Adhesive
Spread generous adhesive on the toilet flange’s bottom to ensure a secure bond with the concrete floor.
This approach will work for those who don’t have screws to use while securing the flange. But buy a strong adhesive to ensure it offers maximum durability.
#7. Secure the Flange
Place the flange over the drain pipe and align it with the pilot holes. Insert screws or anchors and tighten them using a screwdriver or adjustable wrench.
But be careful not to crack the flange by overtightening.
#8. Install the Toilet
Finally, install the wax ring on the flange to properly align with the toilet drain. Then, carefully lower the toilet onto the flange to confirm it sits evenly and securely.
Apply downward pressure to compress the wax ring and create a watertight seal.
And that’s it. You’ve successfully secured a toilet flange to a new concrete floor.

