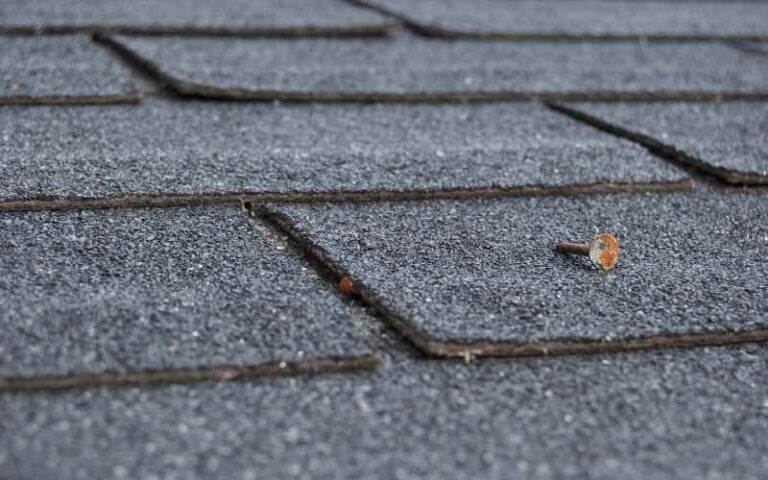
Though galvanized roofing nails might seem insignificant in your roofing construction, they are an essential part of your roof because they hold the roof components together.
However, you also have to use the right roofing nail size to protect your home correctly and keep the roofing nails in place.
To select the right roofing nail size for your roofing project, you need to inspect the thickness of the roofing materials.
Your roofing nail size can be too long, but this condition depends on the size of roofing components like the roof asphalt shingles and the roof sheathing. Also, some of your roofing materials will need long nails, while other light materials will require less penetration.
Ready for a Roofing Quiz?
How Long Should Roofing Nails Be?
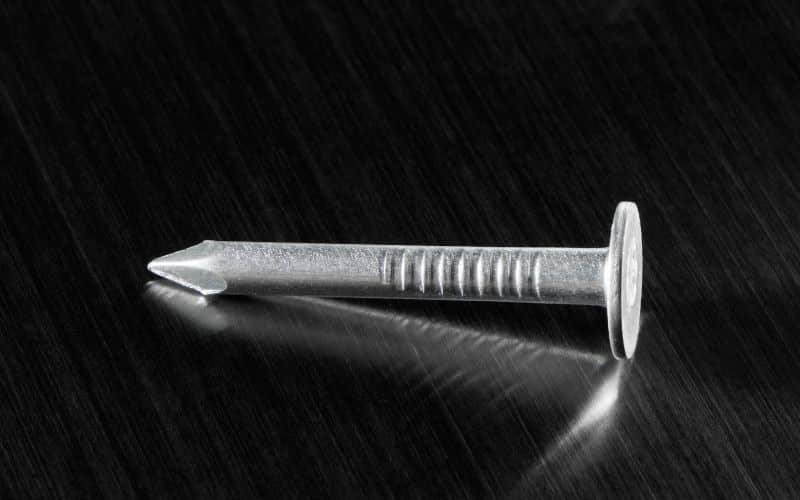
The length of your roofing nails should be between one to two inches. Considering your roofing nail size is essential, but the thickness of your roofing materials also plays a role in determining the size of the nail to use.
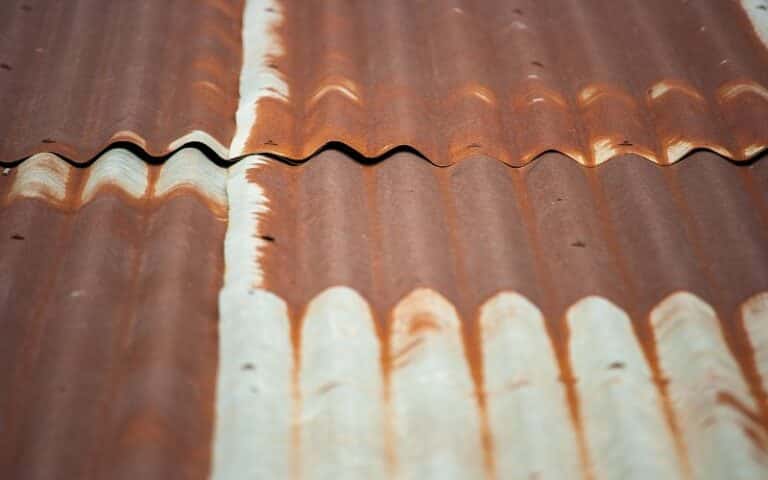
It is also important to use galvanized roofing nails because they are corrosion resistant. Corroding nails can come off the roof shingles, allowing water to seep into your home and rusting your shingles.
Selecting the correct roofing nail size for your roofing construction is necessary to keep your roof together and prolong the shelf life of your roof.
Plan your roofing project properly to keep the nails from extracting with time. The roofing nail should be long enough to penetrate the asphalt roof shingles and embed them into the roofing structure.
You could either consult a roofing expert or calculate the size of your roofing components to determine the roofing nail size for your project.
To calculate the length of the roofing nail, measure the thickness of your asphalt roof shingles and the roof sheathing inch and add the results.
This measurement should tell you the length of the galvanized roofing nails you require to hold your roof together.
Your roofing nail shank measurement should be about 11 to 12 gauge. If there are holes in your roof deck, you should change it.
Do not install nails in a roof deck that has cracks. Also, use nails that comply with your local building codes.
Align and place your asphalt roofing shingles before installing your nails. The number of nails per shingle is also crucial to correctly placing your nails.
If your nails are under-driven, drill them further into the roof deck until the galvanized roofing nails are inside and at the same level as your asphalt roofing shingles.
However, if the nails are over-driven, remove them and reinstall them. Also, if the nails or the shingle are damaged, replace them.
Installing the proper roofing nails is essential for your home roofing because it determines the roof water resistance and ensures long-term roofing protection.
Roofing materials for sheds are not thick and require shorter nail lengths. While for materials like solid hardwood, OSB, or plywood, drill your galvanized roofing nails 19mm through the roof.
If you are installing the asphalt roofing shingles twice on your roof sheathing, your nail should be 30mm to 35mm long.
If you align your nail correctly, it will penetrate about three-fourths of your roof sheathing inch.
However, if the roof sheathing is ¾ of an inch thick, the nail you are installing should penetrate one-eight of your roof sheathing inch.
The thickest decking material you can use on your roof is a plank which is almost an inch thick. You can install asphalt shingles on a felt-only roof sheathing and use 1-inch long galvanized roofing nails.
However, if you are using dimensional shingles, use a 1¼-inch nail.
Roofing Nail Length for 1/2 Plywood?
The roofing nail length for your ½-inch plywood roof sheathing should be 1¼ inches long. This length ensures that the nails penetrate the roof and embed the roof sheathing.
Use ring shank galvanized nails to hold your plywood roof sheathing together.
The ring shanks in your roofing nail shaft are barbed-like to firmly grip the wood when you drill the nails into it.
The grip feature does not get loose and can hold your roof sheathing for a long time. However, since you will expose the nails to weather conditions, you must use galvanized roofing nails.
These types of nails are rust-resistant to prolong the life of the nails and your asphalt shingle roof.
Roofing Nail Length for 3/4 Plywood?
The length of the roofing nail for your ¾-inch plywood roof sheathing should be a minimum of 1½ inches long.
The galvanized roofing nails should penetrate ¾ of an inch into the roof sheathing. If you use a ⅜-inch sheathing or architectural shingles, you will need a 1¼-inch nail.
Use the correct roofing nail length to secure your roofing shingles. The tip of the galvanized roofing nails should extend through the roof sheathing and ⅜ inch from the underside of the decking.
If you are placing double asphalt shingles layers on the plywood roof sheathing, you should use a 1½-inch roofing nail size.
Also, if the roof sheathing is not up to ¾ inch or you are installing dimensional shingles, you can use a 1½-inch nail.
Should Roofing Nails Be Visible in the Attic?
The roofing nails you installed on your roof should be visible in the attic. It shows that the roofing is intact, and the nail is holding your roofing together.
The two types of nails you would notice in your attic include:
#1. Ring-shank Nails
The ring-shank nails have circular grips on the nail shank that secures the OSB or plywood roof sheathing to the asphalt shingles roof.
The nail penetrates ¼ inches from the underside of the attic.
The visible length of the galvanized nails protruding in the attic is essential because it provides substantial resistance on the nail shank against the nail shank.
Since the sharp tip does not have withdrawal resistance, you must use a long nail so that the ring shank middle of the nail can hold firmly against the roof sheathing.
#2. Shiners
Shiners protrude longer than the ring-shank nails in the attic. They are called Shiners due to the shine from winter frost covering the nail shank to the tip.
You will notice these nails close to the edge of the roof trusses. Roof contractors use shiners to secure rafters to the roof sheathing, specifically the nails that missed the nail mark.
If you do not like the idea of nails sticking from the underside of your roof sheathing into the attic, you can cover it. Below are some of the ways you can hide visible nails in your attic:
#3. Push Corks Over the Nails
If you want to move around your attic without getting an injury from visible sharp nail ends in your attic, this is a cost-effective and easy solution.
It also repels termites, so it is a double solution if there is h a termite infestation in your attic.
Purchase a bag or two of standard-size corks and carefully install them firmly at the end of the protruding nails.
#4. Ceiling Paneling
This method is a more long-lasting solution to your exposed nails problem. In this method, you will cover the nails with wallboards.
Then, measure your attic rafters and use the measurements to cut the paneling accordingly.
Use finishing nails to attach the panels to the underside of the rafters. Do not use big nail sizes to hold the ceiling panels because it will create holes that allow moisture into your ridge vent.
Should Roofing Nails Be Exposed?
The roofing nails on your roof should not be exposed because they can lead to leakage in your home. If you notice any open nails on your roof shingles, seal the holes to prevent water or moisture leaks.
If the nails are too exposed, nail them till it is at the same level as the asphalt shingle roof. Then, cover the area with roofing cement or use a caulk gun to caulk the loose nail.
Conclusion
Your roofing nail size should be long enough to penetrate the underside of your roof sheathing.
The extra length is necessary to hold your asphalt roof shingles firmly to your roof sheathing and prolong your roof shelf-life.
In addition, use ring-shank nails that are rust-resistant to protect your roof from leakage.

