Building a 12×16 shed foundation is a great way to prepare your backyard for summer. It is a popular size for many homeowners.
Mainly because it is large enough to store all of your outdoor equipment, but it’s not so large that it will take up too much space in your yard. You can easily store lawn and garden supplies or use them as a workshop.
Due to the high expense of interior living space, many homeowners choose to build a shed to keep excess belongings.
Most times, a shed foundation differs mainly depending on where you decide to construct the foundation.
If you pick a solid spot, such as concrete or gravel, you will use a different approach than building on top of the ground.
Shed foundations do many things apart from bearing the weight of your shed. They can shield your shed from movement caused by snow heave, water, or winds when necessary. They also protect the floor of your shed from dampness and provide stability to the shed. A good building shed foundation determines a lot.
Ready for a Roofing Quiz?
How to Build a 12×16 Shed Foundation?
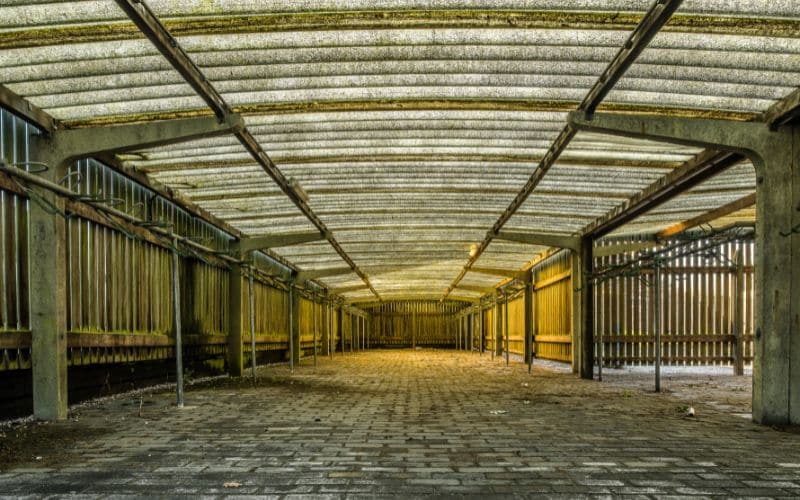
Although, a 12×16 foundation is comparatively large. Its planning and building involve little stress and more materials.
Building a shed of this size has specific requirements that are not needed for smaller sheds like those that are 10 × 8 feet.
Before building your shed, you need to have a solid foundation. The most common foundation for a shed is a concrete slab.
To get a concrete slab:
- You must pour a concrete slab at least 12 inches thick and 16 feet wide.
- You will also need to use a rebar to reinforce the concrete.
- The rebar will help to prevent the concrete from cracking under the weight of the shed.
If uncomfortable working with concrete, you can also build a wooden foundation. This foundation is not as durable as a concrete slab, but it is much easier to build.
- The first step in building a wooden foundation is to level the ground where the shed will be built.
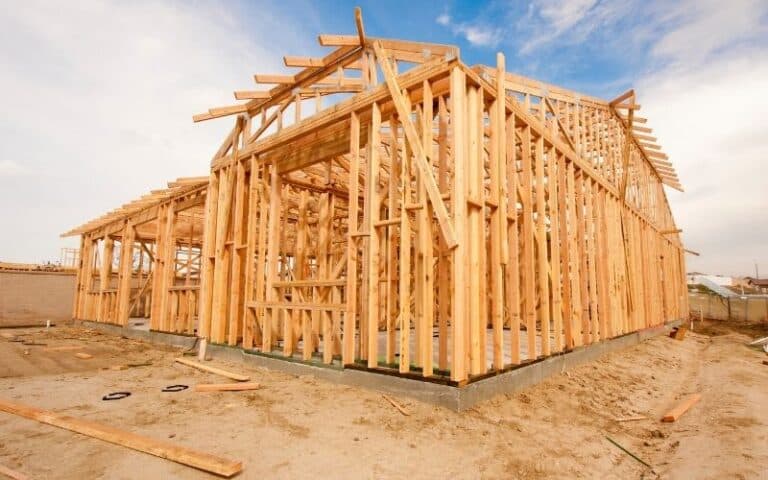
- Firstly, form a basic outline by laying timber skids and rim joists flat on the ground as the floor frame.
- For a solid frame, make sure you have enough cross joists.
- Once that’s done, you use a hammer and nails to fasten the floorboards to the framework. Now that the floor is in place, you can build the shed’s frame on top of it.
How Much Should a 12×16 Shed Foundation Cost?
The materials and construction technique are two of the essential variables in shed foundation cost.
The cost of most materials is variable and can’t be pegged at a special price. But on average, A shed should cost between $15 and $150 per square foot.
To achieve an accurate cost, several aspects must be considered: design, building material, type of foundation, and so on.
Costs can also change based on whether the shed foundation is pure concrete or a mixture. A brick shed foundation requires the services of an experienced bricklayer.
12×16 Shed Foundation Ideas
Now, it’s time to build the foundation. The most important part of this process is ensuring that your shed is level and stable. You can do this by using a simple four-point or six-point leveling system.
You can choose from several foundations: slab, pier, crawlspace, or deck.
The best foundation for your shed will depend on your climate, the soil type, and how much weight the shed will be holding.
If you’re not sure which type of foundation is right for you, consult a professional or your local hardware store.
They’ll be able to help you pick the best foundation for your needs and give you some tips on how to plan and build it.
12×16 Shed Building Tips
If you’re planning on building a shed, there are a few things you need to consider to make sure you choose suitable materials.
Here are ten functional tips to help you out.
#1. Local Laws
Understanding your local construction rules and zoning restrictions is a good idea.
Depending on where you live, you may be subject to location limitations and rigorous requirements about your shed size. Non-compliance may result in relocation or demolition costs.
#2. Decide what Purpose the Shed will Serve
This will help you determine what kind of materials you’ll need. So, you can get a reasonable budget early on in the project.
#3. Consider the Climate
If you live in an area with extreme weather conditions, you’ll need to ensure your shed can withstand those conditions.
The location you pick should be well-drained. This will help to keep the foundation of your shed from getting too wet.
#4. Choose Durable Materials
The 2×4 material is important if you’re not planning to replace your shed soon. If you buy cheap 2×6 materials, your cost would be higher in the long term.
#5. Don’t forget about Insulation.
This is critical for keeping the shed warm in the winter and cold. By confining air between solid layers of material and sealing any gaps where it may escape, insulation can restrict air movement out of your garden shed.
12×16 Shed Plans with the Material List
You’ll need the following materials to build your 12×16 Shed:
- 2x4s at 8 feet long
- 2x6s at 10 feet long
- 6d framing nails
- 8d finishing nails
- 1-gallon paint or primer
- 1 box of roofing shingles
- Circular saw
- Chop saw
- Carpenter’s level
- Tape measure
- Hammer
- Paintbrush
- Safety glasses
| SHED PLAN STEPS | SHED PLAN ACTIVITY |
|---|---|
| Step 1 | Choose the Right Location for Your Shed |
| Step 2 | Prepare the Foundation for Your Shed |
| Step 3 | Build the Walls of Your Shed |
| Step 4 | Add the Roof to Your Shed |
| Step 5 | Finish the Interior of Your Shed |
| Step 6 | Add the Door and Windows to Your Shed |
| Step 7 | Add the Finishing Touches to Your Shed |
#1. Step 1: Choose the Right Location for Your Shed
Now that you know what size shed you want, it’s time to choose a spot for it. Here are a few things to keep in mind when choosing the location:
✔ Sheds should be situated in a sunny spot if possible. This will help keep the shed temperature regulated and prevent moisture build-up.
✔ Make sure there is enough room to open the doors and move around inside the shed.
✔ Avoid placing your shed under trees or other overhanging objects, as this can lead to rotting and water damage.
Once you’ve chosen the perfect spot, it’s time to start planning the construction!
#2. Step 2: Prepare the Foundation for your Shed
Now that you’ve marked out the foundation for your shed, it’s time to start preparing the ground.
If you’re using concrete, begin by mixing and pouring the concrete according to the instructions on the bag.
Once the concrete has been set, use a spirit level to ensure its level, then use a hammer and nails to fix the pressure-treated boards.
Ensure that the boards are flush with the top of the concrete and that there is a gap of at least 1″ between the boards and the ground.
#3. Step 3: Build the Walls of your Shed
Now it’s time to start assembling the walls of your shed. This is the part that can seem a little intimidating, but if you follow the steps and use the material list provided, it should be a breeze.
Start by cutting all the pieces of lumber to the correct length. Then, using a drill and 3-inch screws, assemble the front and back walls of the shed.
Ensure that the edges are flush and that each piece is securely attached to the next.
Next, add the side walls and ensure they’re level before securing them with screws. Again, make sure to check for squareness as you go.
Finally, install the roof by screwing the rafters and adding the roofing material. You can either use shingles or metal roofing, depending on your preference.
#4. Step 4: Add the Roof to your Shed
Now it’s time to add the roof to your shed! This is a simple step, but ensuring everything is level and aligned properly is important.
Start by cutting the roof panels to size and attaching them to the top of the shed frame.
Ensure the panels are flush with each other and that the eaves are even on all sides. Once everything is in place, nail or screw the roof panels.
Finally, add the roof trim to complete the look. You can use wood or metal roof trim, depending on your preference.
#5. Step 5: Finish the Interior of your Shed
Now that the frame of your shed is complete, it’s time to start work on the interior. The first step is to install the floor.
Use treated lumber or tongue and groove boards to create a sturdy, lasting surface.
Once the floor is in place, you can start framing the walls. Make sure to leave a space for the door and windows.
The final step is to finish the interior, adding shelves, hooks, and other storage solutions to make the most of your new space.
#6. Step 6: Add the Door and Windows to your Shed
Now it’s time to add the door and windows to your lofty shed. The door should be installed so that it opens outwards and should be positioned so that there are at least 18 inches of space on either side.
Use a level when positioning the door to ensure it’s perfectly straight. The windows can be installed on any of the four walls and should be positioned so that there are at least 24 inches of space on either side.
If you’re installing more than one window, make sure to stagger them, so they’re not directly across from each other.
#7. Step 7: Add the Finishing Touches to your Shed
Now that the main structure of your shed is complete, it’s time to add the finishing touches. This might include installing a door, window, or roof and trimming and painting the exterior.
If you’re not comfortable doing this yourself, you can always hire a contractor to do it for you. But if you’re willing to put in a little extra effort, you can save money by doing it yourself.
Follow these simple steps, and you’ll have a beautiful new shed to enjoy in no time!
Conclusion
Now that you have seen what is required to build a 12×16 shed, building a shed foundation is not as complicated as you may have thought.
With the right shed planning and the right tools, you can have your shed foundation built in no time.
These simple steps will make your shed stable and sturdy for years to come.


