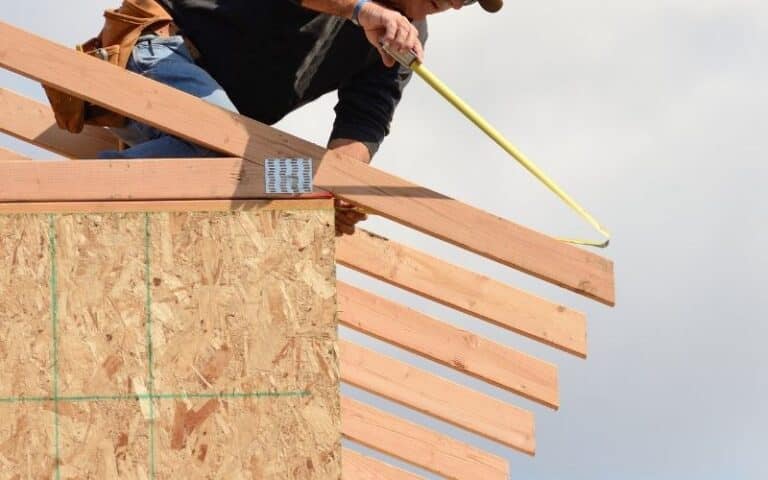
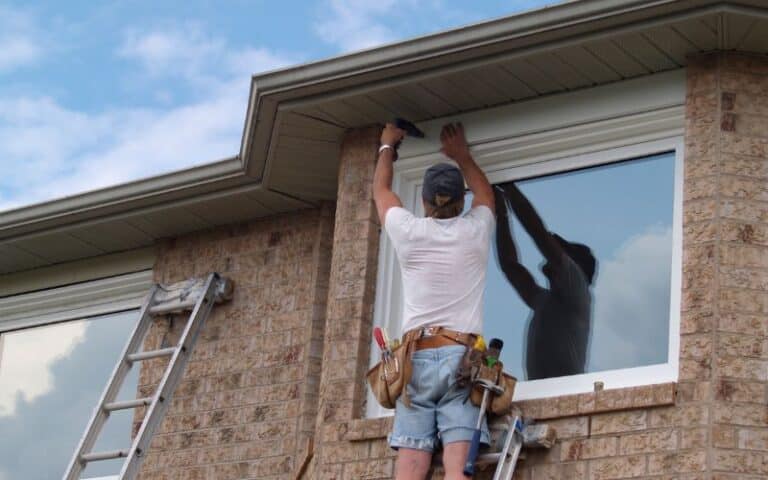
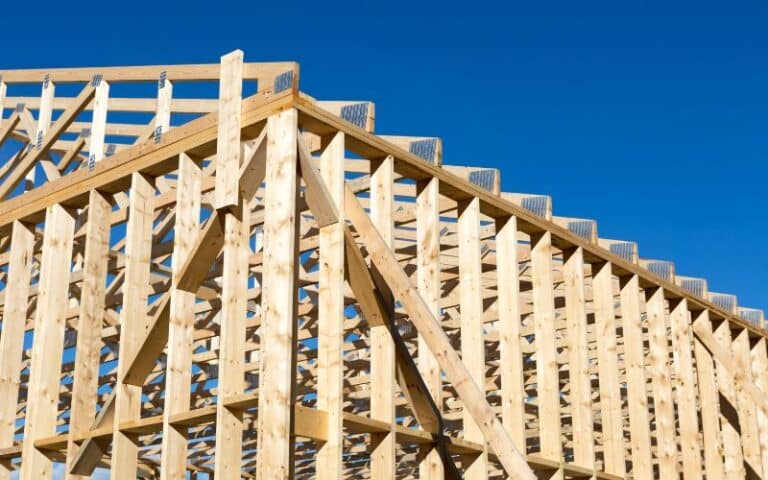
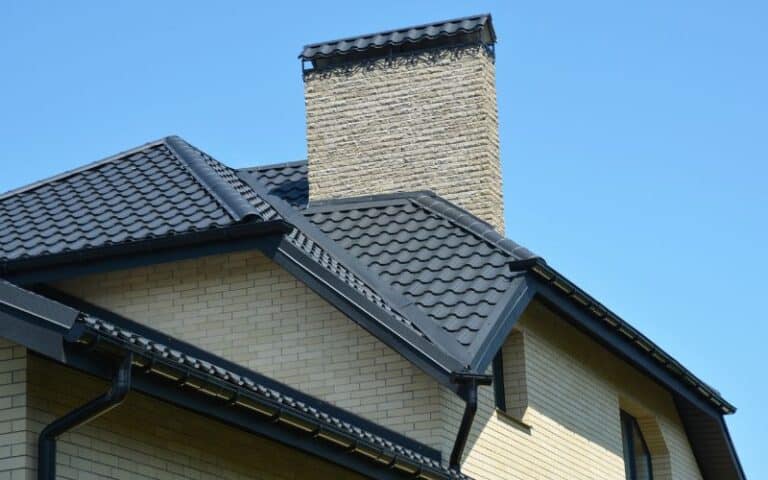
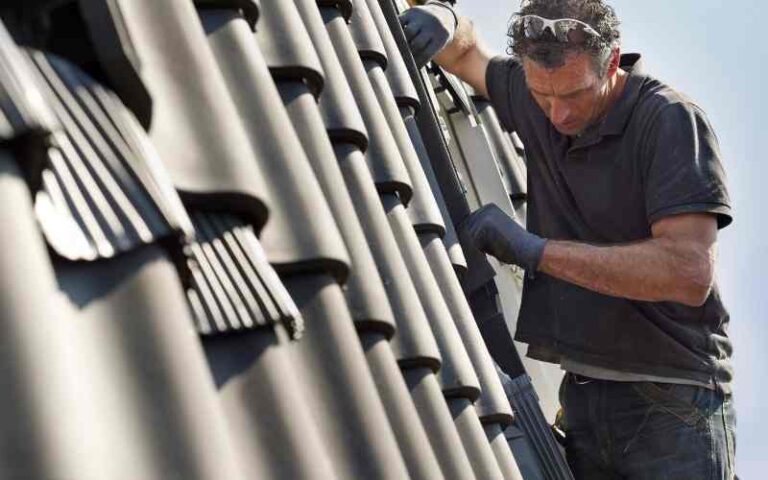
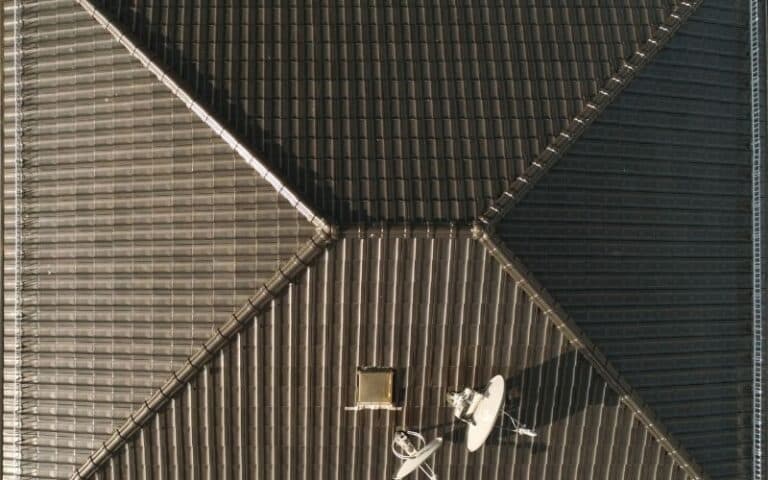
Felting your roof involves covering your roof for insulation purposes, and yes, you can felt over your corrugated sheets.
Based on its amazing functional benefits, the corrugated roofing sheets are perfect roofing materials that make felting your roof even easier because, all by themselves, they create a strong impenetrable barrier.
You might have passed through a construction site where they just placed the roofs and then the black paper on the roof before the shingles were applied. Yes, that is the felt.
This underlayment not only insulates your roof but also extends the life of your building.
You can feel over your corrugated roof to provide it with a means of insulation because these felting materials are usually coated with waterproof materials to prevent moisture and several other materials from getting it. Felting your corrugated roof is indeed necessary because it ensures that the roof is waterproof.
Ready for a Roofing Quiz?
Can You Put Felt on Corrugated Roof?
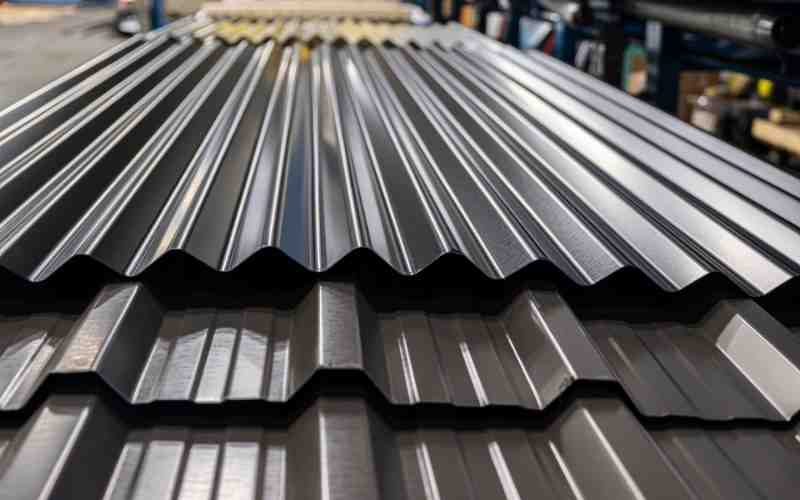
Roofing felt can be added below your corrugated sheets for insulation, making them stronger. Sometimes, felting the corrugated roofs are not always necessary because corrugated roofs are very strong on their own. Read more to know if you can Felt Over A Fiberglass Roof?
There are several reasons why many people should feel their roofs, apart from the fact that it stops water from coming in.
The major reason why you should felt your corrugated roofing sheets is because coupled with the fact that it protects your roof, it is:
#1. Extremely lightweight:
Felt is usually a very lightweight and bendable material, making it perfect for weaker and less structured buildings like the outbuildings, garden sheets, and other small buildings without the fear that it would be too heavy.
#2. Easy to install:
Previously, felt was applied to an installed corrugated roof using the touch-on method, which was considered very complex to non-experts. It required a list of special tools and professionals.
But now, felt can be applied using a hammer and a nail technique, and an adhesive, which is much easier than formerly.
#3. Very easy to repair:
Repairing your felt roof when it gets torn is very easy due to its lightweight nature; just a simple patch is enough to fix it up, unlike most roofing materials that require a complex and time-consuming process before you can repair it.
#4. Budget-friendly:
The friendly budget is one of the major reasons felt is much more preferable to other roofing materials; even with its low cost, you should expect a high functional roof.
This durable roofing material does not reduce inefficiency as the price cuts down.
There are also cons with all pros, which apply to the felting method of underlay. Even though the corrugated metal sheets last for a long time with good quality, there are good chances of coming across some that do not last as long as the synthetic underlayment.
The felting roofing underlayment also does not respond well in environments with high texture, and due to its light nature, it cannot be left exposed for a long period to prevent tears and rips.
Even if rips shouldn’t be much of a case as it is very easy to repair, no one would find it pleasing to keep repairing their underlays lots of times.
The felt underlayment Is made with a material known as the asphalt, which is one of the products of petroleum and is highly combustible. For this reason, there should be a concern for fire resistance.
You should first consider the situation and environment you find yourself first before getting an underlay, as some underlayments work best for some weather conditions while others don’t.
How Do You Felt Over Corrugated Roofs?
Felting below different roofs like the corrugated metal roof and the corrugated shed roofs are carried out differently because of the different materials.
If you wish to know how to feel your flat corrugated roof, stick with us as we go through some basic steps.
#1. Preparation
The first step to anything you do is in preparation. Very comprehensive preparation is a major factor in how a flat corrugated roof is felt.
The decks that the felt underlayment would be placed on should be moisture intolerant wood like the 18mm WBP plywood and if the roof is new, make sure it is dried and cleaned before it is worked on and also ensure that the nail head is properly drilled into the wood and is not protruded.
If the roof has already been existing and you want to re-felt it, ensure that you remove all the former roof felt as well as the adhesives and if there are any old or rotten wood, make sure you take those out too because you would not need them when the roof is about to be replaced.
You should also note that if there is any debris of any kind, you should get this rid of it too; the major idea behind this is to keep the area clean.
#2. Apply The First Layer of Felt
After all, the debris has been removed, and all the woods changed to a new one, you can now introduce the first layer of the felt to your roof material that needs to be nailed onto the deck without using any adhesive.
Still, a popular product for doing this is the opal 3B. Doing this is essential because woods move when being worked u=on relating to temperature and moisture.
You should start applying the first layer at the edge of the felt and roll it out at right angles. Once you have finally aligned it, measure it to fit appropriately with your wood and then cut with your sharp knife.
After this has been aligned, start work from the center of the sheet, and then you can move towards the edge, placing the nailing randomly in. good nails you should use are the 150mm galvanized clout nail.
#3. Apply The Second Layer of Felt
The second layer of felt is usually placed on the first layer, and an underlap, but it is bonded to the first layer with an adhesive.
It is best if the joints of the first later of felt do not align with the second layer, and to achieve this, start sizing from half a width to archive this.
Ensure applying the second layer of felt; ensure that you follow the manufacturer’s advice on how long you should let the first layer stay before applying the adhesive.
You should apply the second layer carefully and ensure that no air is left to trap between the layers, so it’s best to take your time to achieve this.
The second felt layer allows the gutter dip to be formed; this means that water will be falling straight from the roof into the guttering and still won’t contact the deck.
#4. Top Layer
Once you’re done with those two other layers, the top layer shouldn’t be much of a problem as it is applied just the same way the second layer is applied. Ensure laying this layer with the hem and away from the roof edge.
After this has been done, brush off those mineral chippings and place the gutter drips about 25mm away from the edge of your roof.
You can now put in your verges to stop the rainwater from driving over the roof’s edge. You can perform a smooth transition from the wall to the roof using a triangular filet and a fascia board, but the fascia board is not compulsory.
After doing this, check for gaps in the seams where the layers meet and areas that need more attention, and place a bit more adhesive for absolute bonding.
How Much Should a Corrugated Roof Overlap?
A minimum of one groove should overlap a corrugated roof, known as the corrugated side lap. It is advised that you make use of the clad lapping tape.
You can do it for corrugated metal sheets for about a half or even two inches.
Conclusion
Deciding to feel over the corrugated roof sheet is one of the best decisions you would make for the strength of your roof and insulating your home.
You can always feel over your corrugated roof as long as you get it done by a professional, and if you would be doing that yourself, you should be careful not to leave any extra spaces in the cause of felting.

