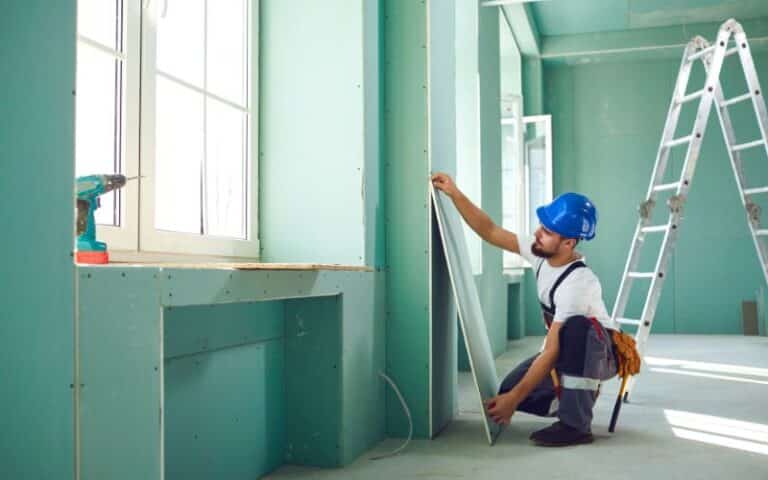
It’s very likely to find homes with drywalls, not just drywall walls but ceilings. Besides, these materials are easy to work with and affordable.
However, although drywalls are durable, they’re not exempt from damage; thus, replacements may happen often.
In homes with drywall walls and ceilings, you may wonder if replacing the drywall walls without touching the ceiling is possible. How can one achieve that without making a mess?
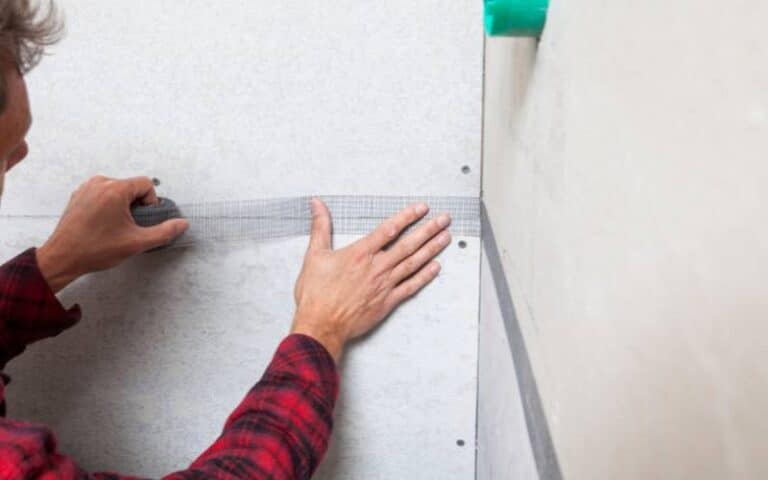
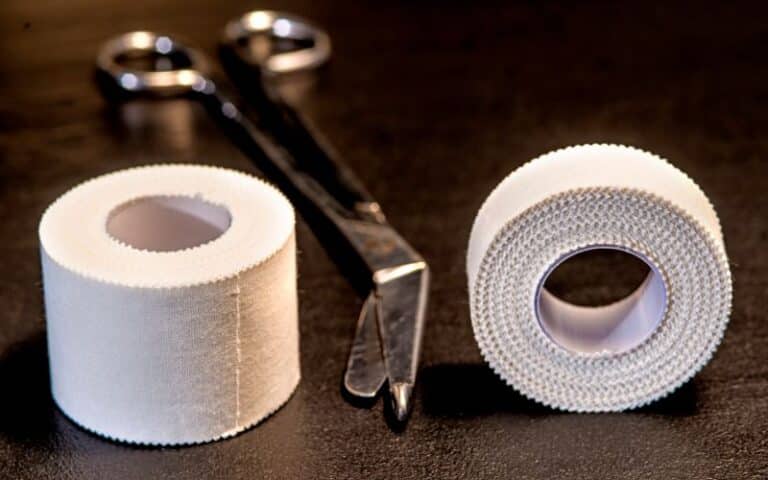
To avoid making a mess, use a utility knife with sharp blades to score and remove the drywall tapes connecting the ceiling and walls. Afterward, stick the knife in and completely separate the ceiling from the drywall wall. Then use a stud ball finder to locate screws, unfasten them and tear out the drywall walls.
Replacing drywalls without creating a mess with the ceiling seems like a tough job for some people, although it isn’t.
Here’s a perfect guide if you’re about to embark on this drywall replacement DIY process.
Ready for a Drywall Quiz?
Can You Replace Drywall Walls Without Replacing the Ceiling?
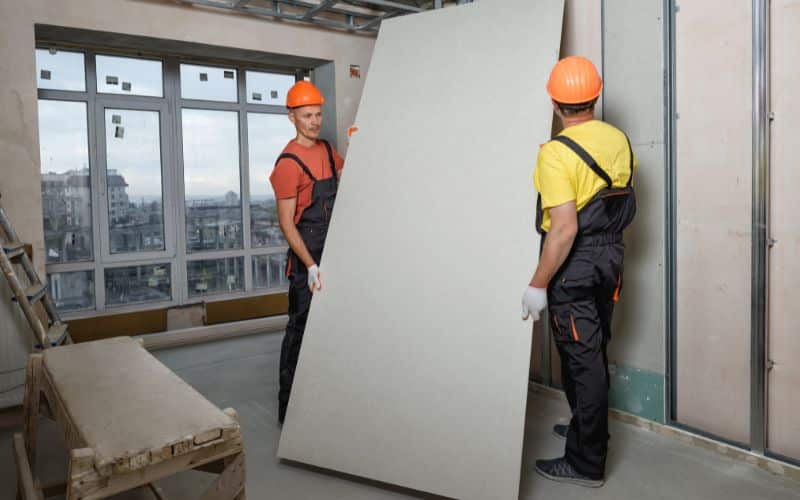
It is possible to replace drywall walls without replacing the ceiling. And even better, it isn’t a complicated process, so if you’re into DIYs, you can pull it off too.
But endeavor to keep the drywall safety tips in mind as it makes your job effortless and quicker.
Further, remember that accurate installations make the drywall removal, later on, easier and minimize the chances of creating a mess.
If you have limited DIY experience, installing drywalls should happen with an expert in charge.
Some mistakes that could affect the smooth removal and replacement of drywall walls are listed below in a table, along with how to avoid them.
| Common Mistakes | How to Prevent Them |
|---|---|
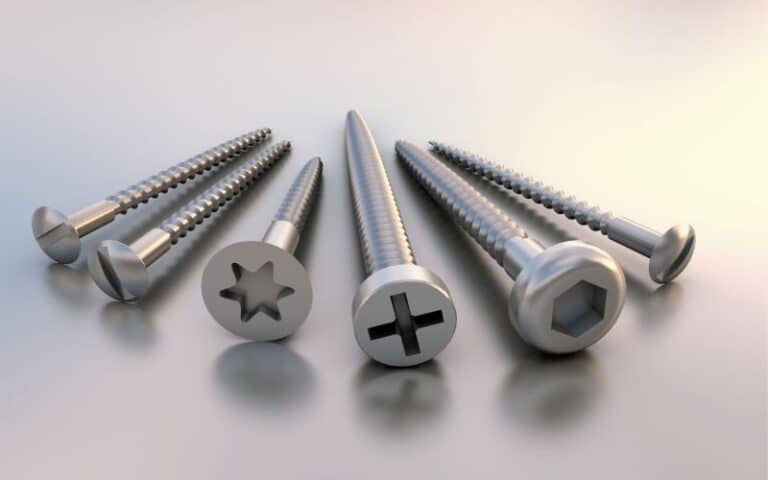
| Overscrewing drywall walls | Screw drywalls according to the recommended threading using suitable screws for each drywall size. |
| Overstanding drywall | Oversanding could damage the seams. Avoiding that and working in a well-lit place to get the best visual is best. |
| Improper frame report | Add an extra backing to support the drywall or an additional 2×4 beside the initial frame. |
| Incorrect Fastening | Mark spots for screws before drilling. It helps put you on track and simplifies your job. |
| Creating tight drywall joints | Leave ⅛-inch space between drywalls to allow for potential expansion and contraction. |
How to Remove Drywall Without Damaging Your Ceiling?
Knowing how to remove drywall walls without damaging your ceiling will save you time and cost.
Below is a step-by-step guide to help you accomplish this.
#1. Turn Off the Utilities
An essential part of removing/replacing drywall walls is avoiding what you could find underneath.
But don’t fret, as some homes have nothing beneath their walls. It depends on the area since some may have HVAC vents, plumbing pipes, or electrical outlets.
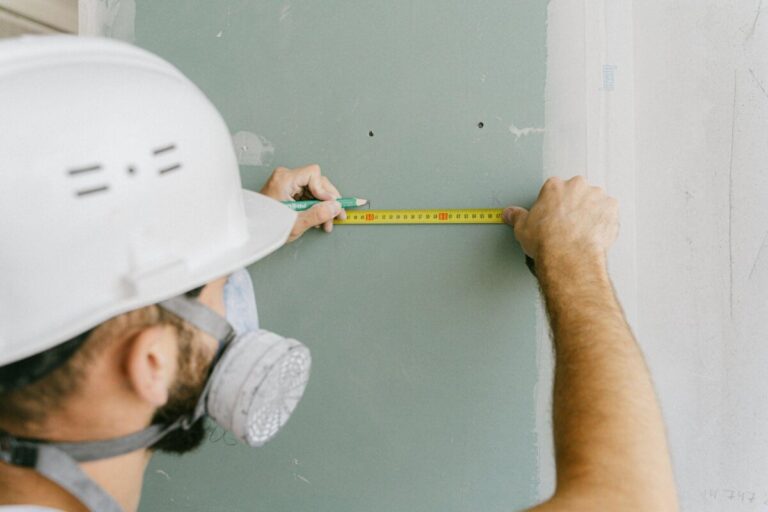
You could ask to confirm if there’s anything to be aware of before proceeding and mark those areas after using a stud finder.
Note: Turning off the utilities, in this case, only refers to the room you’re working on, not the entire house.
#2. Prep the Room
Suppose you’re removing drywall in a room with furniture. In that case, it’s best to avoid spreading drywall dust and other particles on them.
So cover them—also, seal areas or vents to prevent this dust from traveling through them and circulating in your home.
But more importantly, wear protective tools like gloves, dust masks, and safety goggles.
#3. Cut the Seam Between the Drywall Wall and Ceiling
Use your utility knife to cut the seam or joint where the drywall wall and ceiling meet. The roof and wall sheet are connected since it was taped and mudded to create a fine finish.
It’s advisable to use a CRL cut-out knife with sharp blades and make out the part where the drywall and ceiling meet.
This step is the most crucial part of ensuring your roof doesn’t get messy during this drywall removal, as cutting off the molding and scoring the tape where they meet separates them.
#4. Locate the Framing Nails
Using a stud ball finder makes your job easier. As its name implies, it sticks to the area where it finds screws as a magnetic force pulls them.
Then use a cordless drill to unfasten all screws as you locate them. You can mark the spots where the stud ball sticks to instantly remove all screws at once later, or do it as you go.
#5. Remove the Drywall
It’s time to remove the drywall wall; since there isn’t much holding it in place, your job is more straightforward.
You can pull it out yourself or use a prybar to create a hole that you can hold on to to get the rest away.
Drywalls usually have seams located 4 feet off the floor, and if yours is similar, pull at that piece, and other larger sections will come off too.
Afterward, clear the edges if frayed layers are still on the wall. You can get it off with a prybar or utility knife and clean off the wall in preparation for another drywall installation.
How Much Does It Cost to Replace Drywall Walls Without Ceiling?
Replacing a drywall ceiling is more challenging and hence costs more than drywall wall replacement, so you can expect to pay less for your drywall wall replacement.
The average installation and drywall sheet per sq. ft cost is $3.52 and could range between $3.14 to $3.90.
However, the actual price to expect depends on your location, how vast the installation is, and any finish option you choose afterward.
For example, you can price a 300 sq. ft drywall installation job at $1,056.29 under the range of $943.29-$1,170.30.
Prices of drywall sheets are the primary factor influencing replacement cost alongside the type of replacement.
Since we’ve already established the price of drywall wall installation and its affordability relative to drywall ceiling, we’ll explain the factors influencing drywall cost.
Knowing this will enable you to choose drywall for use wisely to reduce expenses.
#1. Panel Size
Drywall panels are either 4 ft/8 or 4ft/12 conventionally. Considering the dimensions of a room, a 4ft/8 drywall panel size may be more suitable than the latter.
Moreover, panel sizes also influence the cost. Those within the scope of 4ft/12 tend to cost more, and this increase in price and materials further affects labor.
#2. Installation Location
Where you’re installing drywall walls also influences the cost of replacement and drywall materials.
For example, smaller spaces like bathrooms or storage rooms cost less, from $450 to $520. And bigger rooms like dining halls and sitting rooms cost more.
Usually, the price could fall between $1000 to $2,800 per drywall sheet.
#3. Drywall Thickness
Drywalls come in four thicknesses which are ¼ inch, ⅜ inch, ½ inch, and ⅝ inch, respectively, with each thickness level influencing quality and cost.
Each drywall thickness has a category it’s best used for, so choosing the correct thickness for any project is vital as it helps you cut costs.
Below is a table highlighting these drywall sizes and the average price for each.
| Drywall Thickness | Average Cost Per Sheet |
|---|---|
| ¼ inch | $10 to $12 |
| ⅜ inch | $15 |
| ½ inch | $10 to $20 |
| ⅝ inch | $13 to $75 |
#4. Labor
Depending on your skills, you can choose to hire a professional drywall hanger or not. But note that taping, mud application, sanding, and finishing cost differently.
And they fall between $0.080 to $1.30, with a maximum of $3 for each square foot.
#5. Finishing
There are five drywall finishes, each with tier ratings and average costs. It begins with a level 0, which doesn’t involve mudding and taping and costs below a dollar.
Level 1 and 2 requires mudding and taping, but both aren’t complete finishes. Hence, they’re only suitable for a project which doesn’t require an appealing finish.
It’s mostly for hidden areas like basements and attics and costs a maximum of $2.
Levels 3 to 5 involve more completed finishes, with level 5 taking the lead, leaving no imperfections behind as level 4 will.
At this level, even a paint application is possible; the maximum cost is $4.
How Long Does It Take to Replace Only Drywall Walls?
Usually, replacing only drywall walls takes little time, depending on what you need to be done. Your skills/expertise, tools, room size, and finishing decide how time-consuming the job can be.
Professionals working together can achieve installing 60 pieces of 4×8 drywall sheets in a small faster than a DIYer working alone can.
Also, using tools that simplify your job makes it effortless. And the easier your job, the more efficient and timely you are.
Additionally, working on larger rooms requires more time than smaller ones.
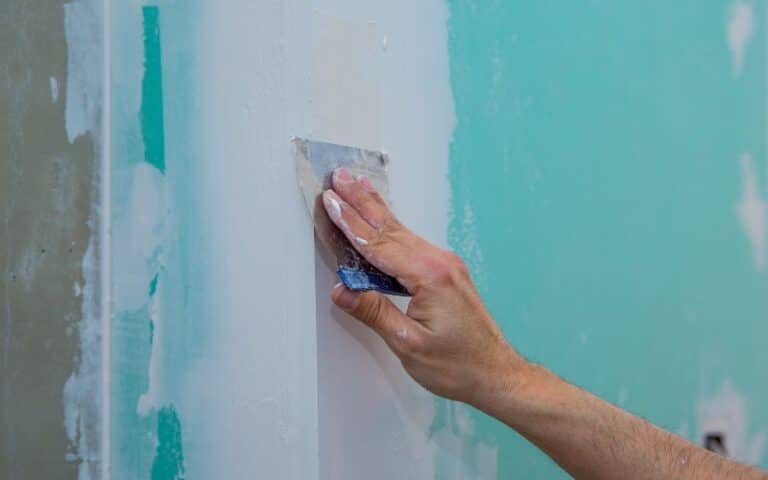
Lastly, your finishing matters because if you wish to paint these drywalls, mud application, sanding & priming comes first, and you may need to wait for all these to dry.

