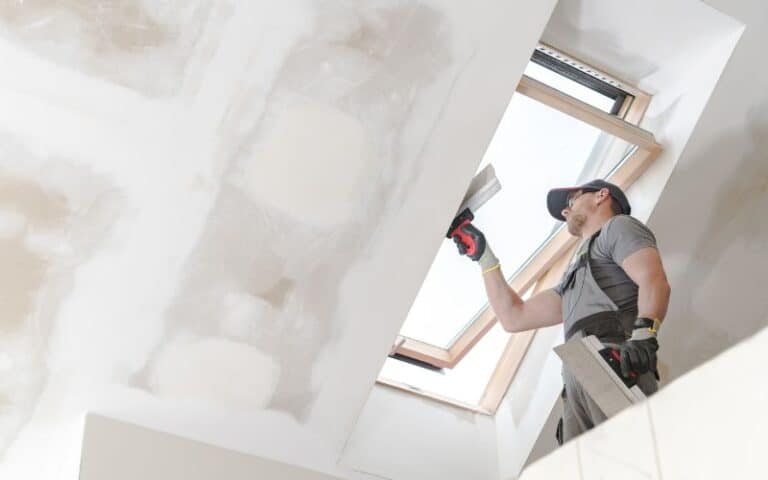
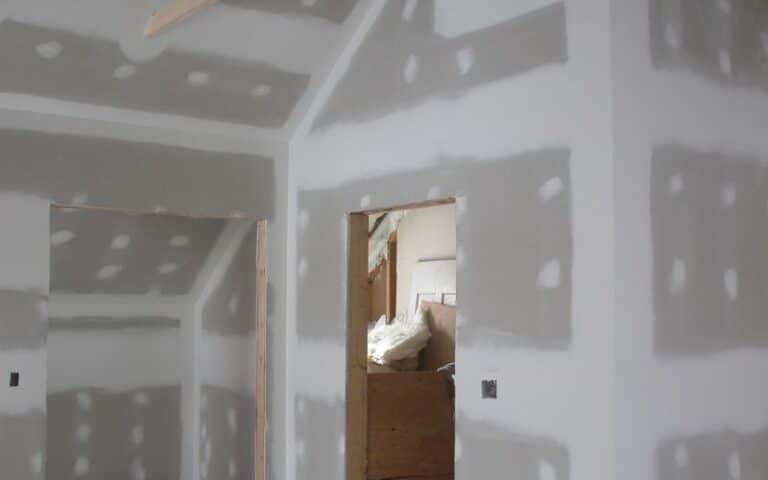
If you intend to plaster or re-skim an existing wall or surface in your house, you must do a great job because it requires excellent plastering skills.
Doing so will make painting easy, although it may be challenging without experience. And a poor finish will result in bubbles from the skim coat.
Drywall bubbles after a skim coat because of over-aerating due to your mixing the plaster too quickly rather than at a low speed. Another reason could be your mixing technique; mixing the plaster up and down rather than in a circular pattern will allow more air into the mix. Finally, air will become trapped if the mixture is too thick.
As this article unfolds, you will not only know why your drywall coat is bubbling but also learn how to fix it. You will also learn how to get a smooth finish with a skim coat.
Ready for a Drywall Quiz?
Why Is My Drywall Coat Bubbling?
A drywall coat will bubble when you are coating over a painted surface. It will not happen if you apply a coating over a new drywall surface but only on a painted one.
The reason is that the drywall plastering mix for skim coating will always carry air; it will always have a little porosity.
Nevertheless, there are four main reasons why your drywall will bring out bubbles. These reasons are as follows;
#1. Type of Surface
There is usually no problem when the mix meets a fresh drywall that is also porous with a little space where the air can get pushed into, giving you a smooth coat.
However, a painted surface appears to have a seal, and the air will have nowhere else to go rather than back out from where it came, resulting in drywall coat bubbling.
#2. Over-aeration
When you see bubbles occurring after skim coating, chances are that you are over-aerating the mix you intend to use for the coat.
It can happen because you are mixing the plaster more quickly. So the best way to prevent this is by mixing it at a low or moderate speed.
#3. Mixing Technique
The technique you apply for mixing the plaster can also introduce more air causing or resulting in the appearance of bubbles.
It is a common problem for inexperienced people because they need to avoid mixing up and down rather than mixing in a circular path or direction.
#4. Thickness of Mix
A drywall mix that is too thick will end up with bubbles after skim coating. It can hold air and will become difficult to remove once you apply it.
Note also that if you skim at the wrong and wrong speed, you can cause the plaster to bubble.
How Do You Fix Air Bubbles in Drywall?
To fix the bubbles in drywall, it is imperative that you first and foremost address some of the causes of bubbling in plaster walls.
It is the best step to take before addressing the bubbles in drywall. Apart from the reasons above, the rise of the dampness of the building walls can also cause bubbling.
Below are some tips to help stop some of the probable causes of the increase in moisture;
- It would be best if you made some improvements to the drainage system around the building and ensured that every part of the building’s surroundings sloped away.
- Keep checking for space under floorboards, as this will aid with moisture evaporation from the soil below. And your wall vents should be able to carry this moisture.
- Another way will be to apply for the damp proof course, preferably used when there is no other option to prevent water.
- If you must use the damp proof course, I will advise you to leave this task to the professionals.
If you have completed all of these to address the rise of the dampness of plaster walls, you can go straight to repairing or fixing the bubbles on your drywall.
Below is a detailed procedure on how you can fix air bubbles in your drywall;
Step 1: Take Out the Drywall’s Damaged Surface
Here, in its entirety, it deals with removing bubbling plaster and materials, the peeled paint, and the crumbling paint materials. You are to;
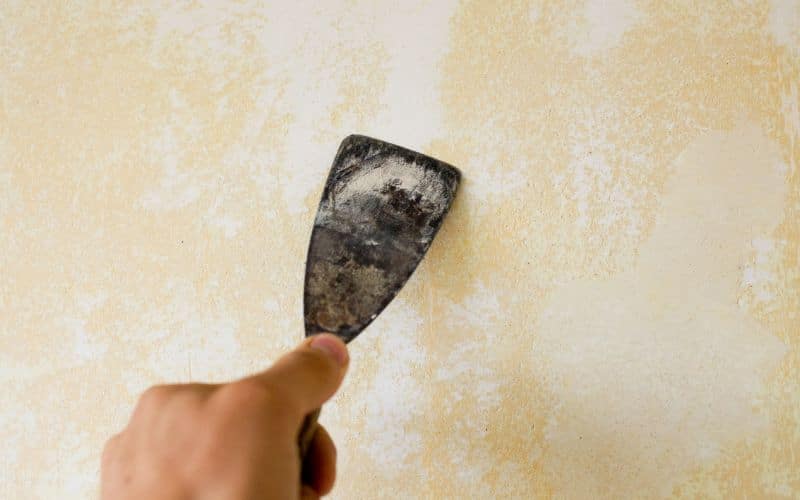
- Use a putty knife to remove the damaged and unwanted surfaces from the wall.
- With the aid of the putty knife, lift and take out the soft, loose material on the surface of your drywall. You can accomplish this under firm pressure and controlled digging.
- Keep doing this until you arrive at a hard and undamaged surface area
- Then confirm whether or not the paint on the damaged surface will quickly come off.
- The peeling off of the paint should always begin from the center of the entire damaged area.
Step 2: Clean the Drywall’s Surface
- After removing the damaged drywall surface, please clean it with a stiff nylon brush and a shop vac.
- Then, you can use a sponge and clean water to wash the surface. It is a process that also does away with any lime deposits.
- And after cleaning, ensure that you let it dry before proceeding.
Step 3: Seal the Damage Drywall
- You should add a coat of primer to your drywall surface after cleaning the wall, as it can shut out residual contamination in your wall surface.
- There should be a good bond with the joint compound.
- Another good thing about a primer is that during painting, it prevents bleeding stains; it can either be an oil-based primer or a quick-dry primer-sealer.
- To accurately mix the solution, shake the primer vigorously, apply a coating to the damaged surface to overlap the paint surface, and then let it dry.
- The oil-based primer should take about 24 hours to dry completely, whereas the quick-dry primer will take about an hour.
The table below shows three types of drywall mud and how long it takes to dry.
| Drywall Mud | Drying Time |
|---|---|
| Quick setting drywall mud | 5 to 90 minutes |
| Topping drywall mud | 16 hours |
| Taping drywall mud | 24 hours |
Step 4: Rearranging the Plaster
- It would be best if you leveled the wall by filling it with more plaster (which could either be a patching plaster or jointing compound).
- And depending on the size of the area, you would know which to use. A joint compound is suitable for a small area, while a broader area will need a plaster.
- The number of times you are to apply coats of plaster depends on the depth or repair required by the drywall surface.
Step 5: Perform Sand and Touch up
- Allow your last coat to set and dry completely.
- To smoothen the surfaces and edges, sand your drywall surface with 120 sandpaper.
- Clean off the dust emerging from the sanding with a damp rag.
- Before painting, apply primer, preferably the solvent-based primer-sealer.
- It is best compared to latex paint because it prevents residual water contamination with your new paint.
- Do not use a latex primer if you apply it on a drywall surface with water damage. And make sure the latex is dry before touching up the drywall and painting.
How Do You Get a Smooth Finish With a Skim Coat?
Getting a smooth finish with a skim coat is relatively common. It involves filling bumps and valleys on your drywall with a layer of joint compound to create a smooth surface.
The following tips will help you get a smooth finish with a skim coat;
- In your mud pan, mix a small quantity of about ⅓ as it will not be too heavy to carry. And if you are new to this, using premixed mud with an extended drying time will be better.
- Your taping knife should be able to scoop just the right amount of about 2 inches in width and thickness.
- And while smoothening the drywall, you should place the taping knife at 10 degrees angle to help reduce knife marks.
- Make sure to clean your taping knife each time before scooping more mud. You can do it with the aid of the edge of your mud pan.
- Sanding off knife marks can be done between each coat, so only sometimes try to get it perfectly on just the first coat.
How to Fix a Bad Skim Coat?
If you or someone else made a mess attempting to apply a skim coat, all hope is still possible because you can do something about it.
To fix it, you need your six-inch knife to scrape away any high spots and allow them to fall to the ground. Scraping is better than sand because it releases minimal dust.
At the end of scraping, you will find out it is not smooth but will also notice that there is no high spot and mud chunks that will get into your as you begin to skim the coat.
When you coat the first layer, start from up, stop halfway, and let it dry. Then, apply coating from down to meet halfway with the earlier coating on the wall.
Then you can apply the other layers and prime the drywall as usual.

