The different drywall corner angles include 45 degrees, 90 degrees, 135 degrees, etc.
The higher the angle, the more difficult it is to drywall. It can be tricky to drywall 135 degrees inside the corner if you don’t know the necessary steps.
To drywall a 135-degree inside corner, you must take proper measurements and use ½ inch drywall sheets. You must carry out the taping process with standard drywall knives. Leave the joint compound and tape to dry for about 24 hours.
This article will tell you how to drywall 135 degrees inside corners. You’ll also learn about some of the best corner beads to use on your drywall.
Ready for a Drywall Quiz?
How Do You Drywall a 135-Degree, Inside Corner?
Here is a table to show the materials you’ll need to drywall a 135-degree inside corner and their uses.
| Tools or Materials | Uses |
|---|---|
| Measuring tape | To measure out the length of the 135-degree corner |
| Nails | To secure the drywall to the corner |
| Standard drywall knife | To smoothen out the tape in the drywall corner |
Here are steps to drywall a 135-degree inside corner:
- Get ½ inch drywall sheets ready for the drywall process.
- Use a measuring tape to get the dimensions of the 135-degree corner and pencil it down.
- Cut the drywall sheet according to the measurements of the corner.
- Carefully lay the cutout drywall sheet on the corner and then secure it with one ¼ nails using a nail gun.
- Prepare your joint compound and apply a coat on the two sides of the corner.
- Cut out your drywall tape according to the length of the drywall corner.
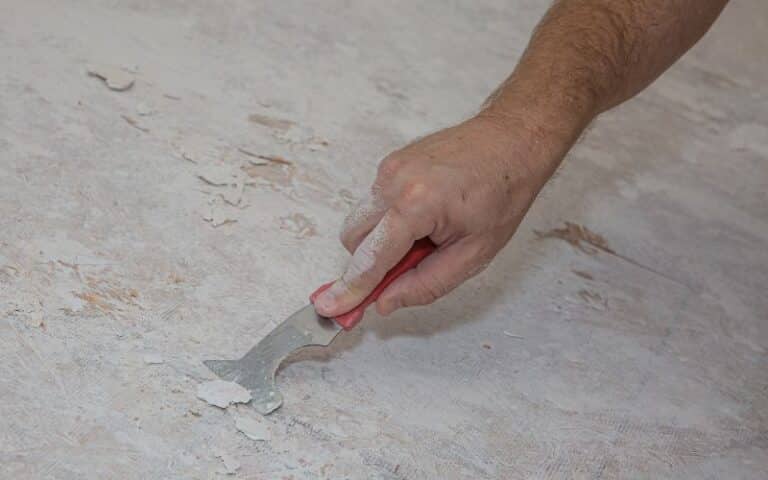
- Use a standard drywall knife to smoothen the drywall tape in the inside corner. Carefully lay out the tape to prevent air bubbles from forming.
- Leave the tape to dry for about a day.
- Apply another coat of joint compound on one side of the corner and lay it out with a taping knife.
- Leave to dry for a day, then apply the compound to the other side of the corner.
Can Drywall Screws Rust in a 135 Degree Inside Corner?
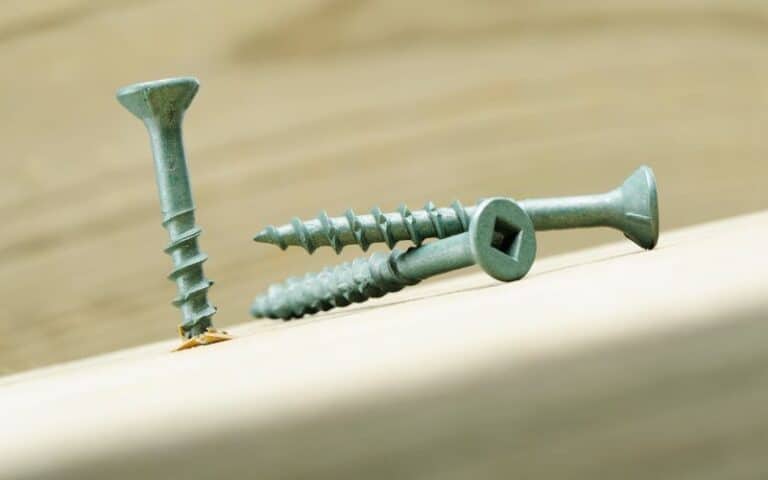
Drywall screws and rust can be a troublesome combination in 135 degree inside corners. The high humidity and moisture present in these areas can accelerate the rusting process, compromising the integrity of the screws. To prevent this, it is advisable to use corrosion-resistant screws specifically designed for wet environments or apply a protective coating on standard screws before installation.
Where Can I Find Cheap Drywall for My 135 Degree Inside Corner?
If you’re looking for the cheapest place to buy drywall for your 135-degree inside corner, there are a few options to consider. Home improvement stores like Lowe’s and Home Depot often have competitive prices, as well as online retailers such as Amazon and eBay. Additionally, you may want to check out local construction supply stores or browse through classified ads for potential deals on cheap drywall.
How to Tape and Finish a 135-Degree Drywall Inside Corner?
You’ll need to properly tape and finish the 135-degree corners on your drywall to get a smooth result.
Before you start the taping process, you should attach corner beads to the drywall. There are several types of corner beads you can use for your drywall.
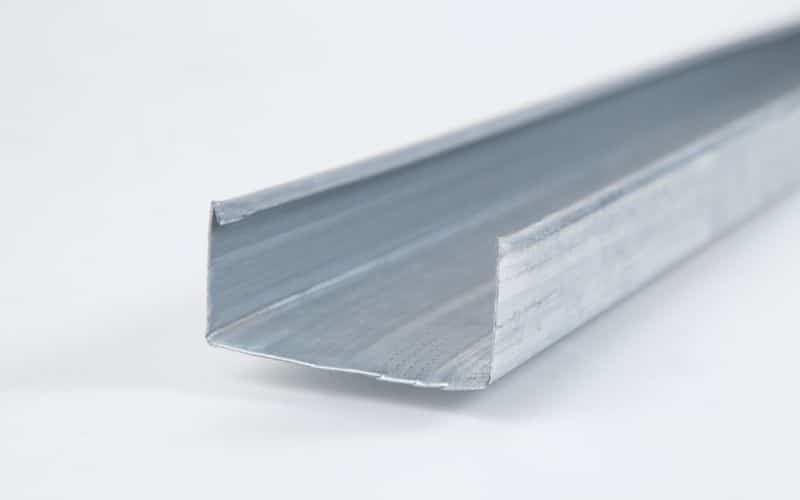
Some of the best corner beads include metal, vinyl, and paper-faced corner beads.
#1. Vinyl Corner Beads
Here is a list of the pros of using vinyl corner beads for your 135-degree inside corner:
- Vinyl corner bead is resistant to rust
- The vinyl corner bead is resistant to wear and tear
- Vinyl corner beads are very flexible therefore providing you with higher resistance to cracks
- Vinyl corner beads have high bendability making them ideal for curves and arches.
- Vinyl corner beads are suitable for corners of various degrees
- Vinyl corner beads are environmentally friendly
#2. Metal Corner Beads
Here is a list of the pros of using metal corner beads for your 135-degree inside corner:
- Metal corner beads are easy to install
- Metal corner beads are cost efficient
- Metal corner beads are solid and sturdy
- Metal corner beads are long-lasting
#3. Paper Faced Corner Beads
Here is a list of the pros of using paper-faced corner beads for your 135-degree inside corner:
- Paper-faced corner beads are rust resistant
- Paper-faced corner beads do not require too much drywall compound
- Paper-faced corner beads are resistant to cracks.
Below is a table to show the materials you’ll need to attach corner beads and tape to your drywall and their uses:
| Tools and Materials | Uses |
|---|---|
| Measuring tape | To measure out the length of the drywall corner |
| Tin snips | To cut out the right length of corner beads |
| Drywall knives | To smoothen the compound on the drywall |
| Drywall tape | To reinforce the corners |
Here are steps on how to attach corner beads and tape to your drywall corner:
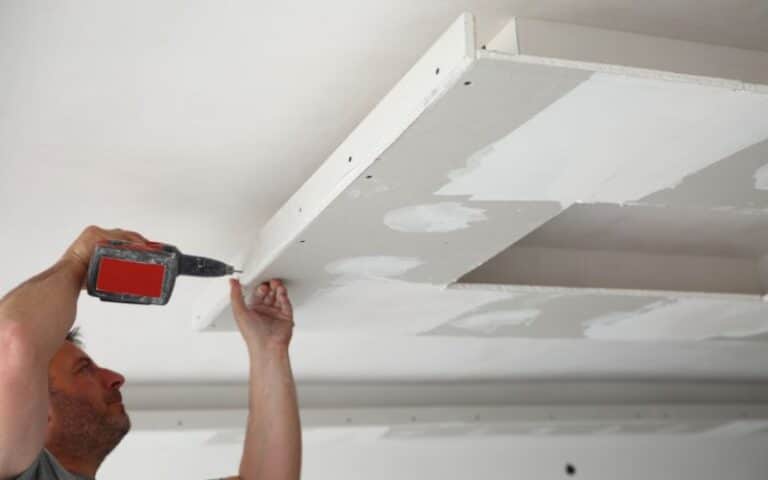
- The first step is to attach drywall to the studs at the corner.
- Use a measuring tape to measure the corner, then cut out the correct length of the corner bead with tin snips.
- Secure the corner beads with nails into the drywall. Leave an 8-inch gap for each nail you attach.
- After attaching the corner bead to the corner, the next step is applying a joint compound.
- Use a 6-inch drywall knife to apply the first coat of compound to the corner. Ensure that the first coat is thin to avoid cracking.
- Smoothen out the compound with a 10-inch drywall knife before you apply another coat.
- After applying the next coat of the compound, use a 12-inch knife to smoothen it.
- Apply a final coat of compound over the drywall corner. Lay drywall tape of about 4 inches over the compound and allow it to dry.
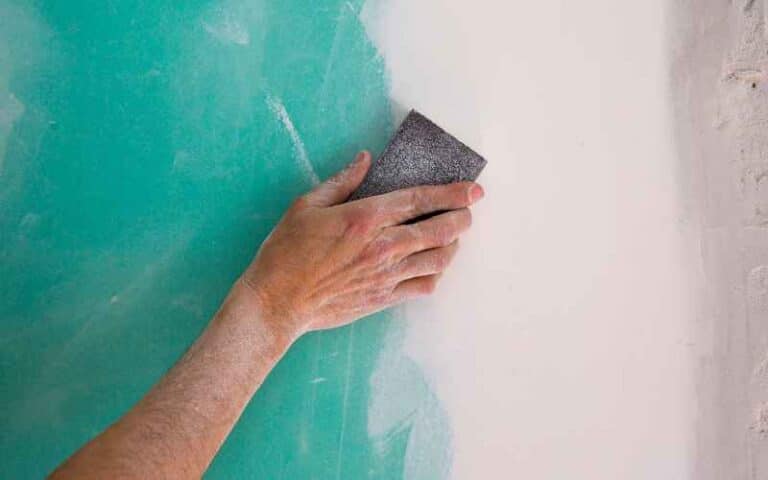
Once you finish taping the drywall corner, you need to finish it by sanding it.
#4. How to Sand Your Drywall Corner?
- Put on your safety gear, such as a dust mask to protect your lungs, overalls as protection from stains, and gloves to protect your fingers.
- Attach a 120-grit sandpaper to your orbital sander.
- Carefully sand the drywall corner to smoothen the seams and remove bumps.
- Apply a waterproof primer to the corner, then sand the corner again.
What Is the Best Inside Corner Bead for Drywall?
The best inside corner bead for your drywall is the vinyl corner bead. It is flexible, rust and dent resistant, and environmentally friendly.
A great alternative to vinyl corner beads is metal corner beads. Metal corner beads are easy to install, cost-effective, and strong.
#1. Vinyl Corner Bead
Here are the steps to install vinyl corner beads easily:
- Apply a spray adhesive on the drywall corner and the vinyl corner bead.
- Press the vinyl corner bead against the drywall corner and use a staple gun loaded with T50 staples to secure it.
- Once the corner bead sticks, you can apply coats of joint compound.
#2. Metal Corner Bead
Here are the steps to install metal corner beads easily:
- Lay the metal corner bead carefully at the center of the corner.
- Use a nail gun to drive nails into the corner bead and secure it to the drywall corner.
- Apply three coats of joint compound for the finishing process.

