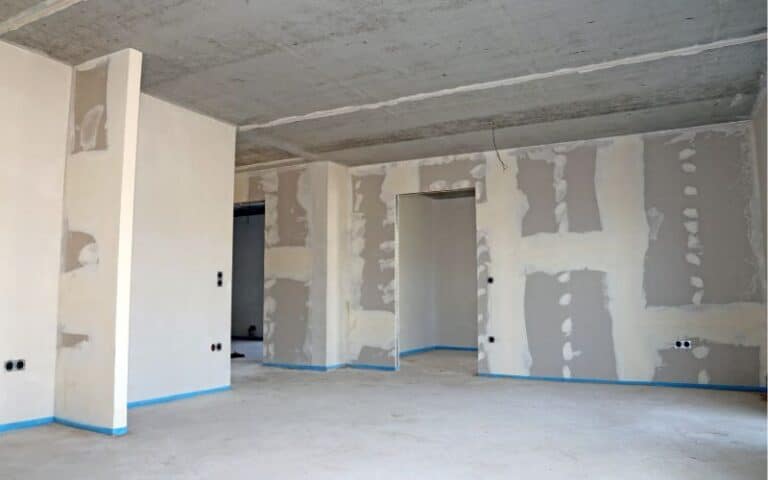
Mudding drywall is one of the most important aspects of building for several reasons. It is the building code in many areas in the US.
However, mudding drywall is only sometimes efficient. Several construction workers have complained about the stress of mudding drywall.
What’s more, mudding drywall requires top-notch skill and expertise to produce the best finish. Thus, are there any alternatives to mudding drywall?
Three important alternatives to mudding drywall include crown molding, quarter round, and self-adhesive mesh tape. It’s no secret that mudding drywall is one of the most infuriating requirements in building. This process wastes a lot of time and resources. Hence, we researched these alternatives to mudding drywall, which builders and building regulations generally accept.
Are you up to the neck with the frustrations of mudding drywall? Don’t worry; this article is the thing you need to make that project a tad easier for you.
Ready for a Drywall Quiz?
Crown Molding (Best Aesthetic Finish)
Crown molding is the best way to finish a drywall project and make it stunning without mudding.
Crown molding isn’t expensive yet; it makes your house look like a million-dollar apartment. It adds an elegant touch to your room and gives it a more polished look.
Also, you can use the crowning method to hide imperfections in drywall joints. It’s common to find drywall panels that don’t connect end to end, especially between the wall and the ceiling.
Thus, you can use the crowning method to cover imperfections, gaps, and transition from one drywall panel to another.
But that’s not all; you can also use the crowning method between your drywall panels and the floor. Hence, it is a perfect all-around alternative to mudding drywall.
Beyond that, it is easy to construct. Hence, you can fit it into any given space. Asides from that, the crowning method adds depth to the room.
You can see the boundary between the ceilings and drywall panels. The crowning method shows you where your walls end, and the ceiling begins.
Furthermore, you can easily customize your crown design. Crowns come in various shapes, sizes, and styles. You have total control over how you want your house to turn out.
This method gives you a wide range of designs that match the architectural style of your house. Hence, you can create a unique, personalized design that fits your taste.
Even more, than this, crown molding lasts for a long time. Crown molds can withstand movement a lot better than mudding. Hence, it doesn’t easily crack or disfigure over time.
Structural shifts plague every building, but you can sleep better knowing your crown mold will take anything you throw at it.
How to Install Crown Molding (Step by Step)?
If you’re considering this drywall alternative, you’ll need to know how to install it. But first, you need to know the equipment for this project.
Hence, below is a list of all the tools you need to perform a crown mold installation:
Once you have these materials, you can install your crown mold. Thus, below is a step-by-step method you can use to install your own crown mold:
- Step One: Measure the wall where the bottom of the crown mold will sit. Ensure you measure corner to corner to create a seamless crown mold.
- Step Two: Transfer your measurement to the crown mold and indicate the angle and direction to cut.
- Step Three: Cut the mold using your measurement. Ensure the angle and direction of your cuts are consistent, or you’ll have molds that won’t fit.
- Step Four: Fit the mold joints firmly together so there is no space between them, and nail them together.
- Step Five: If you notice any corners that don’t fit together perfectly, you can use caulk to seal those imperfections and fill the gaps. You can also cover up nails and nail holes.
- Step Six: Use a damp rag and clean the excess caulk.
Quarter Round (Easy to Paint)
A quarter round is a molding finish you can use instead of mudding. It’s a type of narrow trim you can install at the base of walls where your drywall meets the floor.
You can also install quarter-round along countertops, cabinets, or other surfaces.
Whichever surface you install this on, you will get a beautiful finish on your drywall project.
A quarter-round is an excellent choice to cover the gaps where your drywall meets the floor.
Once you install it, the quarter round will add a finished look to your project, even though you still need to finish the project.
It also protects your walls and edges from damage while providing a smooth transition between materials.
The mold gets its name from its shape. It resembles a quarter of a full round dowel or cylinder.
It has a 90-degree cross-section with a flat side that rests against a wall while the rounded side faces outwards.
Quarter molds come in various sizes but usually range from 0.75 to 1.25 inches in width.
Even more, than this, quarter-round molds have different raw materials. You can find molds with PVC (polyvinyl chloride) or MDF ( medium-density fiberboard) as their raw material.
As well you can also get quarter molds that use wood and composite materials as raw materials. They offer equal benefits, but wood quarter molds are most popular with users.
Wooden quarter molds are popular because they hold paint easily. What’s more, they are resistant to moisture and mold.
Hence, you can use them in moisture-prone regions in your house, like the kitchen and bathrooms.
#1. How to Install Quarter Molding with Nails?
The most common method of quarter molding is using nails. You can do this manually with a hammer or a nail gun.
Hence, if you want to use quarter molding as an alternative to mudding, below are a few steps to guide you:
- Step One: Clean the wall and sweep off dirt and debris. Ensure you properly clean the wall and edges where you want to install the mold.
- Step Two: Measure the mold.
You can place the entire length of the mold against the baseboard, or you can use a tape measure and transfer your measurements to the mold.
- Step Three: Cut your mold according to the measurement you’ve taken. Ensure you place your miter saw at 45 degrees when cutting.
Additionally, ensure you cut the adjacent mold at an opposite 45-degree angle. Cutting your mold this way will ensure you don’t have gaps.
If you want to create a straight joint, cut one edge at 45 degrees and the other at 30 degrees in the opposite direction.
- Step Four: Place the molds you’ve cut against the wall and support it. Ensure it is sitting perfectly.
- Step Five: Place your first nail two inches from the edge. Use a hammer or a nail gun and drive the nail in. Place the second nail two inches from the other end and drive it in.
- Step Six: You can now place nails as you deem fit to support and hold the mold firmly.
- Step Seven: Use wood putty and cover the nail holes. Ensure you allow the putty to settle and dry completely.
- Step Eight: Once the wood putty dries up, you can sand the putty to give you a smooth finish. You can also paint the putty to match the rest of the mold.
#2. How to Install Quarter Molding Without Nails (Using Adhesive)?
If you don’t like working with nails because you don’t want to disfigure your mold, you can use this second method. You can use adhesive to hold your molds in place.
It’s an easy process, and you won’t struggle with it once you use our step-by-step guide:
- Step One: Clean the area properly and remove dust and debris. If you don’t properly clean the area you want to apply your adhesive, it won’t stick.
- Step Two: Measure your quarter mold using the length of your baseboard.
- Step Three: Use medium grit sandpaper and scuff the side of the quarter round you want to place on the wall. Also, scuff the baseboard where you want to place the mold.
- Step Four: Apply the glue or adhesive on the region you scuffed.
- Step Five: Place the quarter round along the baseboard and apply some pressure. Ensure you place your quarter-round mold along the side of the wall you scuffed.
- Step Six: Use a damp rag and clean off the excess glue.
- Step Seven: Repeat the entire process for the remaining quarter rounds.
#3. Pros and Cons of Quarter Molding
| Pros | Cons |
|---|---|
| Protects your wall against damage | You can only work with baseboards |
| Quarter mold is versatile | You can’t customize |
Self Adhesive Mesh Tape (Easy Installation)
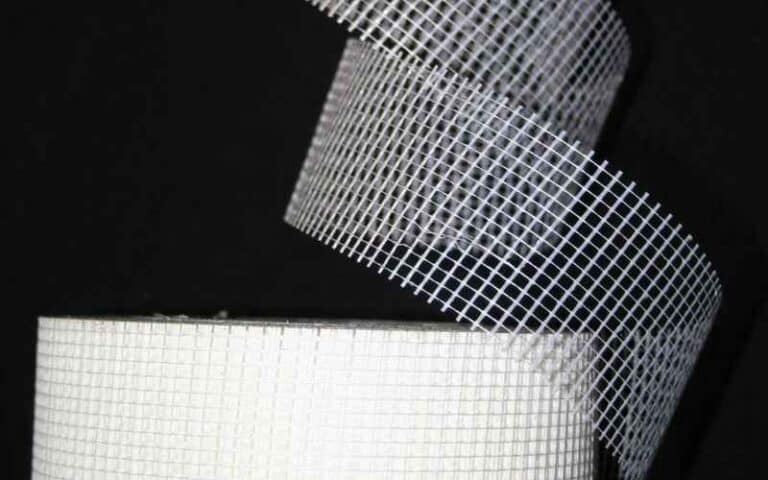
Adhesive mesh tape or joint tape is a type of tape workers use on drywall during installation and repair.
It’s a perfect alternative to mudding because the structure of the adhesive mesh tape allows it to strengthen drywall.
Additionally, the bond it creates between each drywall panel is almost unbreakable.
Self-adhesive mesh tape is extremely flexible and lightweight because the primary raw material is fiberglass. Also, the mesh tape is fire-resistant.
Hence, it’s a perfect fit for your drywall project.
Are you worried that the tape won’t be able to cover your drywall joints and hold them together? Don’t be.
Self-adhesive mesh tape comes in varying sizes and lengths. You can get mesh tape with widths ranging between 1.8 to 2 inches.
The adhesive side of the mesh tape has a thin layer of drywall compound that allows it to stick to drywall panels.
The adhesive is so strong that it allows the tape to stick firmly to the surface of your drywall panels. Unlike mudding, you don’t have to layer the entire drywall.
While you’re installing your mesh, placing the tape over the joints between the panels would be best. Also, you can put adhesive tapes where you’ve repaired your wall.
The mesh tape provides reinforcement and prevents the wall from cracking or separating.
Have you noticed the uneven layers you sometimes get with mudding drywall? That’s not the case with mesh adhesive tapes.
Once your drywall panels are the same size, you will get an even finish on all your walls. You no longer have to waste so much time sanding the surface of the drywall.
Also, you can paint the tapes to give the project a smooth finish. You shouldn’t be expecting any visible seams between adjacent panels, either.
How to Install Adhesive Mesh Tape (Step by Step)?
Below is a step-by-step process you can use to install your adhesive mesh tape:
- Step One: Clean the drywall surface and prepare the surface.
- Step Two: Measure and cut the adhesive tape to the required lengths. Your tape should be more than the actual length so you can trim it later.
- Step Three: Align the tape at one end of the joint and ensure it is directly over it. Apply pressure to the tape and press it firmly to the drywall.
- Step Four: Use your finger to smooth out the tape. You can also use a knife to flatten wrinkles or bubbles that may surface.
Although mesh tape is one of the best alternatives to drywall mud, it also has shortcomings.
Hence, below is a table that summarizes the pros and cons of mesh drywall tape:
| Pros | Cons |
|---|---|
| Easy to use | You may require the help of a professional |
| Resistant to moisture and mold | A little expensive |

