Drywall application involves a series of steps. To get the best result, follow these steps thoroughly.
That said, there are some requirements involved in drywall application. One of the requirements is the thickness of the drywall.
The different types of drywall thickness include ¼ inch, ½ inch/ ⅜ inch, and ⅝ inch thickness. Let’s say you consider using ¼ inch drywall for your ceiling; is it good enough?
Yes, ¼ inch thick drywall is good enough for your ceiling if you install it properly. However, the best drywall panel to use for your ceiling is one of ⅝ thickness. ⅝ inch drywall helps to prevent sagging of your ceiling.
In this article, I’ll explain the steps to install ¼ inch drywall over pre-existing ceilings. You’ll also learn the pros and cons of using thinner and thicker drywall panels.
Ready for a Drywall Quiz?
Is ¼ Inch Drywall Good for Ceilings?

Yes, ¼ inch drywall is good enough for the ceiling. Any drywall thickness works for tops as long as you carry out the installation process properly.
However, using drywall thicker than ¼ inch would be best. A ⅝ thick drywall is best for your ceilings. ⅝ inch drywall is thick enough to prevent sagging.
Here are the advantages of thicker drywalls:
- Thicker drywalls are less likely to experience sagging.
- Thicker drywalls help to provide you with improved insulation.
- Thicker drywalls help to provide you with improved sound dampening.
Here are the disadvantages of using thicker drywalls:
- First, thicker drywall panels are heavy, making them difficult to work with.
- Thicker drywalls are not so flexible, making them unsuitable for curved surfaces.
- Finally, the cost of purchase for thicker drywall is usually high.
If you end up installing thinner drywall for your ceiling, always remember the rule of attaching them to the studs every two inches.
Here are the advantages of using thinner drywalls:
- Thinner drywalls are easier to work with because they are light.
- The cost of purchase of thinner drywalls is usually low.
- Thinner drywalls are flexible and suitable for curved walls.
Here are the disadvantages of using thinner drywalls:
- There are usually high tendencies of thinner drywalls experiencing sagging.
- Thinner drywalls provide you with less sound dampening.
- Thinner drywalls provide you with less insulation.
Can You Install ¼ Inch Drywall over Existing Ceiling?
Yes, you can install ¼ inch drywall over an existing ceiling. Resurfacing an existing ceiling with drywall is a good method to give the surface a new and smooth layer.
You can resurface your ceiling when it starts to suffer defects like cracks.
How to Install ¼ Inch Drywall Over Existing Ceiling?
Here is a table showing the materials needed to install ¼ inch drywall over an existing ceiling and their functions.
| Materials | Functions |
|---|---|
| ¼ inch thick drywall | To resurface the existing ceiling. |
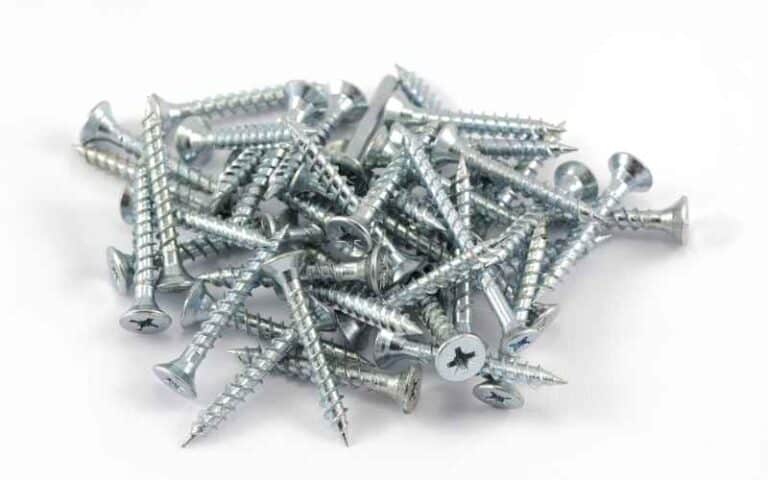
| 2-inch drywall screws | To secure the drywall. |
| Screw gun | To drive the screws into the drywall. |
| Joint compound | To cover the screw heads. |
| 2-inch paper drywall joint tape | To tape the drywall. |
| Measuring tape | To measure out the surface area of the siling. |
| Utility knife | Cut out the drywall according to the surface area of the ceiling. |
| Keyhole saw | To make a hole in the drywall for the light fixture. |
| Drill with driver bits (corded or cordless) | To remove screws easily. |
| Drywall elevator rack | To lift the drywall sheets to the room’s surface. |
| Stud finder | To locate the studs behind the formerly existing drywall. |
| Pencil | Mark the studs on the surface of the ceiling. |
Here are the steps to install ¼ inch drywall on an existing ceiling:
- First, use a ladder to get up to your ceiling.
- Use your measuring tape to find the ceiling dimensions where you are to install the drywall. Start your measurement from the point where the ceiling meets the wall.
- Get someone to help you hold the measuring tape at the other end of the wall.
- Once you get the measurements, you can easily do some calculations to find out the surface area of your ceiling.
- Multiply the length and the width of your room to find the surface area of your ceiling.
- Once you value the surface area, divide it by 32 to determine the number of drywall sheets you’ll need for the ceiling.
- Cut the drywall sheets according to the surface area of the ceiling using a utility knife.
- Get the drywall elevator rack and place it in one corner of your room
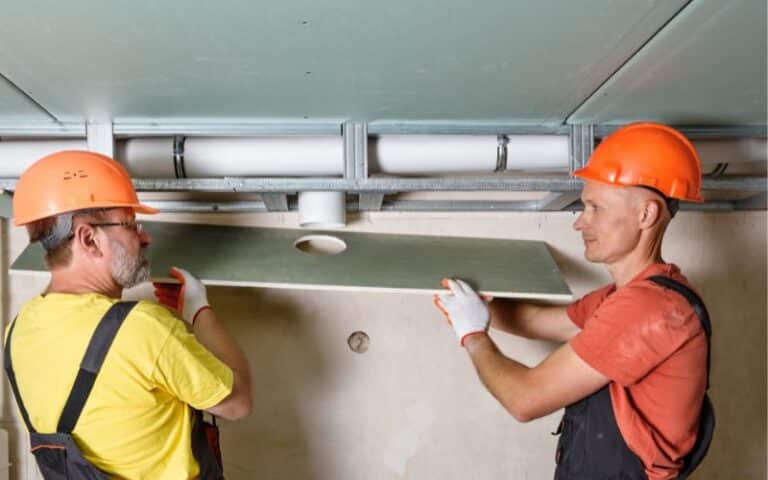
- Put a drywall sheet on the drywall elevator rack and lift the sheet to the surface of the ceiling
- Use the stud finder to find out the wear the studs are behind the surface of the ceiling and then mark out the spots with a pencil
- Use your screw gun to drive in 2-inch drywall screws into the drywall.
- Drive the screws exactly at the marked spots. Make sure the screws go through the new drywall, the old drywall, and then into the studs.
- Cut the remaining drywall sheets according to the ceiling’s surface area and then repeat the installation steps.
- Cut a hole in the drywall for the light fixture with the keyhole saw
- The final step is to mix joint compound and use it to cover up the screw heads and lay the paper tape across the joints
- Use a putty knife and more joint compound to smoothen out the tape over the tape
- Repeat the joint compound and taping process before you sand and smoothen out the surface.
How to Mix Joint Compounds?
You can use two types of joint compounds: premixed mud and hot mud. Hot mud requires mixing before you can apply it to your drywall.
Here are steps to mix hot mud:
- You’ll need to buy buckets, a mud mixing drill, and drywall quick set mud from a brand like CGC lifeline or the USG, plus three for the drywall mud mixing.
- Open the drywall mud from its packaging by unfolding the box and tearing open the plastic bag containing the content.
- Transfer the content carefully by turning it over into a bucket, then dispose of the bag.
- If you purchase drywall mud from a brand like CGC, you will notice the mud is dry.
- The dryness of the mud makes it good enough to use in place of the quick set in case you can’t find one available.
- Pour some water into the bucket of mud and use the mixing drill to break it down for a while.
- Hold the bucket between your legs, and allow the drill to spin at the bottom.
- Pause the drill in between spins as you slowly work your way to the top of the bucket
- Add more water into the bucket and lift the drill to the top to spin. The mud will get smoother as you spin the mud.
- Once the mud is smooth enough, use it on your drywall.
What Should I Know Before Using ¼ Inch Drywall Over Ceiling Tiles?
Before attempting drywall installation over ceiling tiles, there are a few key things you should know. Firstly, ensure the ceiling tiles are in good condition and securely fastened. It’s crucial to assess the weight-bearing capacity of the tiles to prevent any structural issues. Additionally, make certain the existing tiles are level and flat for a smooth finish. Proper preparation and adherence to safety guidelines are essential for successful drywall installation over ceiling tiles.
What Is the Recommended Thickness for Drywall Ceiling?
The recommended thickness for drywall ceiling is ⅝ inch thickness. ⅝ inch thick drywall provides you with more advantages than thinner drywall.
Due to the increased thickness in ⅝ inch drywalls compared to thinner ones, there is usually less likeliness for your ceiling to sag.
Also, ⅝ inch provides better sound dampening, insulation, and a moisture-resistant surface.
However, using drywalls that are thinner also works well for ceilings. Then, all you have to do is to carry out the installation process properly.
What Is ¼ Inch Drywall Good for?
¼ inch drywalls are best for resurfacing pre-existing drywall panels. ¼ inch drywall is the thinnest type, and you do not take off the old drywall panels for resurfacing.
¼ drywalls are also suitable for curved surfaces. ¼ drywall panels are very flexible and easy to work with, making them suitable for curved surfaces.

