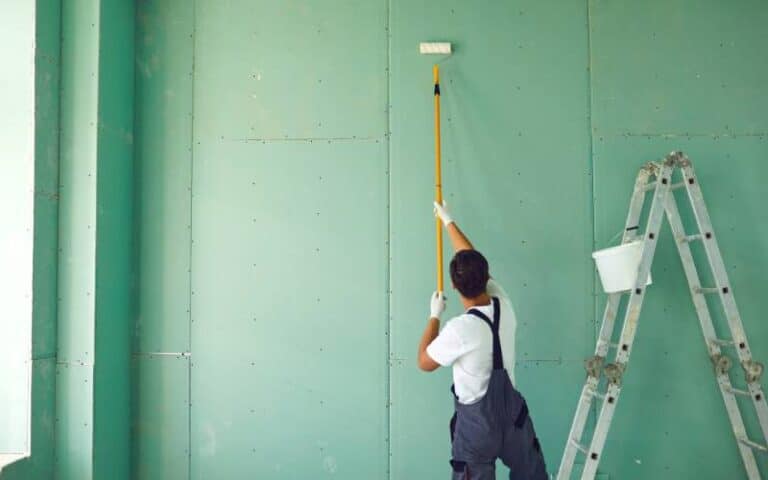
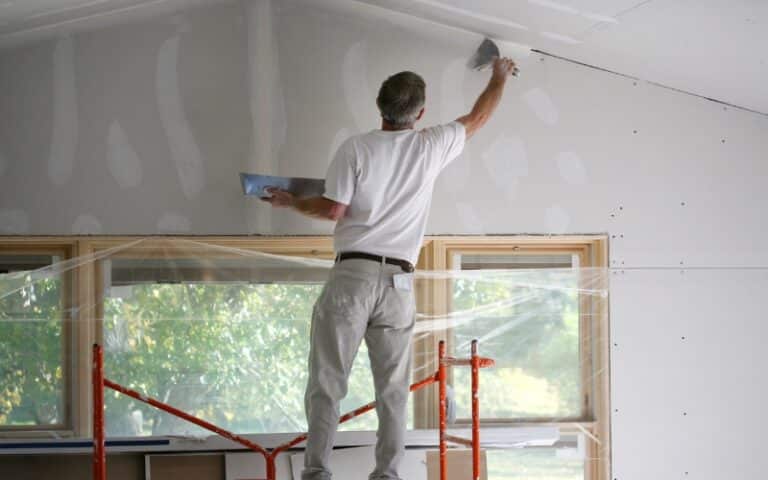
Many people are skeptical about drywall installations because it tends to litter their homes or workspaces after their completion.
It’s also tough to clean drywall dust when it enters your air conditioner, carpets, couch, or furnace.
However, this shouldn’t deter you from using drywall because some easy remedies and precautions can greatly help.
If you’re worried about drywall dust getting everywhere, you’ll find the best remedies and necessary precautions here.
Drywall dust scatters everywhere when used in a project and leaves behind particles like mica, silica, and paper that can irritate the eyes. You can turn off your AC, seal your vents, and cover your floors and seats with plastic sheets to reduce how much drywall dust is scattered around. However, it’s best to do a thorough cleaning after installation.
In this article, I’ll explain what gets drywall dust everywhere, how to minimize it after home repairs, and how to get it off everything.
By the end, you’ll learn how long drywall dust stays in the air and how much it harms your health.
Ready for a Drywall Quiz?
What Gets Drywall Dust Everywhere?
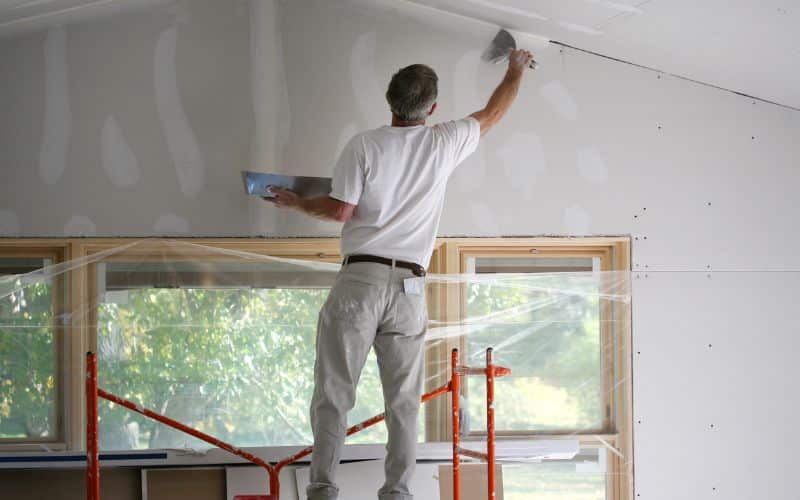
Drywall dust is bound to be found after every installation, but certain things you neglect make it scatter past the work area.
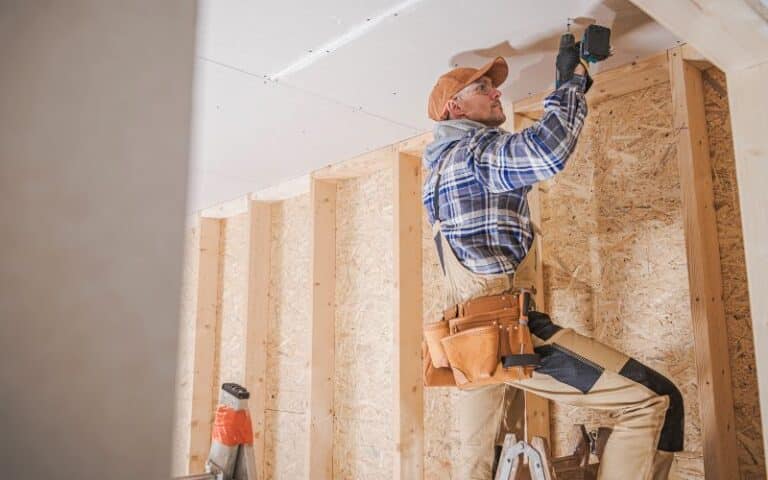
For example, if you drill into drywall while installing it, the dust it produces tends to scatter farther into the home.
Also, if you leave your air conditioner or heater on while work is in progress, the drywall dust will cover every area in the room and more.
Luckily, as you read further, you’ll find simple ways to prevent drywall dust from filling your home, even though the spread is inevitable.
How To Minimize Drywall Dust After Home Repairs?
You can minimize drywall dust after home repairs by putting up plastic sheets, turning off your HVAC system, sealing off vents, and seeking professional help.
More importantly, the measures mentioned above make it much easier to clean your home after a drywall installation.
To aid you further, below are the in-depth descriptions of the steps required to minimize drywall dust after home repairs;
#1. Contract a Professional for your Drywall Installation
One of the best ways to ensure you don’t end up with a house full of drywall dust is to contract a professional.
The temptation to handle the drywall installation might arise, but using a skilled worker is best.
A professional has enough experience to ensure that the drywall dust is minimized so that cleaning up is much easier for you.
Also, you can get tips from a professional if you prefer to do it yourself, especially if it’s a small project.
#2. Turn Off your Heater or Air Conditioner during the Drywall Installation
A working air conditioner or heater in your home tends to scatter the drywall dust into hidden corners and way past the working area.
To avoid increasing your workload, you can remedy this by turning them off until the drywall installation is complete.
However, if turning off your AC or heater will inconvenience you, you should find an alternative cooling or heating source during the installation.
It’s important to remember that this is one of the most defining tips for minimizing how much drywall dust scatters during an installation.
#3. Close Off your Vents
The vents located in the work area could serve as a gateway for drywall dust to circulate in your home.
With this in mind, it’s important to seal off your vents before a drywall installation and only uncovers them afterward.
Importantly, you’re also protecting your HVAC system by sealing your vents because they could get clogged with drywall dust.
Also, after the drywall installation, ensure you unseal the vents before turning on your HVAC system to avoid damaging it.
#4. Place Plastic Sheets around the Work Area
Plastic sheets can serve as great barriers in the working area to prevent drywall dust from entering your furniture or between appliances.
Interestingly, you can use plastic sheets to create a wall to serve as a boundary between your working area and other parts of the home.
You can also cover your furniture and appliances in the work area with plastic sheets to minimize how much drywall dust gets on them.
#5. Choose an Anti-dust Sanding Method
The sanding method you employ after your drywall has cured could increase the dust created or manage it.
If you choose an electric sander or a manual sanding pad, you might have even more dust in your work area.
However, if you choose the wet sensing method, you can successfully smoother the drywall while equally reducing dust production.
Also, before you use drywall in your home for repairs, there are several features that you should consider first.
Below is a table that shows you the pros and cons of using drywall to help you make an informed decision;
| Pros of Using Drywall | Cons of Using Drywall |
|---|---|
| Drywall is affordable and easily accessible. | Drywall develops problems when it’s installed without plaster. |
| The drywall is flexible and easy to cut. | Drywall is difficult to recycle after disposal. |
| Drywall installation is smooth and quick. | Drywall is not as durable as other wallboards. |
| Drywall contains gypsum, which makes it fire-resistant. | Drywall is prone to water damage in high-moisture areas. |
| Drywall is aesthetically pleasing. | The drywall is aesthetically pleasing. |
| Drywall is great for covering holes and dents. | Some types of drywall are difficult to bend. |
| You can easily paint over drywall. | Drywall requires professional skills instead of DIY routes. |
How Do You Get Drywall Dust Off Everything?
You’ll need to thoroughly clean after your drywall installation is complete to return your home to its normal state.
However, if you employ any of the preventive measures mentioned above, you’ll have an easier time cleaning the drywall dust.
Below are the steps for cleaning drywall dust off everything in your home after an installation;
#1. Sweep the Drywall Dust
The first step is to sweep the drywall dust off the floor with a soft-bristled broom that allows you to pick up all the fine particles.
However, it is important to sweep gently to avoid missing some particles and raising too much drywall dust into the atmosphere.
#2. Dispose of the Plastic Sheets
If you used plastic sheets for demarcation between rooms or to cover your furniture, your workload would be much less while you clean.
You can lift the plastic sheets carefully and fold them to trap the drywall dust without scattering them before you dispose of them.
This way, you’ve saved yourself the trouble of deep cleaning your floor or furniture after an installation.
#3. Vacuum the Drywall Dust
The third step requires you to vacuum the floor, whether you used plastic sheets or not, during the installation.
Note that you’ll need a shop vac instead of a regular vacuum for the process so that it can pick up fine particles.
You’ll need to vacuum the floors until the white streaks caused by drywall dust are cleared.
#4. Clean the Dust off the Drywall
You’ll need to clean the dust off your drywall after installation and sanding to ensure smooth painting.
You can clean the dust by sweeping the drywall with a hand brush and using the top-to-bottom method for best results.
When you’re done sweeping, use a standard broom to sweep the dust off the floor and into a dustpan.
Next, you’ll need to vacuum the drywall gently from top to bottom while wearing a mask and protective eye goggles.
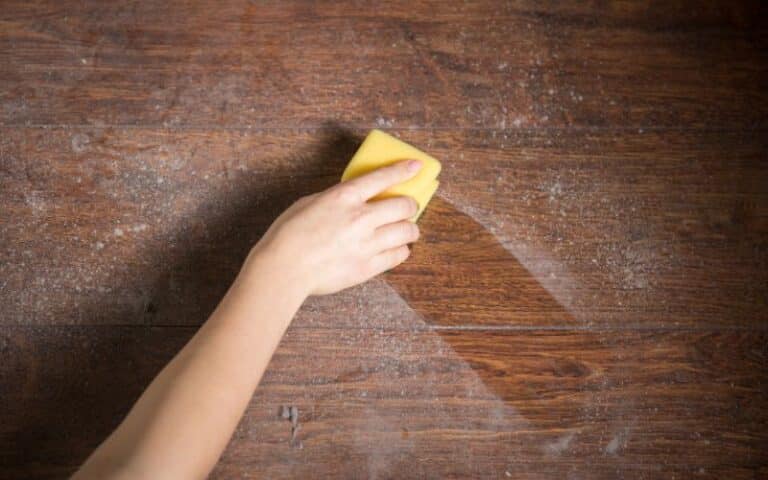
Lastly, you’ll need to dampen a drywall-friendly sponge and lightly scrub the wall of any leftover dust particles from top to bottom.
However, if the drywall dust attaches to the mud and hardens, you can clean it with a putty knife or tool that can serve as a scraper.
How Long Does Drywall Dust Stay in the Air?
This dust stays up for a few minutes before falling to the ground but can quickly rise into the air again.
Note that drywall dust will keep rising into the air until the installation is complete, but it doesn’t last more than 5-10 minutes before it clears.
During a drywall installation, you should always wear protective gear to cover your eyes, nose, and mouth.
Also, you should walk gently and clean gently after an installation, or else you’ll kick up drywall dust which may cause irritation.
How Much Drywall Dust Is Bad for You?
The silica dust generated during a drywall installation can harm you by causing mild irritations.
However, your skin and nose are bound to come in contact with it during installation but ensure that you inhale as little as possible.
You can achieve that feat by wearing gloves and goggles, protecting your skin with overalls, and using a face mask to protect your nose and mouth.
It’s important to know that prolonged exposure to drywall dust can cause sneezing, skin irritation, or a blocked nose.
Below are a few tips for minimizing the inhalation of drywall dust during and after an installation:
- The workers should wear protective gear during the installation and cleaning.
- You can purchase a HEPA filter vacuum to control the dust better during cleanup.
- You shouldn’t let anyone without protective gear into the work area.
- You should place a barrier between where the drywall is being cut and the rest of the house.
- You shouldn’t put your hand in your mouth or nose while handling a drywall installation.
- You should be thorough and gentle with the drywall dust while cleaning.

