Drywall mud or joint compound is a mixture of gypsum dust and water used for fixing drywall.
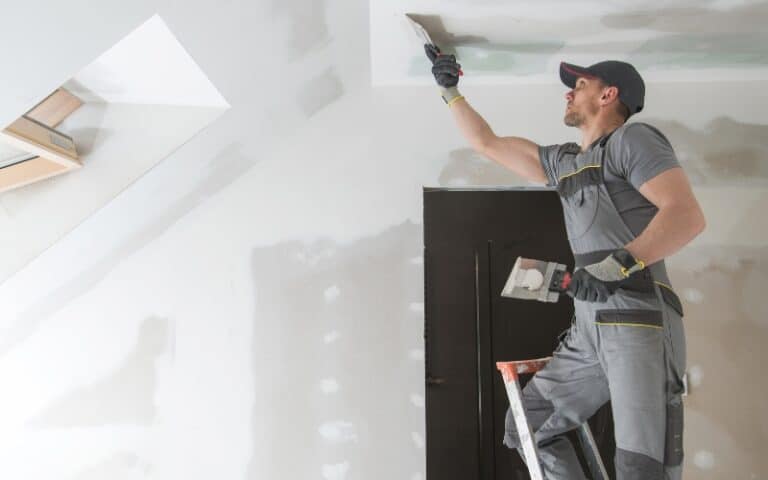
Drywall tapers use this substance to cover the joins where sheets of drywall meet. As well as joining drywalls, they also use this material to create a base for interior wall and ceiling paint.
Primarily, drywall mud is meant for drywall installations, as the name implies. So, can one use it on a plaster?
Drywall mud has versatile applications on different types of surfaces. Hence, you can use it on plasters as well. Plasterers use this substance to fix blemishes like holes and cracks in plasters. To achieve the best result, however, you must do it correctly.
This article will provide a step-by-step guide on how to use drywall mud on plaster.
Ready for a Drywall Quiz?
Does Drywall Mud Stick To Plaster?
Drywall mud will stick to plaster if the plasterer or taper does his job correctly. A joint compound is a common material for patching plaster because of its ability to adhere to it.
There are different types of drywall mud, and these varieties have different degrees of adherence to plaster. Thus, some works require one type of joint compound instead of another.
A plasterer will need to use a quick-setting mud first in cases where the compound is falling out during use. Then, he can use an all-purpose mud for subsequent coats.
The reason for doing so is that quick-setting drywall mud dries quicker and sticks stronger than other joint compound varieties.
A clean plaster surface also increases drywall mud’s bonding to plaster. Hence, ensure to rid the plaster wall surface of dust, grease, and other dirt before applying the joint compound.
You can clean these surfaces using warm, soapy water and a clean cloth.
If drywall mud fails to adhere to plaster after these precautions, you can use glue additives to make it stick.
Follow the steps below to increase the bond of the drywall on plaster mud using glue:
- Add one part of glue to ten parts of water. Preferably, use carpenter’s glue.
- Stir the mixture to thin the glue.
- Use a paintbrush and add the thinned glue to the plaster surface.
- Make another mixture of glue and water.
- Add the desired quantity of setting-type joint compound.
- Make the mixture into a consistent paste, ready for use.
- You can use an all-purpose joint compound for subsequent coats.
You should note that glue additives make sanding difficult. Therefore, you should use them as a last resort only.
Can You Patch Plaster With Drywall Mud?
You can patch plaster with drywall mud. The joint compound works excellently for fixing blemishes in plaster walls.
You can patch plaster with drywall mud by filling the damaged area with the joint compound. Then you coat the surface two to three times, sanding between each coat.
However, plaster and drywall mud have different textures. Therefore, you may notice inconsistencies on your wall if you patch its plaster surface with a joint compound.
You can solve this issue and achieve a consistent texture by skim coating the surface you have patched.
To do so, follow the steps below:
- First, add water to the drywall mud to give it a thin consistency.
- Next, apply a light coat to the surfaces around the areas you patched with this 12-inch drywall knife.
- Finally, sand the surface with 150-grit sandpaper after it dries.
How To Use Drywall Mud on Plaster
Applying drywall mud on plaster is relatively easy. However, it requires time and patience to achieve the best result.
Here are the steps to successfully using the joint compound on plaster:
#1. Prepare the Surface
Drywall mud sticks are better for cleaning plaster surfaces than dirty ones. Hence, get rid of dust, grease, and other debris on the surface you intend to use the joint compound.
Use warm, soapy water and a clean cloth for this purpose.
#2. Prepare the Drywall Mud
Drywall mud comes in either dry or premixed forms. Professionals prefer the dry form because they can mix it to the consistency they like.
If you are an amateur DIYer, however, you should use the premixed form to eliminate the need for mixing. The two forms are suitable, and both have their pros and cons.
#3. Apply the Mud
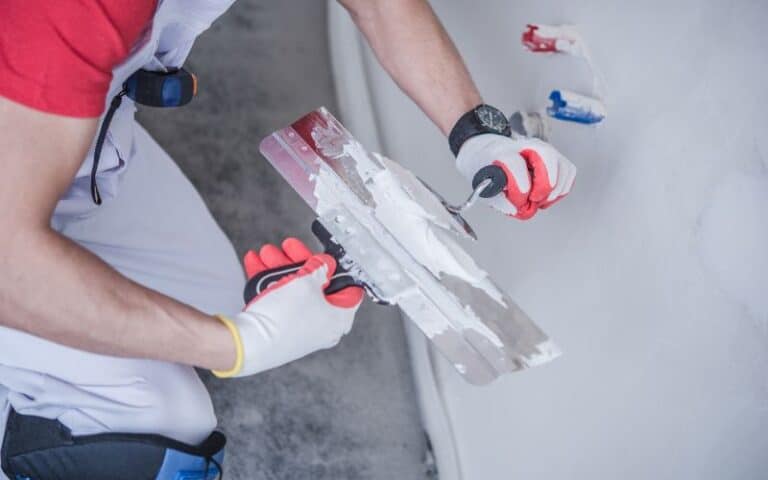
Apply the drywall mud to the plaster. Start by filling the crack or hole with the material and slowly build it up to hide the damage.
You will have to apply two or three coats of drywall mud to achieve the best result. Allow each coat to dry for 24 hours and sand between coats.
#4. Sanding
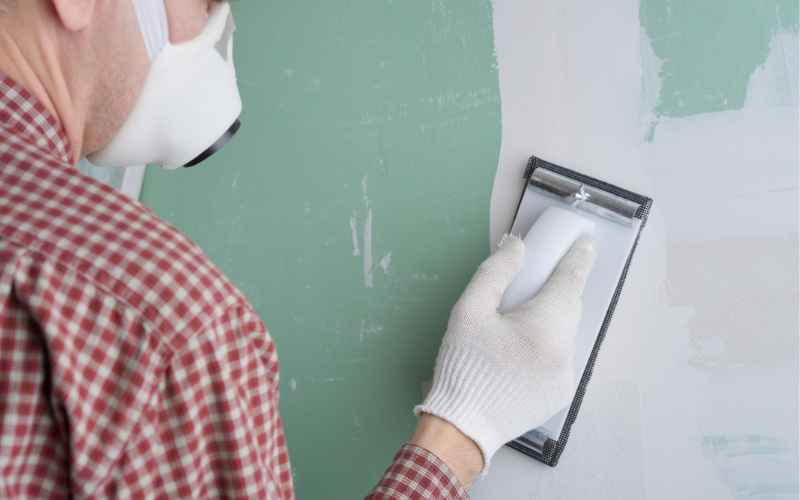
You must sand each coat of the drywall mud after allowing it to dry to achieve a smooth finish.
Use this pattern to sand the coats:
- Firstly, sand with 120-grit sandpaper. This step removes bumps and ridges from the surface.
- Then use 150-grit sandpaper to smooth the patch’s edges and surface.
Ensure you sand a coat before adding subsequent coats. Failure to do so will lead to ridged patches that are difficult to finish.
#5. Skim Coating
Skim coating is the final step in using drywall mud on plaster.
These steps blend the area you have patched with the surrounding surface resulting in a smooth finish.
- Apply a coat of topping joint compound after the second or third coat.
- Then feather it beyond the area you patched.
- Finally, sand the patch with 150-great sandpaper and then 220-grit sandpaper.
With these steps, you will successfully use drywall mud on plaster. Then, using a primer, you can make the patch invisible by repainting the whole wall.
There are varieties of drywall mud that perform different functions. Hence, some of these steps require using different joint compounds.
For instance, filling the damage will require a quick-setting mud because this joint compound type sticks better to plasters.
Then, the skim coat will require a topping joint compound. Finally, you can use all-purpose drywall mud for the other coats. Check here to see more about the various types of drywall mud.
Can You Use Drywall Mud Instead of Plaster?
Drywall mud and plaster perform the same tasks. Hence, you can use one instead of another.
However, this interchangeability depends on the project you are working on.
Knowing the differences between the two materials will help you decide if you can use drywall mud instead of plaster.
The application of drywall mud is one area you must consider before using it instead of plaster. It has a longer working time and allows you to spread a thinner coat than plaster.
Hence, you get a smoother surface when you work with drywall mud instead of plaster. Plaster is also more labor-intensive than drywall mud because of its thicker consistency.
However, plaster is ideal for areas that are prone to cracking. It would be best to use plaster instead of drywall mud for small works requiring faster drying time.
Some defects also require plaster instead of drywall mud for their repair. The reason is that it covers joints and holes better than joint compounds.
Skill level is another crucial factor to consider before choosing which to use between plaster and drywall mud. Working with plaster requires more skill than using drywall mud.
Hence, if you are an amateur, use drywall mud instead of plaster if what you are doing is a minor repair.
Is Plaster Stronger Than Drywall?
Unarguably, plaster is stronger, harder, and more durable than drywall. The material makeup of the two materials accounts for this difference in strength.
Plaster primarily contains cement, sand, and water. It can also contain other materials like gypsum and silicone.
Drywall, on the other hand, consists of gypsum covered on both sides by two layers of heavy paper.
The evidence of plaster’s strength is visible when you try to punch a hole in a wall made of it. It is almost impossible to do so. Conversely, it is easy to nick holes or dents in drywall.
Summarily, drywalls are no match for plaster when it comes to strength.
Aside from this difference, there are other variations between the two materials, which you will see in the table below:
| Features | Plaster | Drywall |
|---|---|---|
| Installation Cost | $2 to $10 per square foot | $1 to $3 per square foot |
| Installation time | It can take weeks to install | Require days to install |
| Finish and Look | It has a more polished look and finishes | more difficult to achieve a smooth finish with |
| Repair | Time-consuming and costly | Easily patched or replaced |
| Fire Resistance | Offers more resistance to fire | Breaks down easily on exposure to heat |
| Insulation | Costly and difficult to add | Easy to add |
| Soundproofing | Blocks or muffles sound | Allow the sound to pass through |
| Energy Efficiency | Increases energy usage | Lowers energy usage |

