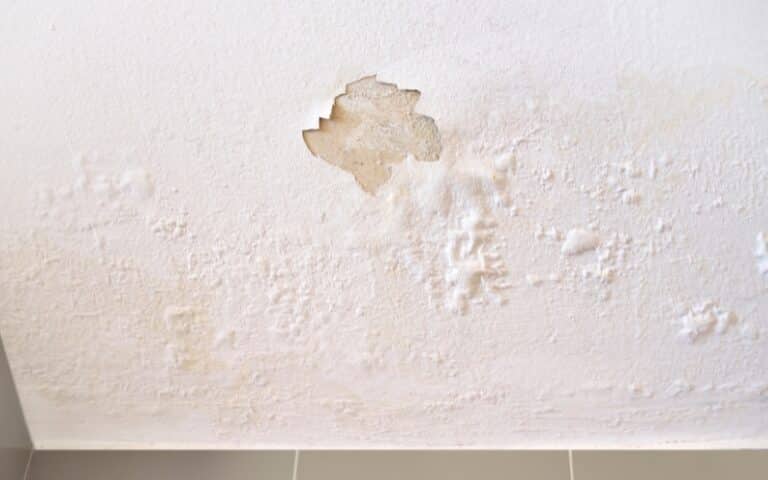
The construction of a shed involves many different processes. The first thing is to lay out the building plan, get the required materials and then build the shed.
One important aspect of a shed is the interior. That said, is it necessary to apply drywall to your shed interior?
Yes, you need to apply drywall to your shed interior. Drywall helps to give your interior an attractive and smooth finish. If you do not have drywalls, you can try other alternatives like plywood, uncycled palettes, drop cloths, etc.
In this article, I’ll tell you how to finish your drywall and several alternatives to using drywall. You’ll also learn about the recommended thickness for drywall in the shed.
Ready for a Drywall Quiz?
Should You Drywall Your Shed Interior?
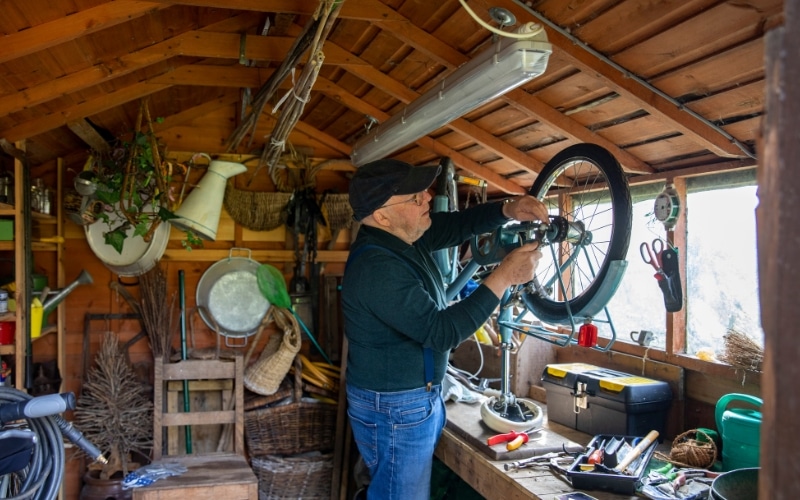
Yes, it would be best if you drywalled your shed interior. The drywall will help to give your shed’s interior a smooth finish.
If you’re planning on skipping drywalling the wall of your shed, you need to be aware that that is a very bad idea. It is necessary to drywall your shed’s interior.
After you install your drywall, you can then go ahead to apply a primer on it, so it has to provide it with waterproofing properties.
The primer will also provide the wall with an adhesive layer for your paint.
Features of Drywall
Here is a list of the common features you should expect for your drywall:
- Drywalls are quick and easy to install.
- Drywalls are extremely durable and are easy to fix when they suffer damage.
- Drywalls are not fire retardant.
- Drywalls are prone to moisture damage.
- Drywalls come in different types, which you can choose from.
- Drywall is relatively cheap, and the availability is high.
- Drywalls have great sound and temperature insulation.
However, if you do not have drywalls, you can use alternatives like plywood, metal flooring, vinyl siding, etc.
Is It Necessary to Finish Drywall In Shed Interior?
Yes, it is necessary to finish the drywall in the shed interior. You need to finish the drywall to achieve the smooth finish you had in mind.
Here are steps to finish drywall:
- The first step is to prepare the drywall compound you are to use, preferably hot mud.
- Use a 6-inch knife to pick up the mud and force it between drywall joints. Also, use the mud to cover up all the screw heads.
- Lay drywall tape over the drywall mud and use the knife to smoothen it out. Remember to apply the tape to the corners of the wall.
- Pick up mud with the knife and apply it over the tape. Leave the work for a while to let the drywall compound dry.
- Get 120-grit sandpaper to smoothen and blend out the hardened drywall compound.
- Repeat the drywall compound application process and sand the wall again.
What Is the Recommended Drywall Thickness for Sheds?
The best drywall thickness for a shed is ⅝ inch thick drywall. ⅝ inch-thick drywall provides your shed with maximum insulation and comes with soundproofing abilities.
Also, ⅝ are least likely to sag and have maximum fire retardant properties.
8 Drywall Alternatives for Drywall In Sheds
Here is a list of alternatives for drywall in sheds:
- Bead Board/ Paneling
- Upcycled Pallets
- Fabric/Dropcloths
- Plywood
- Pegboard
- Tin/Metal Roofing
- Laminate Flooring
- Vinyl Siding
#1. Beadboard/Paneling
Beadboard is the best alternative for using drywall in sheds. Bead boards are very easy to install, even easier than drywalls.
This alternative is relatively cheaper than using plywood. For example, 4×8 beadboard panels cost about 20 dollars.
Bead boards are easy to move around because they are light, and you can install them with either nails or screws.
One downside to beadboards is that you cannot easily hang items when you beadboard for your wall. You’ll need to put in studs before you can hang anything.
Bead boards are not fire-resistant. This feature means that beadboards will crumble on exposure to fire. Also, bead boards will suffer damage when exposed to moisture.
Drywall also crumbles when faced with fire and moisture, so bead board is still a solid alternative.
How to Install Baseboard Paneling
The table contains the materials you will need to install baseboard paneling and its functions.
| Materials | Functions |
|---|---|
| Pencil | To mark out the studs on the wall |
| Template | To serve as a guide for correct placement |
| Jigsaw | To cut out the template |
| Liquid nail adhesive and nails | Attach the bead board to the wall |
| Trims and caulk | To cover up the seams on the baseboard |
Here are steps to install beadboard in a shed:
- The first step is to prepare your wall by removing all the sheet rock and pulling out the trims from the door.
- The next step is to use a pencil to make a mark at the center of the studs.
- After marking the studs, make a template for the walls to ensure you remember the correct placements.
- Cut out the template with a jigsaw and transfer it to the beadboard sheets.
- Apply liquid nail adhesive to glue on the subsurface and then drive in the nails. Make to place the seams where you can easily cover them up with trim.
- You can also decide to caulk some areas on the wall where necessary.
#2. Upcycled Pallet
The upcycled pallet is a considerable alternative for drywalls on a shed. However, upcycled pallets have a lot of downsides to it.
The installation of upcycled pallets is time-consuming. In addition, upcycled pallets might be toxic because of the chemicals on them due to pressure treatment.
Also, upcycled pallets most likely carry molds and bacteria, which may spread to other parts of your house.
#3. Fabric/Drop Cloths
Fabric/drop cloths are easy and cheap to install. However, the cost of the material itself is high, and its durability does not match up with how expensive it is.
Also, fabric/drop cloths are prone to fire hazards, except if you use a fire retardant spray.
#4. Plywood
Plywood is a fantastic alternative to drywalls. This material is thick enough to provide a lot of support for your wall, and it may have some fire-resistant properties.
However, the thickness makes it easy to carry around and install for ceilings. ¾” plywood panel costs about 62 dollars.
#5. PegBoard
Pegboards are relatively cheap and light enough to install directly onto studs. For example, a pack of peg boards contains four 24×48″ panels that cost 108.69 dollars.
You can also purchase a peg board in metal form. However, metal pegboards are costly. For example, a 32×92″ metal pegboard costs 231 dollars.
Pegboards are not suitable for ceiling installation.
#6. Metal Roofing
Metal roofing is a good alternative for drywall as it is light, easy to install, and is not prone to fire hazards.
The cost of one metal roofing panel is 36.77 dollars which is considerable. One downside to metal roofing panels is that they are difficult to cut through, and they echo sound.
#7. Laminate Flooring
Laminate flooring is relatively cheap as well as it is fire retardant. This material comes in different options, so you can choose which one appeals to you best.
#8. Vinyl Siding
Vinyl siding is extremely affordable and easily accessible. Although this material echoes sound, it does not echo sound as much as metal flooring and is easy to clean whenever it gets dirty.
Vinyl siding costs $164/carton for 200 square feet.

