In construction and interior decoration, materials often meet in unexpected ways. One such intersection is the convergence of two popular walling materials: drywall and brick.
These elements contrast sharply against each other when they meet. Therefore, homeowners need a seamless transition when using them together.
A smooth transition between drywall and brick gives a room or space a unique design flair. So, how does one go about it?
Transitioning from drywall to brick requires some steps to achieve the best result. The procedure includes preparing the wall, caulking gaps between the surfaces, and finishing the transition. You can also use beads to provide a clean, sharp edge and protect the corners of the drywall.
In this article, you’ll learn how to transition from drywall to bricks to ensure a consistent design. You’ll also discover the importance of beads in this process.
Ready for a Drywall Quiz?
How to Transition From Drywall to Brick?
Transitioning from drywall to brick requires careful planning and execution.
Here is a step-by-step guide to ensure a seamless and professional-looking finish:
#1. Materials and Tools Needed
You’ll need some tools for the job. Hence, the very first step is to get these materials ready.
Here are the tools and materials you require:
- Tape Measure
- Pencil or Chalk
- Joint Compound
- Sandpaper
- Drop clothes or Plastic Sheeting
- Painter’s Tape
- Primer and Paint
- Paint Brushes or Rollers
- Caulk and Caulking Gun
- Brick Sealer (Optional)
#2. Prepare the Surfaces
Before starting the transition, ensure that the brick and drywall surfaces are dry, clean, and debris-free. This step ensures proper adhesion of the materials you use for the procedure.
Also, make the surfaces smooth. Fill any holes or imperfections with drywall mud and sand them smooth.
#3. Choose a Transition Point
Lay the drop clothes or plastic sheeting to protect furniture and floor. Measure the area where the drywall meets the brick.
Use a pencil or chalk to mark where the transition begins. Then, use painter’s tape to mask off areas that should remain paint-free.
#4. Install a Metal Edge Strip
Consider using a metal edge strip or beads to get a clean edge on the drywall side. This strip, commonly used in drywall installations, provides a straight edge for mudding and painting.
To install the strip, measure and cut the strip according to the dimensions of the drywall. Then, secure it to the edge where it will meet the brick.
#5. Apply Joint Compound
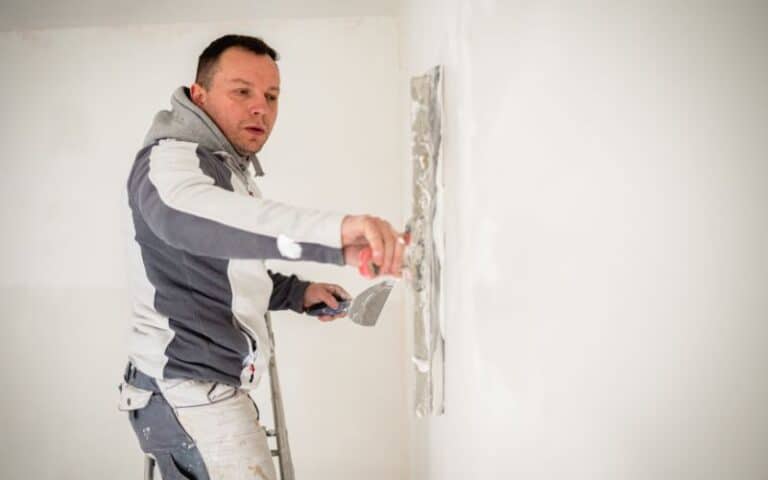
Use the joint compound to taper the edge of the drywall to the metal strip. Apply multiple layers, letting each layer dry before putting on the next one.
Use sandpaper to sand the layers of the joint compound until you get a smooth finish.
#6. Prime the Drywall and Seal the Brick
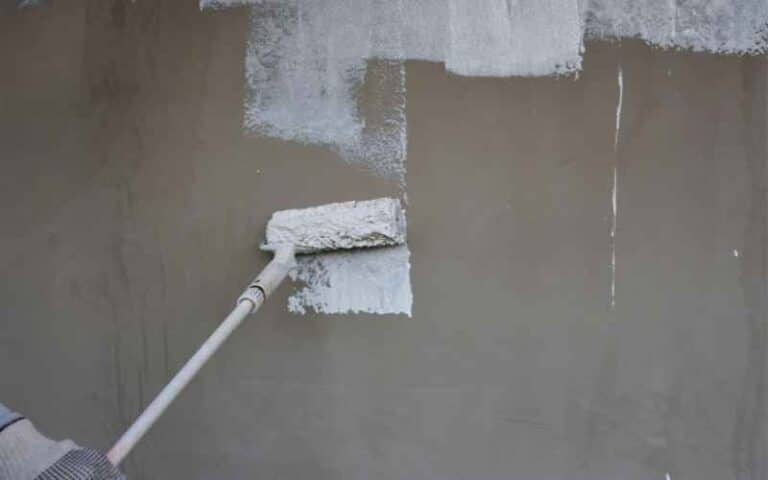
Paint a primer onto the drywall if you’ll paint it to match the brick. Allow the primer to dry according to the manufacturer’s recommendations.
Seal the brick to protect it from moisture and dust and give it a polished look. It will also make it easier to clean in the future.
#7. Caulk the Gap
Caulk the seam to ensure a smooth transition and to prevent gaps or cracks from appearing. Use a paintable caulk and apply it with a caulking gun.
Smooth the caulk line with any caulk smoothing tool. Alternatively, you can use a wet finger.
#8. Paint or Finish as Desired
You can paint the brick to match the drywall or leave it in its natural state. You can also decide to paint the drywall to match the brick.
Once you finish, remove the painter’s tape and the protective coverings. Clean up the spills and drips with a wet cloth.
Do You Need Beads to Transition From Drywall to Bricks?
The use of beads when transitioning from drywall to brick largely depends on the project’s requirements. It’s also dependent on your personal aesthetic preferences.
Transitioning between drywall and brick presents challenges because of their different textures and finishes. Beads can effectively bridge the gap between these two materials.
When you connect drywall to bricks, there’s usually an uneven joint where the two materials meet. This joint can appear messy or unfinished in some cases.
Beads are a solution to this issue. Made from vinyl or other materials, you can affix them to the edge of the drywall to create a neat edge.
Beyond beautifying the drywall, beads also serve functional purposes. They can protect the edges of the drywall from damage.
The edges of the drywall are more susceptible to chipping and cracking. Beads are a protective barrier, especially in areas with more potential for bumps or scrapes.
Also, brick and drywall might shift differently due to temperature changes or structural settings. A flexible bead can accommodate these slight movements, preventing cracks or gaps.
Furthermore, beads mark out the boundary between surfaces. This function makes it easier to achieve clean paint lines for those looking to paint or finish the transition area.
While beads offer several benefits, there are also cons to using them.
The table below contrasts the benefits and downsides of using beads in transitioning from drywall to brick:
| Pros | Cons |
|---|---|
| Beads ensure a clean finish | Beads make projects more complex |
| They offer added protection to drywall edges | Some people find beaded edges less appealing |
| They make paintings easier. | Using beads incurs additional expenses. |
It’s worth knowing that while beads are beneficial, they are not mandatory for transitions.
You can blend your drywall into bricks without them. However, they can make your work easier.
Will Drywall Mud Stick to Brick?
Drywall mud is primarily for sealing and smoothing joints between sheets of drywall. It adheres well to the gypsum board. However, there are some factors to consider when it comes to brick.
Brick is a porous material; in theory, drywall mud should stick to anything porous. However, the texture and irregularity of brick make it less ideal for the adherence of joint compounds.
The pores in the brick allow for some bonding. However, it won’t be as strong and reliable as when applied to drywall.
Another factor to consider is how clean the brick’s surface is. Dirt, dust, or loose particles can prevent the drywall mud from adhering properly.
Also, older bricks or ones exposed to the elements may be crumbly or have powdery surfaces. These conditions make them unsuitable for the mud to adhere to.
Moreover, moisture in bricks affects adherence. Damp bricks can prevent drywall mud from sticking. It can also cause the joint compound to peel off once dried.
If you want to apply drywall mud to brick, ensure you remove dust or other particles using a wire brush. You can also wipe down or vacuum the surface to ensure it’s debris-free.
Also, there are certain primers you can use to improve the adhesion of drywall mud to brick. If you use joint compounds on bricks for some purpose, you should use these compounds.
How Do You Fill Gaps Between Drywall and Bricks?
Filling gaps between drywall and bricks is necessary for aesthetics and protection against pests and moisture intrusion.
Here’s how to do it:
#1. Clean the Gap
It’s important to clean the gap thoroughly before you begin. Remove loose brick particles, dust, or debris using a vacuum cleaner brush.
Cleaning the gap ensures that the filler adheres properly.
#2. Choose the Right Filler
Typically, you’d need different materials for filling gaps between drywall and bricks. The choice of filler depends on the nature of the gap.
You can use acrylic latex caulk for small gaps. For larger gaps, however, consider using backer rods before applying the caulk, or you can use expandable foam.
#3. Procedure
If you have a wide gap, insert a backer rod first. Push it into the gap, ensuring it’s slightly below the surface.
Then, apply the caulk into the gap using a caulk gun, ensuring it fills it. Smooth the caulk using a damp finger or a caulking tool.
If you are dealing with a larger gap, shake the can of expandable foam vigorously and then fill the gap slowly. Once it is dry, trim the excess foam with a knife.
#4. Finish the Surface
Once the caulk or foam has dried, paint over the surface to match the drywall. If you use foam, cover it with sealant or paint suitable for foam surfaces.
Over time, the caulk might deteriorate. Therefore, check the gap occasionally and reapply the caulk if necessary.
How Do You Finish the Drywall to Bricks Transition?
Finishing the transition between drywall and brick can be challenging. However, with the right steps, you can seamlessly integrate the junction.
Here’s how to do it:
#1. Sanding
If you used a joint compound on the drywall near the brick, sand it smoothly for a seamless transition. Use fine-grit sandpaper to do so.
Make sure you don’t press too hard to avoid damaging the surface.
#2. Cleaning
Dust and other particles can accumulate during the transition process. Therefore, thoroughly clean the drywall and brick surfaces before applying any paint or sealant.
Use a soft cloth for the drywall and a brush or vacuum for the brick. Ensure that you remove all residues.
#3. Painting
Use painter’s tape to mask off the surfaces to prevent accidental paint or sealant spills. This measure ensures clean lines and protects the appearance of the surfaces.
Then, paint or finish the drywall and brick as you desire. You can prime before painting to ensure proper paint adhesion.

