Mold growth is a common occurrence in different parts of the home. They can grow anywhere, and they come with a distinct odor.
Molds are part of nature, but finding them indoors harms your health.
Although they grow in different places, it is challenging to determine if they also grow in drywall behind kitchen cabinets.
It would help to read this article thoroughly to answer your question and other related ones.
Mold can grow in drywall behind kitchen cabinets because of moisture in this area. They strive in damp places, and kitchen activities contribute to the moisture. These molds can affect your health and diminish the wall’s integrity. You can clean them with cleaning solutions, but you need to kill them through other methods so they don’t return.
In this article, I will help you know if mold can grow in the drywall behind the kitchen cabinets, how to get rid of them by removing the drywall, and how to do it without removing the wall.
By the end, you’ll also understand if mold behind drywall cabinets can affect you and the best way to kill mold on kitchen cabinets.
Ready for a Drywall Quiz?
Can Mold Grow in Drywall Behind the Kitchen Cabinet?
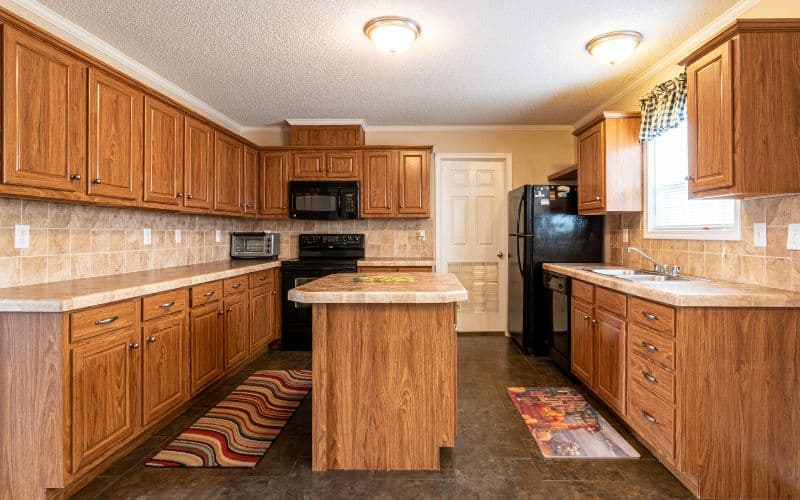
Mold can grow in drywall behind the kitchen cabinet. The drywall can be a healthy habitat or breeding ground for mold.
This area is dark and moist due to steam from cooking and the oven. The steam dampens the back of the cabinet and creates a breeding ground for mold.
Mold thrives in wet areas; the moisture level in the environment determines mold growth.
They also thrive in any environment that has some food source. Many kitchens have poor ventilation, contributing to problems like excess humidity and moisture.
This moisture could be from kitchen activities like washing dishes and using appliances like washing machines and dishwashers.
It could also be leaking pipes, water spills, trapped food particles, and high humidity condensation.
It is best to keep your kitchen dry and clean, use the right cleaning products, and install adequate ventilation to prevent mold growth behind your kitchen cabinet.
How Do You Get Rid of Mold in Drywall Behind Kitchen Cabinets?
Keeping your kitchen clean and dry will prevent mold growth in the first place. However, it can be hard to control moisture since most kitchen activities involve water.
Getting rid of mold in the drywall behind your kitchen cabinet depends on the condition of the drywall.
Painted drywall is always easier to treat for mold because the paint makes it easier to clean it off. On the other hand, unpainted drywall is more challenging to handle.
The absence of paint means no protective barrier prevents the mold from penetrating the wall.
The mold on the drywall indicates a bigger problem in the stud behind the wall. The mold’s ability to penetrate the surface means it needs urgent solutions.
The best solution is to cut out the drywall in the affected and surrounding areas and replace it.
Replacing the drywall depends on the level of damage caused by the mold. The paint on the drywall doesn’t matter in this situation.
But first, you need to detect and stop the source of the moisture to prevent future mold growth. Then, you can proceed to get rid of the mold.
Follow these steps to remove mold in the drywall behind your kitchen cabinet.
Step 1: Get All Your Equipment
It is essential to wear protective gear like safety goggles, long sleeve shirts and pants, respirator masks, rubber gloves, and nose masks when dealing with mold.
It prevents its spores from affecting you or making you sick. You also need a vacuum equipped with a HEPA filter and brush attachment to remove surface pores.
Additionally, block off the rest of the building with plastic sheeting and tape. Then, use a negative-pressure HEPA air filter to eliminate spores that escape.
Step 2: Test the Drywall’s Integrity
Touch the drywall surface to test its structural integrity. A soft wall means mold and moisture have deeply affected its structural integrity.
Hence, you must remove the drywall, terminate the mold on the frame below it, leave it to dry, and install a new wall.
Step 3: Remove the Surface Mold
You must treat the drywall’s surface mold spores before doing anything else. Use a HEPA-equipped vacuum on the entire surface to remove the spores.
Make sure to use a brush attachment to break up and remove the spores while vacuuming the surface.
Step 4: Cut Out the Affected Drywall
Mark the affected area with a pencil to guide you when cutting the drywall. Leave an additional two feet between the visible mold and the pencil mark.
The extra allowance will ensure you get any mold that isn’t visible. Cut out the marked section with a utility knife.
Next, carefully remove the cutout piece and place it on a plastic sheet or cloth on the floor. Make sure to position the moldy side up.
Locate the wooden support behind the drywall with a stud finder. You need this support to attach the new piece of drywall.
Step 5: Terminate the Mold
After removing the affected drywall, you can terminate the mold with some products such as:
- 3% hydrogen peroxide
- Two ratios of baking soda to one white vinegar ratio and one water ratio (2:1:1).
- Concrobium mold control
- Bleach
Use a spray bottle or a bucket and brush to apply these solutions to the area behind the drywall. Leave it for 10 minutes, then use a medium-bristled brush on the surface.
Move the brush in a circular motion to reach all the areas. If you use Concrobium, wait until the area is dry before using the brush.
Dampen the brush with a bit of Concrobium before brushing the surface. Remove any residue after brushing the area with a household cleaning wipe.
Step 6: Dry the Wall With a Fan
After killing the mold with the solution and removing the residue, leave the wall to dry. Set up a small electric fan to directly face the wall.
Step 7: Install the New Drywall
Once the cavity dries thoroughly, install a new piece of drywall. Make sure the new piece is the same size as the cutout one.
Measure the dimensions of the cavity in the drywall and cut out the new piece to those measurements.
Next, use screws to attach the new drywall and apply a joint compound on the seams to patch it up. Please leave it to dry for a while, then sand it down to get a smooth finish.
Step 8: Cover Stains on the Wall
You might notice some discoloration from minor stains on the drywall after finishing the process.
Cover the stains with a mold-killing primer to help create a protective coat against fungi and kill stray spores.
After concealing the stains, you can paint over the surface with mold-resistant paint. The paint’s pH level makes it impossible for molds and bacteria to grow.
Step 9: Clean the Kitchen With a Vacuum
Mold spores may have landed on other areas in the kitchen while getting rid of the mold. Therefore, it is essential to vacuum the entire kitchen area.
How Do You Get Rid of Mold Without Removing Drywall?
You can achieve this with special cleaning agents, natural cleaning solutions, and a little handwork.
It is essential to wear protective goggles and gloves when cleaning the mold. You should also allow adequate ventilation by opening the windows.
The following steps will guide you through this process.
Step 1: Choose Your Material
Select a commercial cleaning agent specifically designed to kill mildew and mold on drywalls.
Avoid mixing household fluids like hydrogen peroxide, white vinegar, and other cleaners because they can discolor wood shelves.
Step 2: Scrape the Paint if Necessary
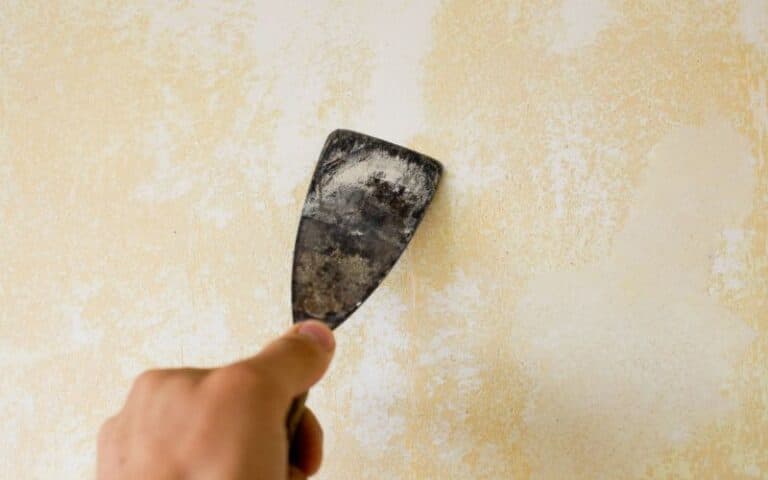
If you paint your drywall, you must use a scraper to scrape the paint on the affected area. It makes the process easier and less messy.
Step 3: Spray the solution on the moldy area
Follow the manufacturer’s directions to apply the cleaning solution. Try scrubbing the mold with a stiff-bristle scrub brush or a rough pad to remove discoloration and mold.
Step 4: Clean With a Rag and Water
Thoroughly rinse the solution with some hot water and a smooth rag. It will also help remove any residual mold.
Step 5: Vacuum the Spot
Remove all the debris with a vacuum cleaner. Make sure to use a cloth filter to prevent small pieces of dirt from escaping.
Step 6: Dry the Area
Position a small electric fan in front of the area to dry it up. Let the fan run for a while until the spot dries appropriately.
Step 7: Repaint the Spot if Necessary
You can repaint the area once it is dry. First, paint it with a mold-preventing primer to prevent future mold growth.
Then, paint the area with the same paint as the rest of the kitchen.
Can Mold in the Drywall Behind the Kitchen Cabinet Affect You?
Mold in drywall behind the kitchen cabinet is harmful and can affect you. However, the toxicity of the mold depends on its species.
There are several genera and species of mold. Most of them can produce mycotoxins that are hazardous to your health.
These mycotoxins can enter your body through ingestion, skin contact, or inhalation. An asthmatic person can get an allergic and non-allergic asthma attack from mold.
A prolonged or repeated exposure to mold is hazardous to a healthy person. It can cause sensitivity and several health issues.
The table below contains the effects of mold on different body parts.
| Body parts | Side Effects |
|---|---|
| Skin | Irritation and skin rashBurning sensation |
| Respiratory organs | Allergic reactions such as sneezing.Trouble breathingBurning sensationRunny noseLung cancer in severe cases |
| Eyes | Red eyesIrritation |
| Head | Severe persistent headaches |
| Entire body | Fatigue |
It is advisable to reduce your exposure to mold once you detect them on the drywall behind your kitchen cabinet.
You should contact a professional mold removal specialist to determine the toxicity of the mold and how to treat it.
What Kills Mold on Kitchen Cabinets?
You can use vinegar, distilled water, or a detergent and water solution to remove mold from your kitchen cabinet. You can also use an all-purpose cleaner.
However, you will need a particular solution to kill the mold spores completely. The solution is one ratio of water to nine ratios of bleach.
Put the cleaning solution in a spray bottle for easy application. Spray it on the affected area and scrub thoroughly with a toothbrush. Then, use a clean, dry rag to clean it off.
Next, apply your bleach solution to kill the mold. Leave the area to dry up or speed up the drying process with an electric fan.
If the mold problem on your kitchen cabinet is severe, consider replacing the entire cabinet.

