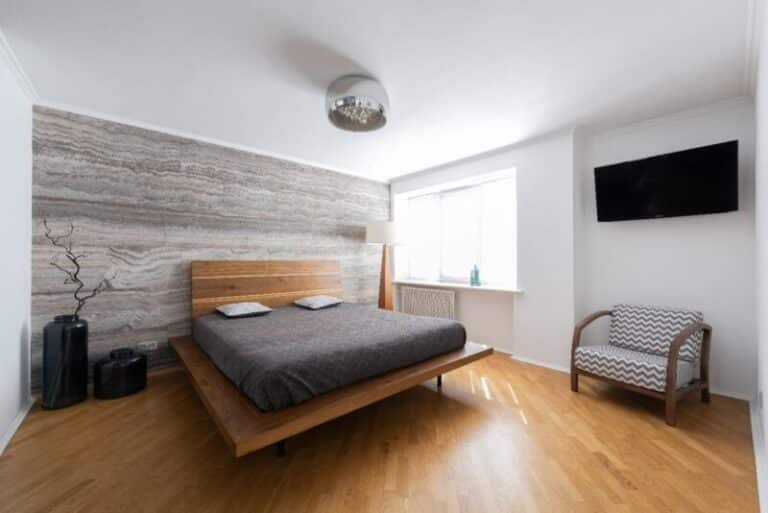
Many homeowners choose solid hardwood over other flooring options for its rich, natural appearance.
But since wood is sensitive to changes in temperature and humidity, installing a wood floor over a concrete slab is not always possible.
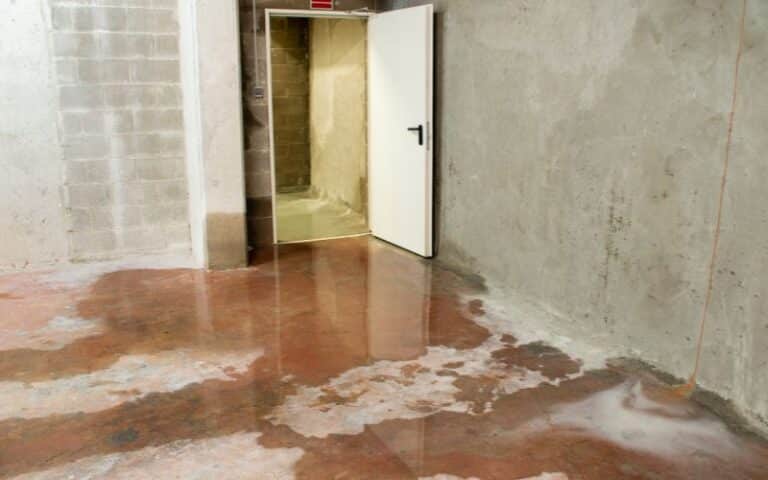
Either due to poorly inserted work joints, setting cracks, or poor cement compaction, among other causes, moisture can seep through the soil surface.
Many homeowners faced with this situation have the same question: Is there a way to install solid hardwood floors over concrete?
Well, the answer is yes, and I’ll explain how!
Ready for a Flooring Quiz?
Can You Install a Solid Hardwood Floor Over Concrete?
Yes, installing a solid hardwood floor over concrete is possible if the hardwood floor is floating, i.e., not in direct contact with the concrete floor.
It is an appropriate and reliable technique that requires preparation and a moisture barrier between the two layers to get a high-quality finished floor.
Installing a floating solid hardwood solves the problem of moisture leaks, protecting the wooden floor and extending its useful life for many years.
But this technique has two other great advantages.
- First, if the base layer presents unevenness, it can be leveled with the asphalt membrane.
- And second, as an insulating layer, the floor will lose much less heat, making the environment cooler in summer and warmer in winter, saving on heating.
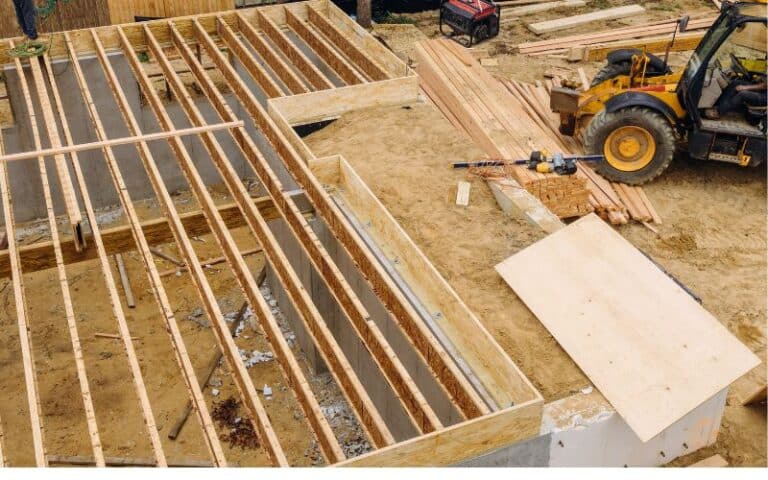
Solid hardwood floors are made from solid hardwood planks that you can install on grade or higher. Installation below grade (basement) is not recommended.
How to Install a Floating Solid Hardwood Floor Over Concrete?
Here’s a step-by-step guide on how to install a floating solid hardwood floor over concrete:
Prepare the Concrete Before the Installation
#1. Humidity
Before considering the installation of a wood floor, check the humidity of the concrete slab.
New concrete must cure for six to eight weeks for moisture to dissipate.
On older concrete, a 15-inch (38 cm) square of polyethylene at various locations on the ground to test moisture. Surround the squares with tape on all sides.
After 24 to 48 hours, check the polyethylene for condensation. If there is no condensation, the concrete slab is suitable for installing a floating wooden floor.
#2. Level the Concrete
A level slab is the most suitable surface for installing your floating floor. The slab must be flat within 3/16 inches (0.47 cm) in a 10-foot (3 m) radius.
Check the surface by placing a straight edge on the floor in several places around the room.
The floor is level if the light is absent below the straight edge. Sand high spots with a concrete grinder, and fill low spots with leveling compound.
In addition, look for any moisture problems thoroughly, and repair them.
#3. Install the Vapor Barrier
A polyethylene layer is placed between the concrete and the plywood to create a solid moisture barrier or vapor barrier.
The vapor barrier is installed perpendicular to the longest wall. It will go in the opposite direction since you will install the actual flooring parallel to the longest wall. It prevents the barrier incidence and floor joint breaking simultaneously.
Use plastic tape if the vapor barrier needs to be tacked.
#4. Install Plywood as a Base
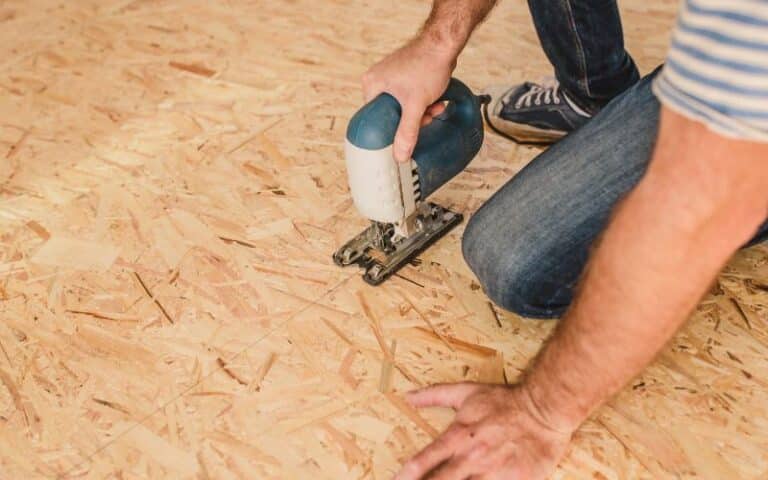
Plywood is used as a base for the installation of wood floors. Two layers of plywood are butted together over the vapor barrier on a floating floor.
This method does not penetrate the vapor barrier, ensuring moisture does not pass into the wood.
After installing the plywood subfloor, the wood flooring can be glued, nailed, or stapled.
Start at a corner of the longest wall and lay the first flooring strip. Phenolic plywood plates 30/40cm wide by 1/1.2m long are placed atop the barrier.
They are placed perpendicular to the direction of the floor planks, and an expansion joint must be left between them. Since this is a floating floor, it must be free to move independently.
#5. Install the Solid Hardwood Floor
Finally, the solid wood floor is installed, which is adhered with polyurethane glue and nailed to the phenolic plates, as with any floating floor.
Flooring adhesive is used to rebuild hardwood flooring, while painter’s tape holds wood planks together.
You can glue the wood directly to the slab when installing on-grade wood flooring, as moisture is not usually a problem. The floor must be clean and dry for the glue to stick.
Always read the manufacturer’s instructions when applying the adhesive. Here are the steps to follow:
- Using a v-notch trowel, apply the adhesive to the floor in small sections. Spread only enough for a few rows at a time.
- Use a tapping block to click the pieces together.
- Stagger end joints from row to row and tape the seams with painter’s tape.
- Tape 1/4-inch shims between the edges of the floor and the wall to allow room for expansion.
- Weight the first rows with something heavy, but use a rag under the weight to protect the floor.
- Use a damp cloth to clean the adhesive from the surfaces.
- Let the adhesive dry for 24 hours.
Final Words
Installing a floating solid hardwood floor over concrete is possible with the right steps. The materials used in the technique (polyethylene and phenolic plywood) have waterproof properties.
Their combination creates an effective barrier against moisture leaks at the base of the floor, making your floating solid hardwood floor last for years.

