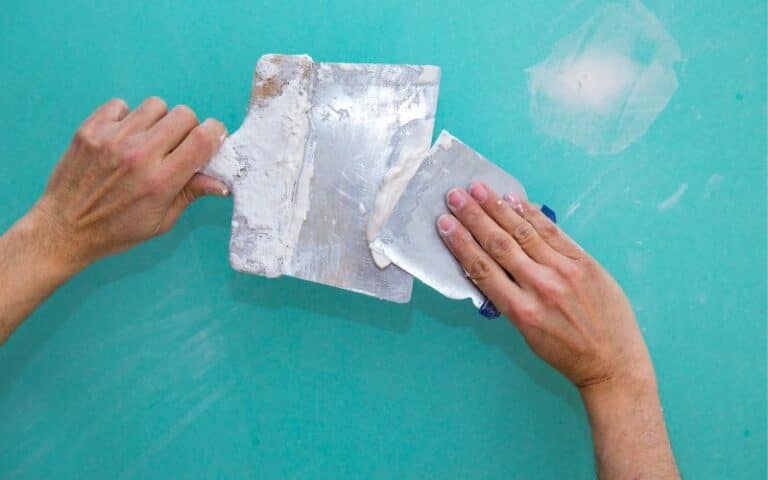
Drywall mud helps cover seams, corners, screws, and nail holes. It is also perfect for fixing up cracks and filling up gaps.
The construction community loves it, and it can create a texture over a wall similar to plaster.
Drywall mud is easy to make and work with and makes for a great DIY project. Furthermore, it is a fixer of wall imperfections.
Hence, how can I thicken drywall mud?
Adding more mud into the mix is the easiest way to thicken your drywall mud. However, this isn’t a fan favorite because it requires you to use more mud. Instead, most construction workers thicken their mud mix with sawdust, wood shavings, and talcum powder. Additionally, you can also use adhesives to thicken your mud.
Are you searching for various ways to thicken your drywall mud? This article will provide all the answers you seek.
Ready for a Drywall Quiz?
How Do I Make Drywall Mud Thicker?
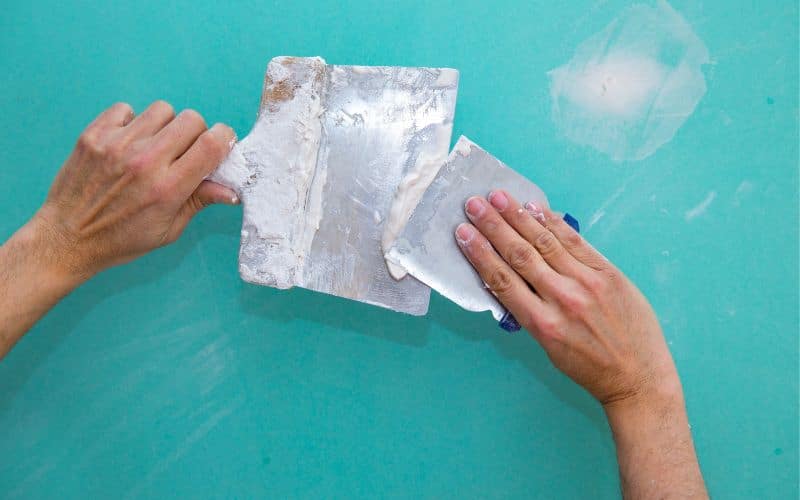
There are a few ways construction workers use to thicken drywall mud. However, adding more mud to the mix is the easiest way to make drywall mud thicker.
Another way is to add filler like sawdust, talcum powder, or wood shavings. Likewise, you can add adhesives like white glue or wallpaper paste.
If you need to make your drywall mud thicker, you will need the following materials:
- Trowel
- Drywall mud
- Container to mix your mud
- Rag
- Sponge
- Water
You must add water while mixing your drywall because it will help thicken it. However, be careful that you only add a little. It will become challenging to work with.
If you have plaster, add it to the mud to give it more body. Furthermore, you can also add powdered starch or flour to make it even thicker.
What Happens When Drywall Mud Is Too Thin?
If your drywall mud is too thin and you proceed to the application, it will crack once it gets dry.
You have to be careful while dealing with drywall mud. It would be best to get the texture and thickness precisely, or you will ruin the project.
Furthermore, if drywall mud is too thin, it becomes difficult to apply. You will find it challenging to lift the mud from your pan to the wall using your knife.
Asides that, the mud won’t stick to the surface properly. It will keep coming off. Hence, the project will take longer, and you will waste many resources trying to mud.
If your drywall mud is giving you such issues, the best solution is to make it thick. You can pick up the excesses that didn’t stick to drywall and prepare a thicker mix.
Should I Use Thick or Thin Drywall Mud To Fill Gaps?
When filling gaps in drywall, you should use mud with a thick consistency. Using thick drywall mud makes the mud harden faster and heals the crack.
However, it would be best to use thin drywall mud when applying a finishing coat on drywall joints and corners.
Furthermore, it is also perfect for filling up small holes and cracks in drywall. Ensure you don’t use thin drywall to fill big gaps because it won’t harden in time.
Instead, it will fall off and give you more to work with. Thus, thick drywall mud is best for filling significant gaps, holes, and cracks.
Below is a table that highlights the uses of thick and thin mud;
| Thick mud | Thin mud |
|---|---|
| Useful in filling large gaps | Useful in finishing coats |
| Dries faster | Longer drying time |
Five Types of Drywall Mud
There are several types of drywall mud. You can get drywall mud premixed or powdered. Most DIY enthusiasts favor premixed drywall because it is easier to use.
Furthermore, you don’t have to worry about getting the mixture proportions right because it is factory mixed.
Hence, you should expect the best consistency from such drywall mud.
Nevertheless, there are several types of drywall, each performing a different function. Thus, buying drywall mud, you should consider the mud’s purpose.
In addition, it would be best to consider the part of the project and which mud will suit it best.
Below are five drywall mud types you can use and which type of project they are best suited to:
#1. Quick Setting Joint Compound
Quick Setting Joint Compound is powdery; mix it to create drywall mud.
Construction workers call this drywall mud Hot Mud because it settles quickly and hardens. That’s because the producing company adds some hardening agents into the mix.
Thus, you don’t have to wait long before this drywall mud hardens and requires another layer.
Quick Setting is available in a variety of time settings. They classify their products using the amount of time it requires to set.
#2. Taping Mud
Taping mud is also a quick-setting compound, almost similar to Hot Mud. The mud has bonding components that are effective during taping.
Although similar, this mud dries slower than Quick Setting, allowing for more errors.
However, when taping mud dries, it hardens. Also, it resists cracking and is perfect for filling cracks in plaster and making small repairs.
#3. Topping Compound
Topping compound, a type of mud, is used for the final polish coat. The mud is best suited to a fresh drywall installation. Furthermore, it is also ideal for texturing a wall.
It is one of the easiest drywall muds to work with. However, it takes time to dry.
In addition, this Compound is easy to sand and reduces the time it takes to finish considering other drywall mud. Topping Compound is best for providing the last coats on a project.
#4. All-Purpose Joint Compound
All Purpose Joint Compound is a multipurpose lightweight finishing mud. You can use this type of mud for every phase of drywall finishing.
Furthermore, this mud type has enough binding agents, and you can use it for taping seams. It is highly durable but sands easily.
Hence, it will give you a fine glossy finish if you choose to go with it as your finishing coat.
#5. Lightweight All Purpose Joint Compound
This type of mud is a lightweight all-purpose product that makes your project easy.
You may be thinking it’s the same as All Purpose Joint Compound. However, Lightweight contains less binding agent than All Purpose.
Hence, most professionals don’t use this type of mud when taping joints.
What Happens When You Mud Drywall Too Much?
Mudding drywall is an irreplaceable step you must take while putting up drywall panels.
However, it would help to be careful while mudding to ensure you don’t apply too much mud.
The typical result of too much mud is cracking. Your drywall will crack if you apply excess mud.
The best way to avoid excess mudding is to take time while doing the project. Don’t rush it to save time.
Additionally, ensure you don’t apply mud too quickly and allow the mudded layer to dry evenly. Only add another layer of mud when the previous layer is thoroughly dry.
However, if you accidentally apply too much mud on drywall, don’t panic. You can fix it.
The simplest way to eliminate excess mud is to sand it with sandpaper. However, you can opt for a sponge if you don’t have sandpaper.
A sponge should give you a similar result but with more effort. Nevertheless, sandpaper also has its demerits.
If you’re using sandpaper, you should be ready to inhale some dust. You can fix this by wearing a respiratory mask to protect yourself.
How To Make Drywall Mud Smoother?
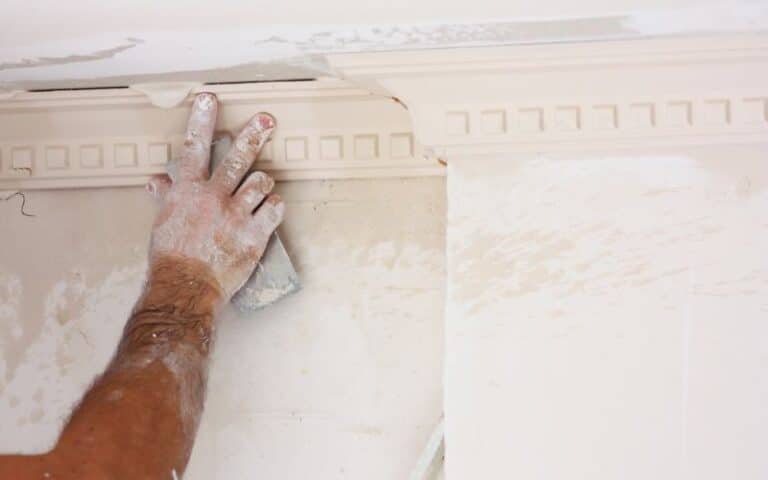
You can make your drywall mud smoother by rubbing an abrasive on it. You can use a sponge or sandpaper to smoothen the coat and give it a finishing touch.
I recommend you use firm, long strokes while smoothing your drywall coat. Furthermore, if you’re working with a seam, sand in the direction of the seam.
Additionally, sand the drywall till it is soft and smooth.
How To Prevent Drywall Mud Bubbles?
Bubbles in drywall mud aren’t only frustrating to fix after you finish the project and make your wall look like a kid’s painting.
However, it would be best not to panic when you see mud bubbles on your walls. There are simple tricks you can leverage to fix mud bubbles.
#1. Add Water to the Mud
If your mud is too thick, it will become difficult to spread evenly, creating bubbles. Hence, adding a few drops of water will make it lighter and easier to work with.
#2. Use a Wet Sponge
Use a damp sponge to smooth out a surface before working on it. Damping the wall will remove air pockets that are present.
#3. Use a Dry Sponge
If you notice bubbles after using a wet sponge, switch to a dry one. Dab the bubbles till they disappear.
#4. Use a Knife
If you can’t remove that stubborn bubble, you can use a knife or anything sharp to pop it. However, be gentle, so you won’t damage the drywall surface.
#5. Let the Mud Dry Before Sanding
If none of the above works, let the drywall mud sit before sanding it. Allow the mud to dry completely; it should be easier to remove bubbles.

