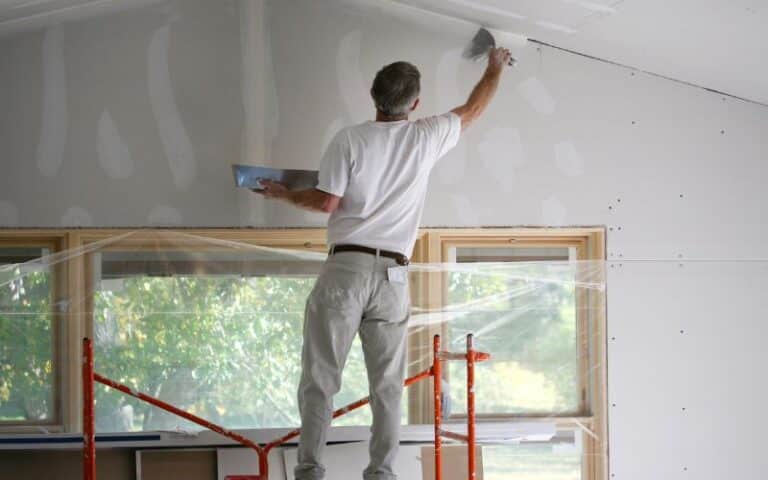
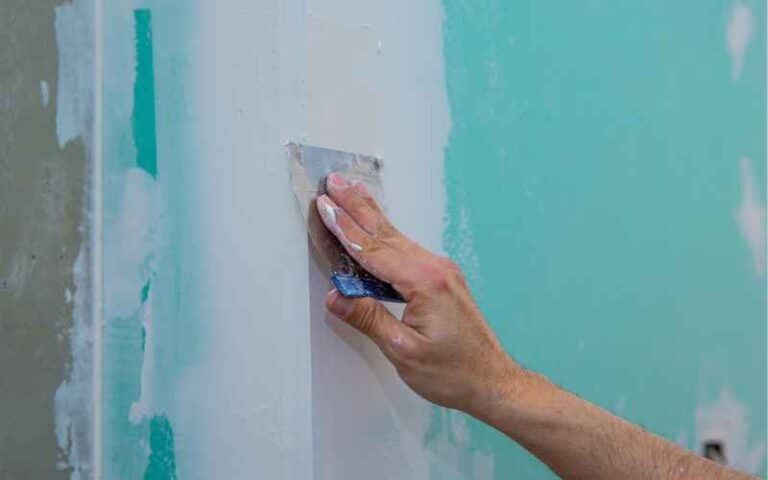
Drywall mud is a substance you apply on drywall surfaces to seal joints and provide a sticky layer for taping and sheathing.
Some homeowners may use wood to provide a smooth surface finish instead of drywall.
When you use wood in place of drywall, you’ll still need to follow through the taping process, sheathing processes, etc. These processes require the use of drywall mud.
That said, can drywall mud stick to 2×4 wood?
Yes, drywall will stick to any wood, including 2×4 wood. However, the mud is prone to cracks in the wood. To prevent cracks, you should use a joint compound resistant to humidity, such as Durabond and Sheet Rock, an all-purpose joint compound. Applying primer before the mud will help it adhere more.
In this article, I’ll tell you steps to take for drywall mud to adhere correctly to 2×4 wood. You’ll also get to know how to tape 2×4 painted wood.
Ready for a Drywall Quiz?
Will Mud Adhere to 2×4 Wood?
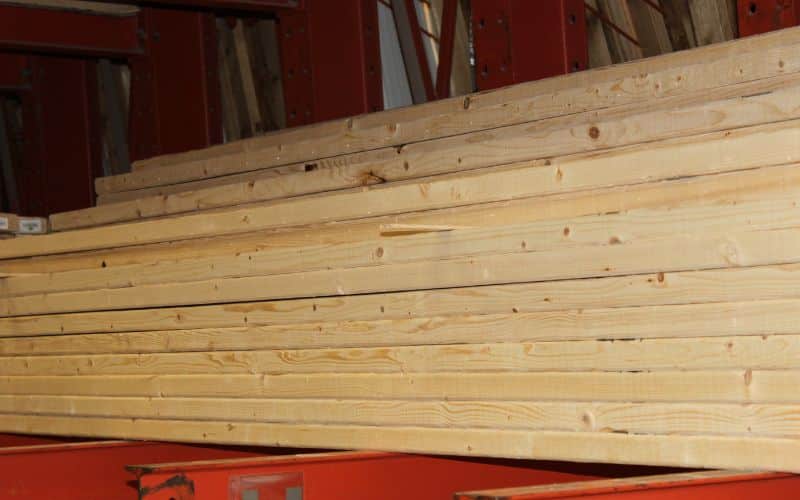
Yes, mud will adhere to 2×4 Wood. You can increase the adhesion by applying a coat of primer before spreading the drywall mud on the surface.
Here is a table showing tools and materials you’ll need to ensure drywall mud adheres to 2×4 Wood on application.
| Tools and Materials | Uses |
|---|---|
| Primer | To facilitate increased adhesion. |
| Putty knife | To spread the drywall mud over the wood. |
| 100 grit sandpaper | To provide a smoothened wood surface. |
Here are steps to apply drywall mud on 2×4 wood:
- The first step is to prepare the wood. Clean all dust, dirt, and anything else that can affect the adhesion of the mud to the wood.
- Apply a primer on the wood and leave it to dry.
- Prepare your drywall mud for application. Ensure to use a compound that is resistant to humidity and prevents cracks.
- Use a putty knife to apply the compound to the wood. The base layer should be about 1/16 inch thick.
- Allow the first coat to dry before applying more mud layers till you cover the wood completely.
- Use 100-grit sandpaper to give the wood a smooth finish.
Can You Tape Drywall to 2×4 Wood?
Yes, you can tape drywall to 2×4 wood. Here is a table to show the tools and materials you’ll need to tape drywall to 2×4 wood.
| Tools and Materials | Uses |
|---|---|
| Joint compound | To secure the drywall and the wood. |
| Primer | To provide you with more adhesion. |
| Measuring tape | To determine the length of the wood. |
| Paper drywall tape | To secure the drywall to the wood. |
| 6-inch drywall knife | To remove the excess joint compound from the tape. |
| 100-grit sandpaper | To smoothen the surface. |
Here are the steps to tape drywall to a 2×4 wood:
- The first step is to prepare a joint compound for the taping. You can use premixed or hot mud to tape the drywall to the wood.
- Clear dust and dirt away from the surface of the wood.
- Apply a primer on the Wood to facilitate more adherence.
- Use a putty knife to apply a coat of joint compound on the wood to align the drywall. Ensure to cover up any available gaps and cracks.
- Use a measuring tape to get the length of the wood and then pencil it down.
- Cut out the paper drywall tape according to the measurement of the wood
- Butt the paper drywall tape against the wood. Use the 6-inch drywall knife to remove the excess mud on the tape and leave it to dry.
- Use 100-grit sandpaper to smoothen the area.
Can the Yellowing of Drywall Mud Affect its Stickiness to 2×4 Wood?
drywall mud yellowing reasons & solutions may indeed impact its stickiness to 2×4 wood. If drywall mud starts to yellow, it could indicate a moisture issue or improper application. In such cases, the stickiness may be compromised, affecting the adhesion to the wood. To avoid this, ensure proper ventilation during application, use appropriate primers, and address any moisture concerns in the surrounding area.
Can You Use Drywall Mud on Painted 2×4 Wood?
Yes, you can use drywall mud on painted 2×4 Wood. However, they stick correctly to the painted wood unless you apply a primer.
Here is a list of some of the best primers to use on your painted 2×4 wood:
- General finishes stain-blocking primer.
- Kilz adhesion high bonding interior latex primer
- Zinsser shellac primer
- Zinsser bull’s eye 1-2-3 all surface primer
- Kil premium high hide stain-blocking latex primer
#1. General Finishes Stain Blocking Primer
Here are some pros to using the general finishes stain-blocking primer:
- This primer is of high quality.
- It properly hides stains on surfaces.
Here are the cons to using the general finishes stain-blocking primer:
- This primer is quite expensive compared to other primers.
- You’ll need to apply about two coats of the primer to get the best result.
#2. Kilz Adhesion High Bonding Interior Latex Primer
Here are some pros to using kilz adhesion high bonding interior:
- This primer dries quickly.
- It adequately covers up stains on the surface.
Its thick formula is the only disadvantage of the kilz adhesion high bonding latex primer.
#3. Zinsser Shellac Primer
Here are the pros to using Zinsser shellac primer:
- Zinsser shellac primer helps to block out odors permanently.
- This primer dries in about 15 minutes of application.
- Zinsser shellac primer is the best type of primer to use in terms of adhesion.
- Zinsser shellac primer adequately seals water damage.
Here are the cons to using Zinsser shellac primer:
- It exudes high VOCs and fumes.
- This primer is not easy to clean up and requires denatured alcohol.
#4. Zinsser Bulls Eye 1-2-3 All Surface Primer
Here are some pros to using Zinsser Bull’s Eye 1-2-3 all-surface primer:
- Dries in a short time.
- Sticks to any surface, including wood.
- Easily seals stains on the wood.
- It is resistant to mold and mildew.
- This primer is a rust inhibitor.
- Suitable for use under low temperatures.
- It provides you with the best coverage.
The only disadvantage to Zinsser bull’s eye 1-2-3 all surface primers is that it could have a better adherence ability.
#5. Kil Premium High Hide Stain Blocking Latex Primer
Here are some pros to using Kil premium high hide stain-blocking latex primer:
- This primer easily blocks out stains.
- This primer adequately conceals odor.
- This primer does not exude VOCs.
Here are some pros to using Kilz premium high-hide stain-blocking latex primer:
- The formula is thick.
- Compared to other primers, this latex primer does not dry out evenly.
You can purchase the kilz premium high-hide stain-blocking latex primer on Amazon.
How to Prime Painted Wood?
Here is a table showing the materials needed to primer painted wood and its uses.
| Materials | Uses |
|---|---|
| A brush | Apply the primer on the wood. |
| 180-grit sandpaper | To smoothen out the wood surface. |
| Polishing paste | To get rid of stubborn stains. |
Here are the steps to apply primer on painted wood:
- The first step is to wear safety gear. A dust mask to prevent dust from getting into your lungs, and gloves to protect your fingers.
- Clean up the painted wood surface and remove the stains and grease.
- Use a brush to apply the primer onto the surface. Allow the primer to dry for about 6-8 hours.
- Use 180-grit sandpaper to sand the wood surface once it dries.
- After sanding the surface, apply another coat of primer on the wood surface.
Once you finish priming the painted Wood, you can then go ahead to apply drywall mud on it.

