If you’re a DIYer or a professional contractor working on a drywall project, you may have heard the term “sanding between coats.”
Sanding between coats of drywall is an essential part of the drywall installation process. However, how does it help you when using drywall in your home, and what is its importance?
Is this step necessary, and what must you know to ensure your project succeeds? Hence, the question what does “sanding between coats” mean?
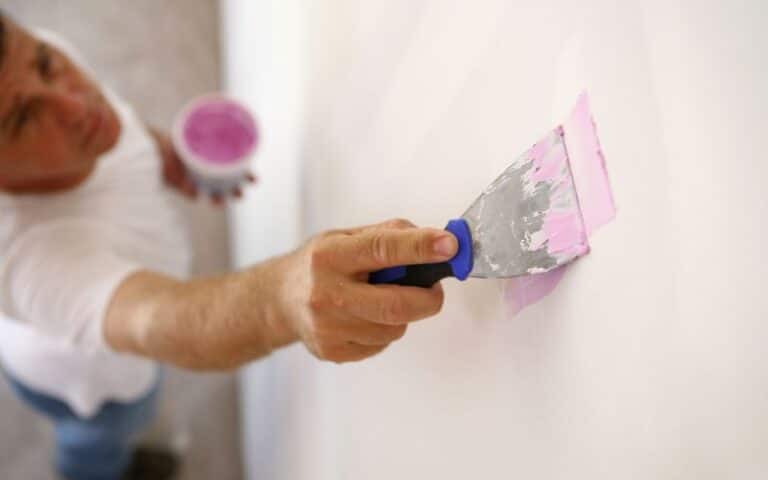
Sanding between drywall coats refers to sanding the joint compound on the drywall, reapplying another coat of the mud, then leaving it to dry. Sanding between these coats allows you to smoothen the drywall’s ridges, bumps, etc., which gives a professional-looking finish. You use sandpaper or a sanding tool to sand your drywall until it’s smooth.
In this article, I’ll explain why sanding between coats of drywall is essential and how to sand between coats of drywall for the best results.
By the end, you’ll know what sanding between drywall coats is and how often you should coat and sand it. You’ll also know which grit sandpaper to use for the sanding process.
Ready for a Drywall Quiz?
Do You Need to Sand Between Drywall Coats?
It is vital to sand between drywall coats when drywalling, although not compulsory; sanding is essential to ensure the best results.
Sanding between coats helps create a smooth finish and is necessary for a professional-looking job. You may have visible ridges, bumps, and rough patches without sanding between coats.
Sanding also helps to flatten out any imperfections from the previous coat, allowing you to achieve an even coat on each layer.
Additionally, sanding creates a stronger bond between the old and new layers of drywall, which is essential for a successful project.
If you want to get the most out of your drywall job, take the time to sand between coats.
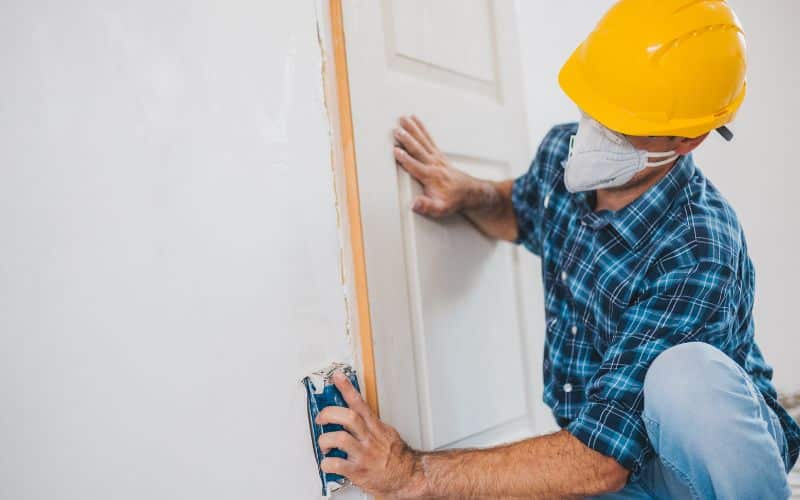
When sanding, use light pressure and always wear a face mask. That will prevent you from inhaling or getting dust particles in your eyes.
For optimal safety, use a dust extractor when available. If you don’t have access to a dust extractor, try using damp cloths or sponges instead of sandpaper.
Sponges and damp cloths are less likely to kick dust particles into the air. It’s also essential to always vacuum the area after sanding.
Vacuuming ensures you clean up all particles before moving on to the next step.
For bigger jobs, using an orbital sander or electric hand sander can be helpful as this will save time compared to hand sanding.
However, always take extra caution when using powered tools, as these can cause more dust than regular hand sanders.
Overall, it’s essential to sand between coats of drywall to ensure that your finished product looks smooth and professional. Not only will it look better, but it will also be stronger and last longer.
How Many Times Should I Coat and Sand Drywall?
You should coat your drywall with joint compound two to three times and sand between each coat.
However, the number of times you do this depends on your preference, the drywall’s quality, and the texture you want to achieve.
The first coat should be applied in a thin layer for walls and ceilings and then allowed to dry completely before sanding and applying the second coat.
The second coat should be slightly thicker than the first, covering imperfections or tape lines.
Once you’ve applied the second, it should also be allowed to dry completely before being sanded down. Then, if needed, use the third coat and leave it to dry before sanding.
When sanding drywall between coats, it is crucial to use the correct grit sandpaper is essential.
For the first coat, it is best to use medium-grit sandpaper, such as 120-grit. The sandpaper will help smoothen out any lumps and bumps.
For the second coat, you can use fine-grit sandpaper, such as 220-grit. That will ensure a smooth finish.
It is important to note that if your drywall project requires more than two coats, you must sand each coat before applying the next.
For example, if you do three coats of drywall compound, you must send the first two coats before applying the third.
That will help ensure that each coat seals appropriately and has no ridges or bumps. You typically need two coats of drywall compound for walls and ceilings.
However, if you require more than two coats, sand each before applying the next to ensure a smooth finish.
After all the coating and sanding, apply a primer-sealer before painting your drywall to give it a professional and finished look.
To achieve the desired look for your drywall, you should consult a professional or user guide for your joint compound type.
What “Grit Sandpaper” Is Best for Drywall Coats?
When sanding drywall, using the correct type of sandpaper for the job is vital. The 120-220 grit sandpaper is the best range of grit sandpaper to work on your drywall.
You cannot use very coarse sandpaper while working on your drywall, so it doesn’t damage the finish, or you get a rough finish.
Sandpapers have different grits so that you can use them for various projects. Some other factors, like the type of project, also affect the grit sandpaper you use for your drywall.
For instance, if you’re working on a small and doing manual sanding, you can start with slightly coarse sandpaper, like 100-120 grit. Then switch to finer sandpaper of 150 grit or thereabout.
For a big project that requires power sanding, you can start with a fine grit, like 150, then switch to about 180-220 grit to finish it.
It would help if you blended the coarse and fine grit to get the right grit sandpaper for your drywall.
That’s because coarse grit will give you a rough finish, and a very fine grit will take longer when sanding, so it’s time-consuming.
For your sanding after your first coat of joint compound, start with 120 grit, then for the second coat, 150-grit sandpaper. Then for the third coating, you can switch it to 220-grit sandpaper.
That will help to ensure that any ridges or bumps in the wall are smooth. You can also use a damp cloth to lightly wipe the wall after sanding.
That will help ensure that all dust particles have been removed from the wall before you apply a new coat of drywall.
Remember always to wear safety goggles when sanding drywall, and be sure to change out your sandpaper frequently so that it remains effective.
If you follow these steps, you will have a perfectly smooth and even surface on which to apply your final coat of drywall.
Ultimately, the type of grit sandpaper best for your drywall depends on the drywall’s condition and how you want the finish to look.
Wet Sanding or Dry Sanding; Which Is Best for Drywall Coats?
When it comes to sanding between coats of drywall, the debate between wet sanding and dry sanding continues.
While both methods have pros and cons, the choice ultimately comes down to personal preference.
Dry sanding is typically the easiest and most popular method for sanding drywall. This method uses a dry sanding sponge or sandpaper to evenly sand the surface.
Dry sanding is ideal for light sanding between coats and offers quick results. However, the main downside to dry sanding is that it creates a lot of dust which can be challenging to clean up.
On the other hand, wet sanding involves using water and a particular type of wet/dry sandpaper.
Wet sanding produces less dust and more effectively removes stubborn marks or lines the taping knife leaves.
Additionally, wet sanding helps to eliminate air bubbles created during taping. The main downside to wet sanding is that it is more time-consuming and requires more water.
Here are the advantages and disadvantages of wet sanding:
| Pros | Cons |
|---|---|
| You achieve a smoother finish with less dust. | Need for special tools, and it’s more time-consuming. |
| It is safer when working on a delicate surface. | When not done correctly results in surface damage. |
Here are the upsides and disadvantages of dry sanding:
| Pros | Cons |
|---|---|
| Faster and more convenient. It doesn’t require special tools | Cause lots of dust which can cause respiratory problems. |
| It requires less specialized tools. | The mess it causes is difficult to clean up. |
Whether wet or dry sanding, use fine-grit sandpaper (120-220 grit) for the best results. Always wear a dust mask and safety glasses when sanding, no matter your chosen method.
When faced with a wet or dry sanding option, go for dry sanding if you want a fast job. However, opt for wet sanding if you want a smooth finish with less dust, not minding the stress.

