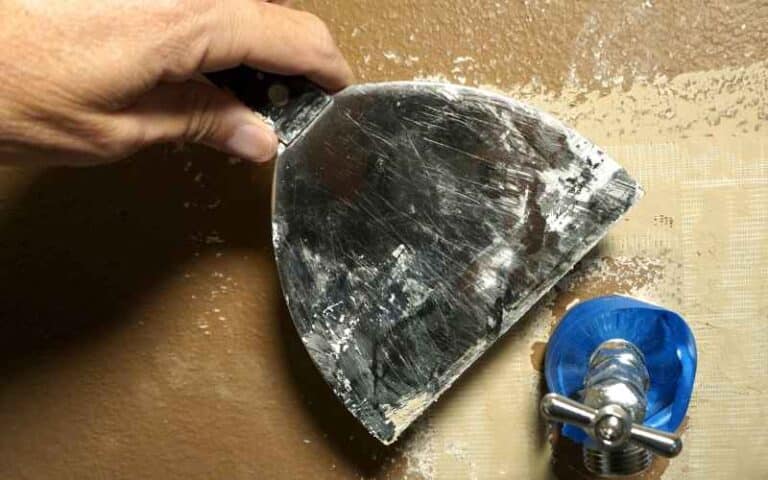
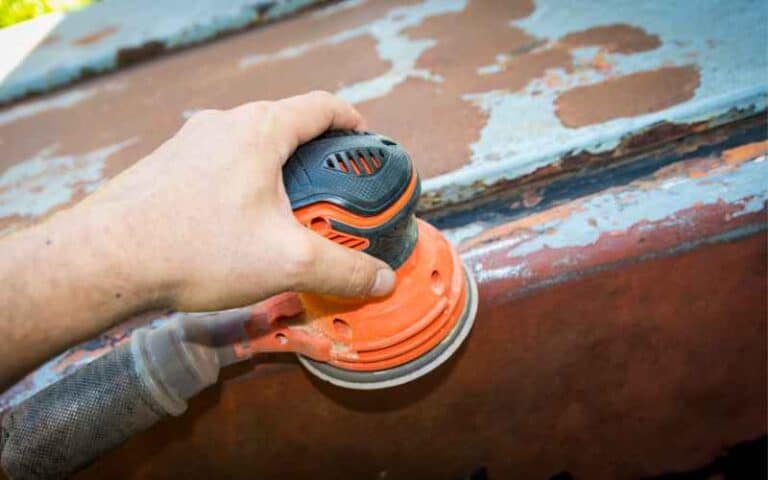
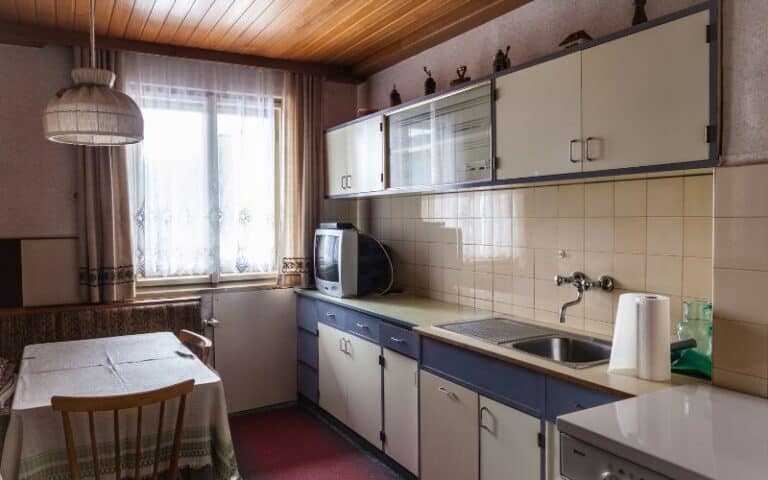
The skim coating gives walls smooth and even surfaces. Drywallers use this process to repair damages and improve the appearance of walls.
On older walls, skim coating fix damages from wallpapers, retexture drywalls after repairs, or restores the appearance of old walls.
However, new walls don’t require these fixes. At least not yet. Therefore, many people wonder if a new drywall needs skim coating.
Your specific situation and preferences determine whether you must skim-coat a new drywall. That is to say, the process is not always necessary, but it has some advantages. It can make new drywall smoother, rid it of imperfections, and make it easier to paint. However, it may be unnecessary on a smooth and textured wall.
This article will examine why you might want to skim-coat a new drywall. We’ll also look at a step-by-step guide on skim-coating drywalls.
Ready for a Drywall Quiz?
Why Should You Skim Coat a New Drywall?
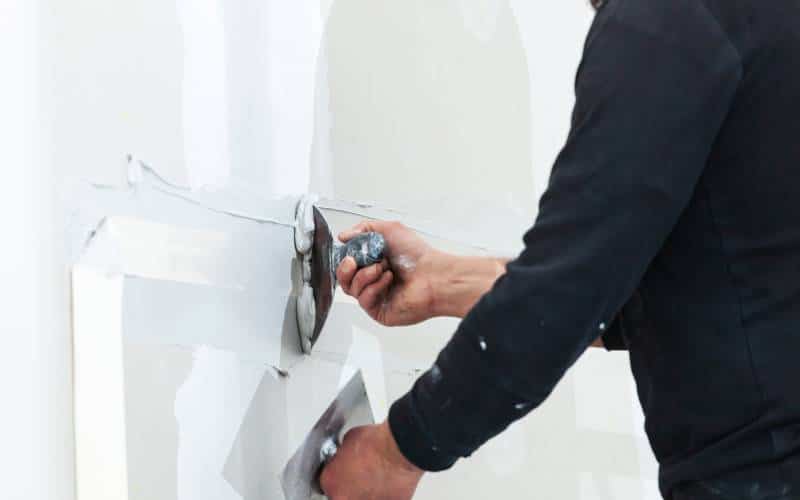
A skim coat offers many advantages on a new drywall. Essentially, it gives the surface a smooth and even finishes. Let’s explore some reasons why you should skim-coat a new drywall.
Firstly, drywalls consist of large sheets, which drywallers install edge to edge. This situation results in inconsistencies in the level of the wall and can lead to an uneven and bumpy surface.
The skim coating eliminates such variations in the drywall levels and smooths the surface. The process ensures the wall is free of ridges, bumps, and other flaws.
Furthermore, the initial installation of drywall leaves gaps between walls and floors. Skim coating blends the walls with the floor, ensuring smooth floor-to-surface walls.
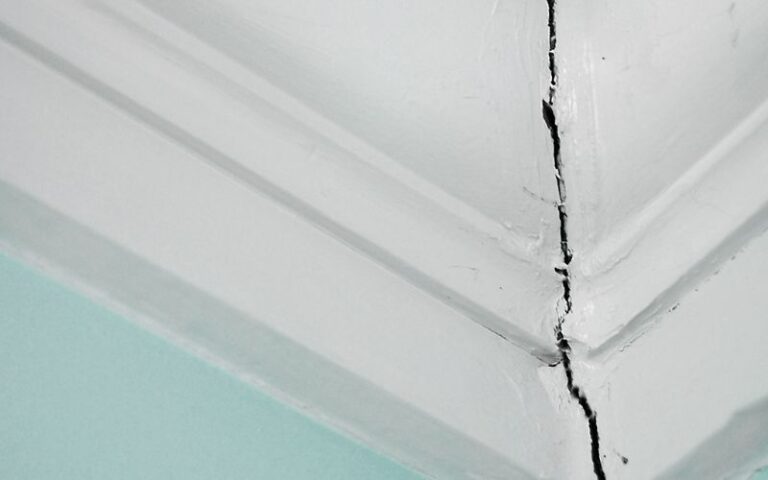
Secondly, new drywalls usually have defects such as small holes, dents, or scratches that require covering. Joint tapes and screws may also be visible on the surfaces of new drywalls.
Skim coating hides these imperfections, giving the drywalls uniform surfaces.
Thirdly, skim coating ensures easy and consistent painting. A skim coat enables the paintbrush to move over the wall without obstruction from defects and uneven surface levels.
The smooth surface that a skim coat gives drywalls also enhances paint adhesion to the walls.
That’s because smooth surfaces allow for the even application of paint. Furthermore, skim coating facilitates wallpaper installation as it smooths out imperfections.
It also creates a consistent surface and enhances the adherence of wallpapers to drywalls.
Fourthly, as an extra layer, a skim coat provides additional drywall protection. It makes new drywall durable and resistant to wear, especially in high-traffic areas such as hallways.
Finally, despite skim coating seeming like an additional expense, it is a cost-effective way to get a good finish. Doing it well can last for years, saving you money in the long run.
You can see, for these reasons, that it is advantageous to skim coat a new drywall. You may not find it necessary, but it will make a big difference in the overall appearance of your drywall.
Do You Need to Skim Coat Before Priming?
Whether you need to skim coat before priming or not depends on the conditions of your wall. Skimming coating and priming a wall ensures a smooth and uniform surface for paint adherence.
You may not need to skim coat before priming if your wall is smooth and free of imperfections.
However, the process is necessary to improve the appearance of your walls if they have flaws.
Below are some situations in which it is beneficial to skim coat before priming.
#1. Painting Over Dark Colors
If you paint over a darker color, the old paint might bleed through and affect the new color. The skim coating reduces or even eliminates the chance of this occurrence.
Therefore, if you want to use a light color over a darker one, ensure you skim coat before priming.
#2. New Drywall Installation
New drywalls tend to have unleveled and bumpy surfaces. These uneven surfaces hinder efficient priming and painting.
Therefore, if you have recently installed new drywalls, you should skim-coat them before priming. It smooths out tape lines or screws and makes painting easier and faster.
#3. Covering Textured Surfaces
The skim coating helps to cover textured surfaces and makes them smooth for priming and painting.
It also creates seamless surfaces and makes patched holes and cracks less noticeable.
Summarily, the skim coating creates a smooth drywall surface essential for priming and coating. Depending on your wall, you may need to do it before priming.
Is Skim Coating Worth It?
The skim coating offers many benefits that improve the appearance of walls. However, it is only sometimes necessary. Therefore, whether the skim coating is worth it depends on many factors.
One of these factors is the condition of surfaces. Skim coating corrects damages and improves the general appearance of surfaces. However, it is not suitable for severely damaged walls.
The desired finish of a surface influences the worth of skim coating. The skim coating will do if you want a smooth and decorative surface. Otherwise, you should try another wall repair method.
Also, the cost of material and labor determines whether the skim coating is worth it because it is expensive.
Furthermore, the skim coating is time intensive. Therefore, it may not be the best option for quick repairs. However, you can go along with it if the project has a long timeframe.
The advantages and disadvantages of skim coating will also help you decide if it’s worth it.
The table below condenses these pros and cons.
| Pros | Cons |
|---|---|
| It provides a smooth and even surface for painting. | It takes time and effort to skim-coat a surface. |
| It covers up imperfections in walls. | It is expensive. |
| It improves the overall beauty of a space or room. | It may not be suitable for some surfaces. |
| You can use it to create a decorative texture or finish. | It requires skill to achieve a clean finish. |
| It helps to restore the surfaces of damaged walls. | It is not effective at covering severe damages. |
| You can apply it quickly using the right tools and techniques. | It can be messy and time-consuming at times. |
How to Skim Coat Drywall?
Below is a step-by-step guide on skim-coating drywall.
#1. Get Your Materials:
You’ll need the following materials and tools;
- Drywall mud
- Drop cloth
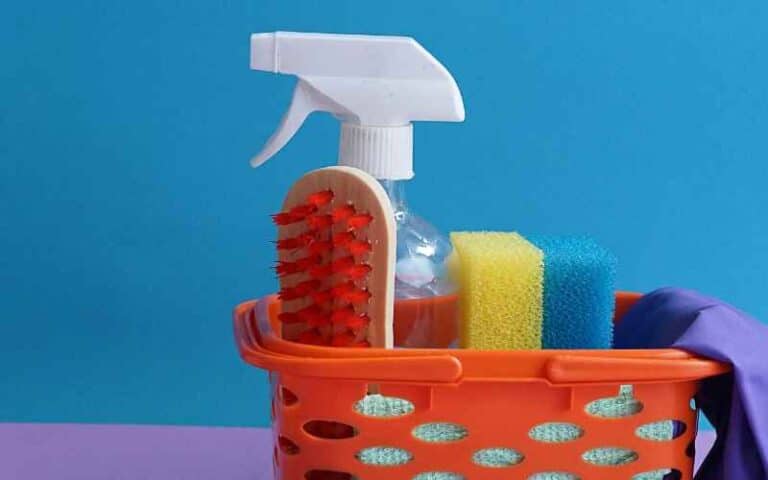
- Sponge or rag
- Bucket of clean water
- Putty knife or drywall towel
- Sandpaper (120-grit and 220-grit)
#2. Prepare the Work Area:
You can start by clearing out the furniture or other items that might get in your way. Cover the floor with the drop cloth to prevent mud from dripping.
#3. Clean the Surface:
Remove dust or debris from the surface using a sponge or a damp rag. Fill large damages with joint compound.
#4. Prepare the Joint Compound:
Mix the joint compound using a “Quick set” to a thin consistency. It is best to use a premixed compound if you’ve not applied a skim coat before.
#5. Apply the First Coat:
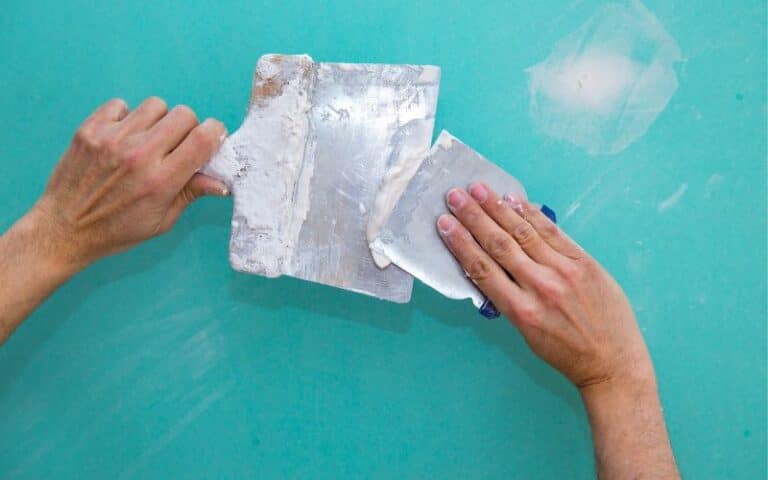
Apply a thin layer of joint compound using the putty knife or drywall trowel.
Spread the mud evenly, ensuring that it fills gaps and low spots. Don’t apply too much compound at once.
#6. Sand the Surface:
Let the surface dry completely, then sand it with 120-grit sandpaper. Wipe down with a sponge to remove dust.
#7. Apply the Second Coat:
Apply a second coat of joint compound. This coat should be slightly thicker than the first, but ensure it is thin enough to avoid ridges and bumps.
#8. Sand Again:
Allow the surface to dry completely again. Note that drying can take several hours. After drying the sand again, use the 220-grit sandpaper this time.
#9. Finish Up:
After sanding, wipe the surface with a damp cloth or sponge to remove dust and debris. You can prime the surface if you desire. Check here to see how to prime walls.

