Homeowners use thinset for various projects, including applying tiles, concrete, brick, and backer boards. If you use a thinset on the wrong material, it will not bond properly.
And if the thinset does not bond, it comes off the wall after some time. Always ensure the thinset can stick to the material on your wall before using it for any project.
Thinset will stick to painted drywall. But, it is important to sand the painted drywall to smoothen it, clean it thoroughly, and allow it to dry before you apply the thinset. If you fail to do this, the thinset will not stick properly to drywall, creating a weak bond.
Some tiling adhesives aren’t suitable for drywall, so you must know the best adhesives and how to apply them.
This article contains all you need to know about thinset, the surfaces it can stick to, and how to apply it.
Ready for a Drywall Quiz?
Can You Apply Thinset Over Painted Drywall?
You can apply thinset over painted drywall, which will stick to the wall. However, you must ensure that you sand down the wall, clean it thoroughly, and dry it properly before applying the thinset.
Usually, thinset bonds better with porous surfaces such as new unpainted drywall and backer boards, which you don’t need to prepare, sand, or wash.
However, you can also apply thinset on painted drywall; all you need to do is to remove the shiny finish from the drywall. The wall also has to be flat and in good condition.
Remember that there are two types of thinset, modified and unmodified thinset. When it comes to painted drywall, you’re better off using a modified thinset.
The modified thinset only contains Portland cement, sand, and water retention agents. It also contains polymer, making it flexible and improving performance.
In addition, it has more strength, increased adhesion, and shock resistance. And it does not absorb as much water as unmodified, which makes it ideal for painted drywall.
How Do You Prepare Painted Drywall For Thinset?
You can apply thinset mortar to gypsum wallboard, concrete, drywall, masonry, and brick for tile installation or any other purpose.
However, you need to prep these surfaces before applying the thinset so that the surface and the thinset can bond properly. If the materials don’t bond, it can result in issues in the future.
To sand the drywall, you’ll need the following materials.
- Rubber gloves
- Safety glasses
- Dust mask
- Trisodium phosphate
- Water
- Sponge or rags
- Sanding sponge
- Tack cloth
- Putty knife
- Fine-grit sandpaper
- Vacuum
- Plastic sheeting
- Painter’s tape
- Bucket 5-gallon
So, to apply thinset to drywall, you’ll have to prep the drywall using the process below.
- Put on your safety glasses and rubber gloves.
- Mix one teaspoon of trisodium phosphate and 1 gallon of warm in a five-gallon bucket. If the wall is large, you may need 2 gallons of water and two teaspoons of trisodium phosphate.
- Soak a sponge in the phosphate mixture and use it to scrub the painted drywall.
- Soak another sponge in clean water and use it to rinse the area you just washed with the trisodium phosphate solution and allow it to dry.
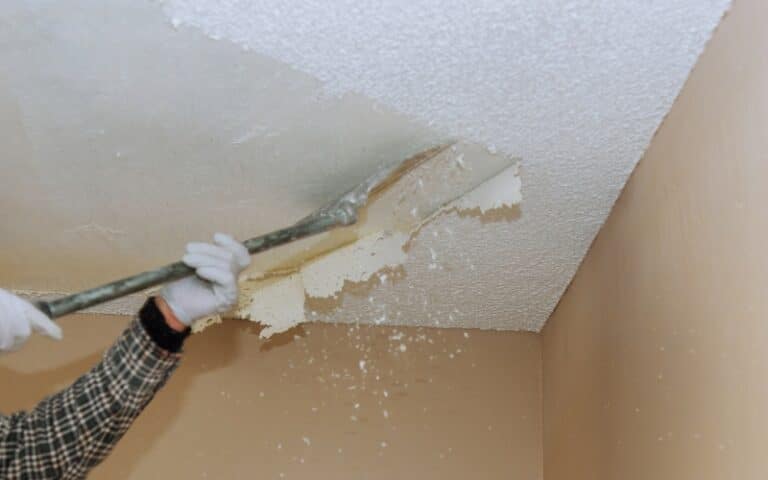
- When the wall is dry, wear a dust mask and get an 80-grit sanding sponge. Use the sanding sponge to sand the painted drywall until you remove the sheen.
- After sanding, use a tack cloth to clean off the residue from the sanding.
- If there are any holds and cracks, use some drywall joint compound to patch the holes and cracks in the wall.
- Use fine-grit sandpaper, such as a 220-grit, for sanding the areas you’ve patched so that they have a smooth consistency. Then use a tack cloth to wipe off the dust from sanding.
- Finally, use a vacuum cleaner to remove the sanding dust from walls, countertops, and other surfaces.
If the drywall is new or unpainted, you don’t need to prepare it, as the thinset will bond flawlessly once the drywall has no paint on it.
Also, if you’re using translucent tiles to tile over brightly colored drywall, apply primer to the walls before you begin to sand so that the color will not bleed through the tiles.
Finally, even with adequate preparation, you must use the thinset mortar required for the tile you want to install; otherwise, the thinset will not bond properly.
Do You Need to Prime Over Painted Drywall Before Applying Thinset?
It is better to prime a painted drywall before applying thinset. This is because drywall is very porous, absorbing moisture from the adhesive and weakening its grip on the tiles.
The drywall is not waterproof, so moisture can affect the drywall surface. Also, this moisture can make tiles crack or lose their structural integrity.
When you apply primer before applying thinset, the tiles can hold and maintain their grip on the surface for a more extended period.
This is especially important in moisture-prone areas like bathrooms. And priming will also help prevent future issues like mold or loose and falling tiles.
Also, drywall is absorbent and absorbs wet material. When you prime drywall, the primer soaks into the drywall, increasing its resistance to moisture and changes in temperature.
Thus, when you prime drywall, the drywall does not absorb the glue adhesives from the thinset, and the tiles dry on a non-porous surface providing optimal adhesion.
Follow the steps below, and you can successfully prepare and prime drywall before you apply thinset.
- Select a primer that is moisture-resistant and that you can apply on multiple surfaces to be on the safe side.
- If using a water-based primer, pour water on the roller or paintbrush to dampen it. Use mineral spirits or paint thinner on the roller if you’re using an oil-based primer.
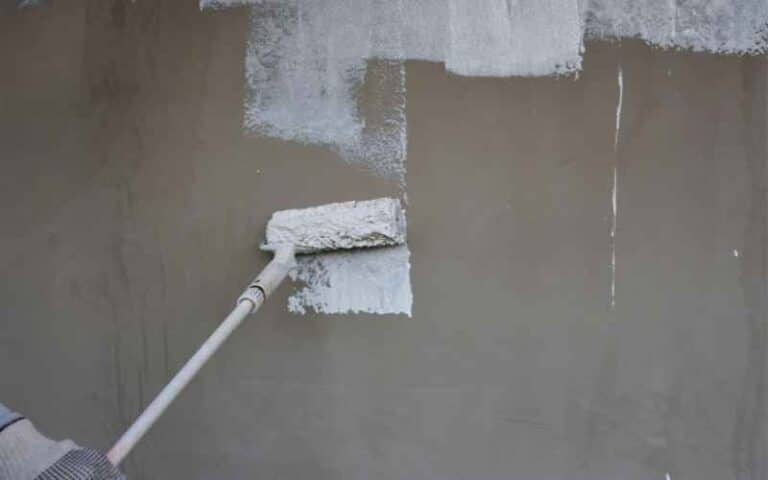
- Apply the primer to the drywall. Always prime a few inches beyond the area you want to apply the thinset.
- When putting primer on the brush, always wipe off any excess and apply it with consistent pressure to ensure it’s even.
- Prime the corners, edges, and around the trim with a paintbrush, and use a roller for the larger areas.
- Allow the primer to dry to seal the drywall, and you can apply the thinset.
- Once the primer is dry, use fine-grit sandpaper to sand the primer.
- Wipe the primed surface with water, vacuum the area, and allow it to dry.
If you finish applying the primer and it’s patchy, you need to make sure you prime all parts of it for optimal adhesion. You can use a second coat if the first one is patchy.
Modified Or Unmodified Thinset; Which is Best For Painted Drywall?
Modified thinset is the ideal option for materials such as drywall and plywood. Modified thinset contains polymers such as latex in its liquid or powdered form.
The polymers boost the drywall performance, bonding strength, and flexibility. And this thin set gets stronger by losing moisture, which bonds more as it cures or dries.
Modified thinset is better because the paint makes it difficult for the drywall and thinset to bond correctly. Modified thinset contains polymers and other materials that aid curing.
Choosing one or the other is essential because a modified thinset needs air to cure correctly, while an unmodified thinset does not need air to cure properly.
That means the longer the unmodified thinset holds moisture, the stronger it gets and the better it bonds.
However, there are better surfaces than painted drywall for thinset. So, it is better to use a stronger and more flexible thinset.
There are marked differences between modified and unmodified thinset, as shown in the table below.
| Modified thinset | Unmodified thinset |
|---|---|
| Contains Portland cement, sand, water retention agents, and polymers. | It contains Portland cement, sand, and water retention agents |
| It gains its strength when it loses moisture. | It gains its strength on moisture for hydration. |
| Modified thinset takes longer to cure | Unmodified thinset cures within a shorter period. |
| It is stronger and more flexible | It is also referred to as dry-set mortar. |
| Modified thinset needs air cure | Unmodified thinset can cure without air |
Remember the following tips for better results: whether using a modified or unmodified thinset.
- Always add the thinset mix to the water instead of pouring water into the thinset mix.
- Mix the thinset using a drill fitted with a mixing pad.
- Start mixing the thinset slowly so that you don’t splash it around, and stop mixing when the thinset has the consistency of peanut butter or frosting.
- When applying the thinset, please don’t leave any gaping holes.
- Use the thinset within 20-30 minutes; otherwise, it will harden in the bucket and become useless.

