Drywall preparation is an important process to give a smooth finish to a surface. However, this process involves certain procedures you must follow to get the best result.
The drywall application process may be tricky when handling 45-degree corners. You might consider an easy solution that is overlapping, but you don’t know how to go about it.
Do not overlap drywall on your 45-degree corners. Overlapping drywall is suitable for 90-degree angles, not 45-degree angles. If you persist on overlapping, the corner beads will be insecure and fall apart sooner than expected.
In this article, I’ll explain how to install 45-degree corners properly. You’ll also get to know about caulking drywall corners instead of taping.
Ready for a Drywall Quiz?
How Do You Overlap 45-Degree Drywall Corners?
Do not overlap your 45-degree drywall corners. Overlapping the drywall corners can cause bumps and prevent the corner beads from being secure.
Instead of overlapping 45-degree drywall corners, you should follow the correct process to install the corner bead.
Here is a table showing the materials you’ll need to install 45-degree drywall corners and their functions:
| Tools and Materials | Function |
|---|---|
| Measuring tape | To measure out the size of the space to place the 45-degree drywall |
| Utility knife | To cut out the drywall |
| Straightedge | To score out the drywall according to the measurement |
| Drill | To insert screws through the drywall |
| Drywall screws | To secure the drywall to the wall studs |
| Metal snips | To cut out the drywall corner bead |
Here are the steps to follow on how to install 45-degree drywall corners
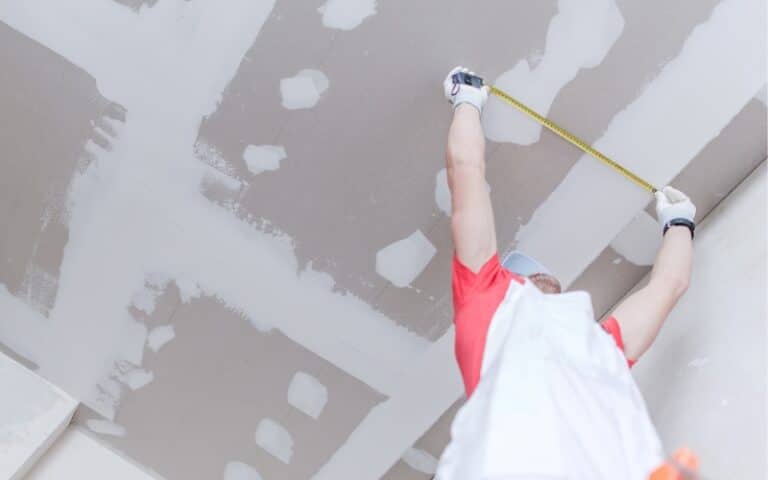
- Use your measuring tape to measure out the distance from the 45-degree drywall corner stud to the last bit of drywall
- Use a pencil to mark out the exact measurement on a drywall piece from to bottom
- Score out the drywall piece with a straightedge and utility knife and then cut through the paper backing
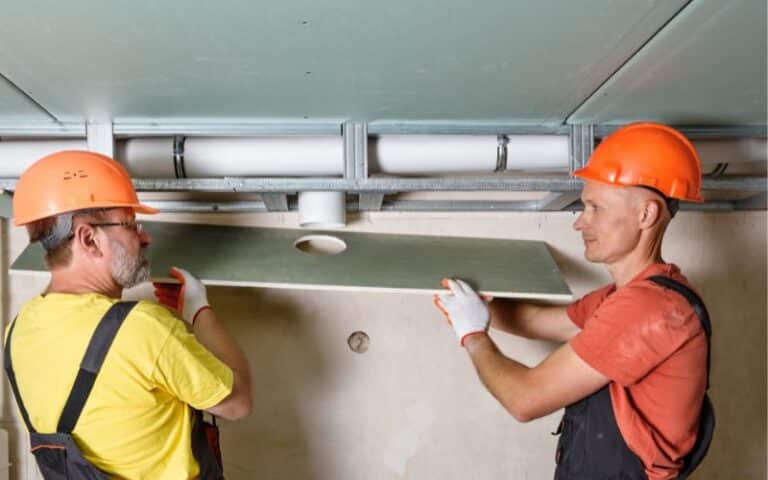
- Place the drywall piece on the space you measured and use a drill and Phillips driving a bit to drive in drywall screws. Make sure the screws go through the drywall and studs.
- Cut out a drywall with the measurement you used for the first piece.
- Place the second piece of drywall at the wall stud edge and drive screws through it.
- Repeat the same steps for the second row of the drywall
- Secure the second row’s bottom edge to the first row’s top edge
- Use a measuring tape to measure out the height from the ceiling to the floor
- Score out the measurement on a drywall corner bead and cut it out with metal snips
- Place the cutout corner bead at a 45-degree angle and then secure it with drywall screws to the drywall
- Spray the corner edges with adhesive to secure the beads in place.
What Can I Use For a 45-Degree Corner on Drywall?
You can use paper or fibre-reinforced paper tape to finish the 45-degree corner on your drywall.
Here are steps on how to tape a 45-degree corner on drywall:
- Prepare joint compound for this process and apply it on the beading edges with a 4-inch knife
- Spread the compound properly with the knife and leave it to dry for a while, preferably overnight.
- Once it dries, use a 6-inch knife to apply another coat of mud, and use an 8-inch knife to apply a third coat of mud once the second one dries.
- Layer the paper tape of the third coat and then allow it to dry. Once it dries, use 120-grit sandpaper to sand the topcoat.
How to Prepare Joint Compounds?
There are two types of joint compounds; premixed mud and hot mud. Premixed any mixing while hot mud does.
Here are materials you’ll need for mixing hot mud and their functions
| Material | Function |
|---|---|
| Buckets | To hold the mud and to hold water |
| Mud mixing drill | To mix the mud properly |
| Water | To soften and break down the mud |
Here are steps on how to mix hot mud:
- You’ll need to buy some buckets, a mud mixing drill, and drywall quick-set mud from a brand like CGC lifeline or the USG, plus three for the drywall mud mixing.
- Open the drywall mud from its packaging by unfolding the box and then tear open the plastic bag containing the content.
- Transfer the content carefully by turning it over into a bucket, and then dispose of the bag.
- You will notice that the mud is dry if you purchase drywall mud from a brand like CGC. The dryness of the mud makes it good enough to use in place of the quick set, just in case you can’t find one available.
- Pour some water into the bucket of mud and use the mixing drill to break it down for a while.
- Hold the bucket between your legs, and let the drill spin at the bottom.
- Pause the drill between spins as you slowly work your way to the top of the bucket.
- Add more water into the bucket and lift the drill to the top to spin. The mud will get smoother as you spin the mud.
- Once the mud is smooth enough, you can use it for the drywall taping.
Can You Caulk Drywall Corners Instead of Tape?
Yes, you can use caulk for your drywall corners instead of tape. However, using mud and tape is more effective and lasts longer than caulk.
Here is a table to show the pros and cons of using caulk for your drywall corners:
| Pros | Cons |
|---|---|
| Caulk is cheap | Caulk does not last long |
| It dries quickly | The finished look of the caulk is not the best |
| It is beginner friendly | It is at higher risk of cracking |
| You can easily remove it when you make a mistake or when it is wet | It does not work well when it is wet |
Here is a table showing the materials you’ll need to caulk drywall corners and their functions:
| Tools and Materials | Function |
|---|---|
| Caulking gun | To apply the caulk |
| Tube of caulk | To allow the caulk to flow out smoothly |
| Utility knife | To scrape off old caulk and loose paint |
| Putty knife | To smoothen the caulk |
| Rag/Paper towel | To clean off particles |
Here are the detailed steps on how to caulk drywall corners:
Step One
The first step is to prepare the surface where you will apply the caulk. Preparing a surface for caulking involves scraping off old caulk and loose paint from it.
Remove an old layer of caulk or paint helps the new caulk stick to the surface properly. You can scrape off the old layers with a utility knife and clean off particles with a rag.
Step Two
After preparing the surface, the next step is to cut off the tape of the caulk tube. The size of the tip you cut off determines how much caulk you plan on dispensing.
Check the size of the crack or hole on the surface to determine the tip size you are to cut off. Cut the tube tip to be a little bigger than the crack to ensure higher coverage.
You should use a sharp knife to cut the tube tip through a 45-degree angle.
Step Three
After cutting off the appropriate tip size from the caulk tube, inserting the tube into the caulking gun is next.
To insert the tube into the caulking gun, lock the plunger into place by pulling it back. Next, place the tube into the gun’s barrel and then squeeze the trigger.
The gun will release the plunger when you squeeze the trigger. Place the tube into the corner you plan on filling. Run the tube along the joint as you squeeze the trigger.
Step Four
After applying enough caulk, the next step is to smooth it out before it dries. You can smooth out the caulk with a putty knife or your fingers.
Hold a putty knife at a 45-degree angle as you run it along the caulk. Ensure you do not apply too much pressure on the caulk to avoid making a mess.
Step Five
After smoothing out the caulk, the next step is eliminating excess caulk. If you do not remove excess caulk, you may be unable to apply paint or wallpaper effectively.
You can use a utility or putty knife to remove the excess caulk. Ensure you don’t apply too much force with your knife.
Here is a list of some of the best caulk to use for your drywall corners:
#1. Elastomeric Patch and Caulking Compound
- It is suitable for cracks in concrete walls
- It is suitable for expansion joints
- It can be used to fill nail holes
- It is suitable for gaps around doors and windows
#2. High-Strength Crack Repair Caulking Sealant
- It is suitable for cracks in walls and ceilings.
#3. Heavy Duty Construction Caulking Adhesive
- It is suitable for interior and exterior surfaces
- This sealant is flexible
#4. Elastopatch Textured Caulking Sealant
- It is suitable for a variety of surfaces
- It provides you with a water-resistant seal and mould resistant.
- It is suitable for both vertical and horizontal surfaces
#5. Acrylic Latex Caulking Sealant
- It is suitable for a variety of surfaces

