It is only reasonable that you are concerned about your drywall popping sound since it is loud enough to wake you up at night, giving you the creeps.
Note that this could be a natural sound made by the house or a sign that a problem needs fixing. Identifying the cause will be better for you to proffer a solution.
Drywall popping sound often stems from thermal expansions, pipes popping, house settling, water damage, metal air ducts, and sometimes pests. However, to stop these popping sounds, it will be best to get hold of a plumber or a house technician. They will help you locate and pinpoint the cause of the popping by thoroughly examining your drywall.
As we dig deeper into this article, notice that you will know why drywall makes popping sounds and how to prevent and stop it. You will also learn how to repair nail pops and drywall cracks.
Ready for a Drywall Quiz?
Why Does My Drywall Make Popping Sounds?
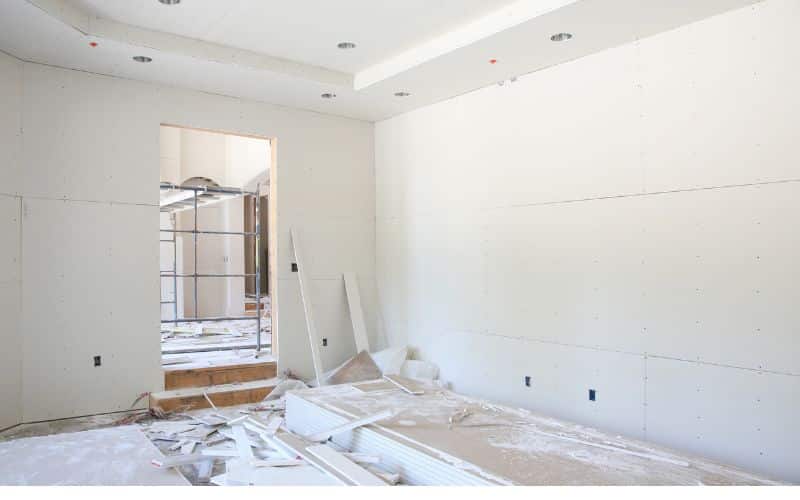
Popping and cracking sounds are nothing new on drywalls. However, identifying the causes is a way to see the problem’s seriousness.
The most common causes of drywall popping sounds are;
#1. Thermal Expansions
The issues of thermal expansion results mostly from temperature changes in a house and causes the popping noise from your drywall.
You can refer to thermal expansion as the ability of matter to change in volume as temperature changes.
From simple physics, the expansion in size that causes popping comes from an increase in temperature that causes the molecules to spread out easily and with great speed.
That same principle applies to the materials you use to construct a house. The house will either expand or contract when responding to changing temperatures resulting in a popping sound.
#2. Pipes Popping
Most other times, when you hear a popping noise coming out of your wall, it is often a result of someone turning on the hot water in the house.
And as it passes through the PVC pipes, they expand.
It happens when the pipes are installed in a small room with insufficient space to grow or shrink, causing them to rub against the wall’s wood.
Nevertheless, if the popping noise comes from the pipes, you can efficiently address the issue by insulating the pipes. And that would be the end of the popping sound you hear.
#3. House Settling
Settling is a minor adjustment in your newly built or old house. Note that the adjustment is to become like the shape of the ground at the foundation.
So during this process of the house trying to settle down, you will notice the popping sound accompanying the process.
Ensure you inspect the drywall regularly. Should there be crack development or cracks, you may need to install pillars as a way to give support to the house.
#4. Water Damage
Water leakage or penetration of the walls will also cause the popping noise you hear from your drywall. Again, the noise results from accumulated water from a leaked pipe.
As the water damages your wood, the drywall eventually becomes filled with holes. And this is why it is good to ensure that your wall is safe from water leakage.
#5. Metal Air Duct
It is something you find installed throughout the house that helps improve ventilation.
And whenever this popping sound occurs, it travels through the air duct magnifying the sound and making it louder.
The sound becomes deafening as the warm air expands and cools the metal duct. You can settle this issue by placing rubber pads between the metal duct and the wood frame.
#6. Pests
The presence of pests (e.g., mites) in the wall of the house can also cause the popping sound you hear. Other pests include rats, squirrels, bats, and other small animals.
They may be digging, chewing, or pecking inside walls or attic. The damage will be fast, so calling an exterminator or animal services is best.
How to Prevent My Drywall from Making Popping Sounds?
With environmental changes, the house’s walls will face several expansions—usually 15 feet or longer in long drywall runs.
Therefore, this is why, to prevent the popping sound, you should leave gaps between sheets so that expansions and contractions will take place freely with any obstructions.
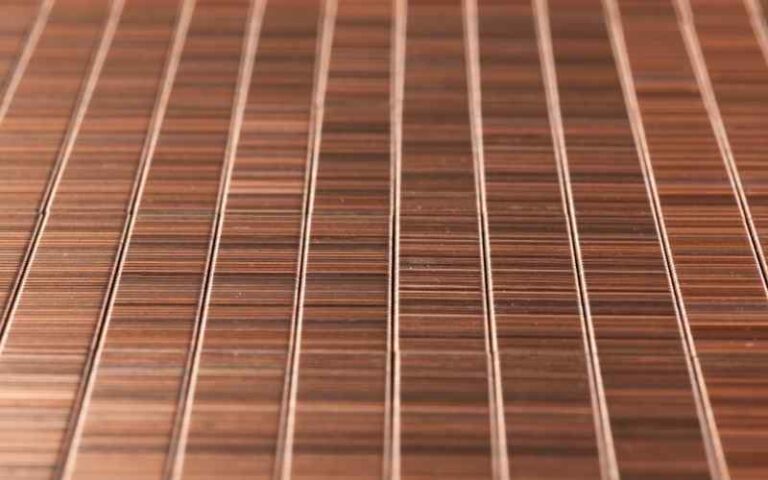
And ensure that the gaps have expansion joints to control movement and achieve a unified surface. For example, use the 093v Expansion Joint and Hideaway Expansion Joint.
They are permanently flexible; with them around, you do not need to care much about denting, wear and tear, or repairs.
Another way to prevent the popping sound is to ensure that when installing the air duct, you should cover it with rubber pads where it makes contact with the wood.
Why does my drywall anchor keep spinning and how can I fix it?
Drywall anchor spinning causes and solutions: One common cause of a spinning drywall anchor is not drilling a precise hole. The anchor’s grip may weaken if the hole is too big or too small. To fix it, try removing the anchor, filling the hole, and drilling again. Another solution is using a different type of anchor, like a toggle bolt, that provides a stronger hold against rotation.
Is It Safe to Use a Shop Vac to Clean up Drywall Dust?
Using a shop vac for drywall dust is generally safe and effective. These heavy-duty vacuums are designed to handle fine particles like drywall dust without clogging or damaging the motor. However, it is essential to use a filter specifically designed for fine dust to prevent it from escaping into the air. Remember to wear protective gear and follow safety instructions to maintain a clean and safe environment.
How to Stop Drywall Popping Sounds?
You can only be as limited as your skill and experience can carry you. So, it will be best to call an expert when facing the challenge of drywall popping sound.
Only a professional or expert can trace the cause and proffer genuinely required or needed solutions.
For instance, for pipes popping, you can insulate the pipes, and for house settling, you may need to install pillars. While for metal air ducts, you can give them rubber padding.
How to Repair Nail Pops and Drywall Cracks?
Seeing one or two nail pops may mean nothing, but you may see more if you keep your eye out.
Most times, they are not just signs of cosmetic problems but of structural issues.
Seeing them everywhere may indicate a severe structural problem in which you need to call your expert. It is also applicable to drywall cracks.
Moreover, the table below shows the tools that you need to fix issues related to nail pops and drywall cracks;
| For Nail Pops | For Drywall Cracks |
|---|---|
| Hammer | Drop cloth |
| Screw gun | Step ladder |
| Scraping tool | Sanding sponge |
| Patching tools | Joint compound |
| Patching material | Drywall taping knives |
| Medium-fine coarse sanding sponge | 5 in painter’s tool |
| Inch-and-a-quarter coarse-thread screws | Drywall joint tape or mesh |
#1. Steps for Fixing Nail Pops
Step 1: Scrape Nail Head
The nail screw head usually carries drywall, so you need a scraping tool to remove it. That way, we can reach the nail and work with it.
Step 2: Putting the Nail Back In
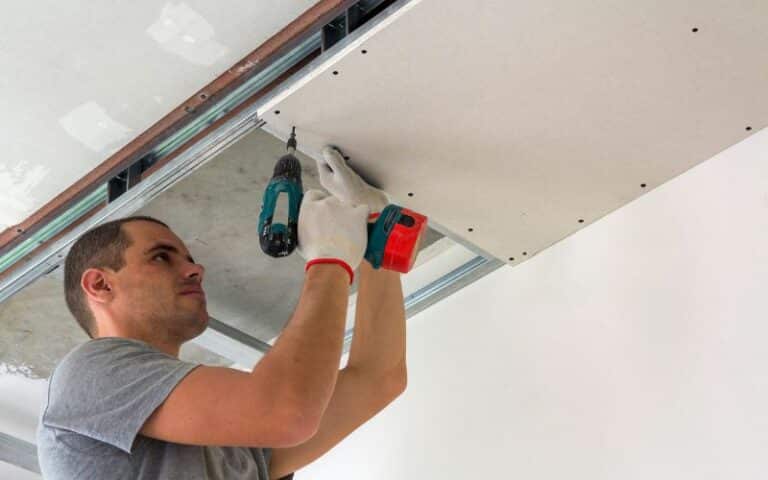
Here you will need the screw gun to loosen the popped screw. Then, driving the screw back into the wood frame behind your drywall becomes far easier.
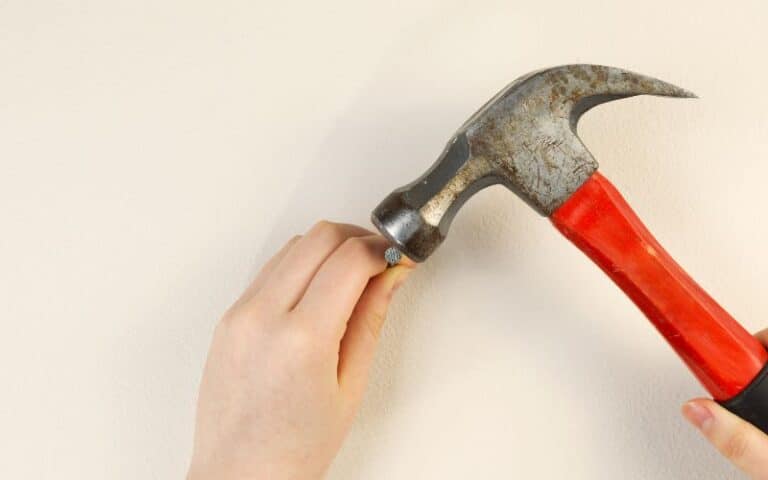
Rescrewing back into the wood frame keeps it level again and prevents popping out. However, supposing it’s a nail, we only have to hammer it back into the wall.
Step 3: Increase Drywall Screws on Wall
To give your frame a little security and prevent the screws from popping out again, adding more screws an inch above and below the original screw will be best.
This way, you can prevent it from coming out of the wall in a year, which is what will happen without the additional screws.
Step 4: Confirm It’s a Flat Area
In this step, ensure the screw head is not popping out. And you do so by using your hand to get a feel of it and ensure the area is flat.
Step 5: Patch Holes
Patching these holes means adding material to the holes on the wall and then painting over them.
It would help if you used the patching tool to fetch the patching material and cover the holes with it. Then you would smoothen the area and then prepare for sanding.
Step 6: Sand the Area with a Patch
Once the patching material dries, you must sand it and make it even with the wall. With this, you will be unable to notice the patch after painting it.
Step 7: Recheck the Wall to See that It’s Even
Doing so will help you see if the wall needs more sanding or not before painting. That way, you will have no regrets once you finish the painting.
#2. Steps for Fixing Drywall Cracks
- Spread the drop cloth.
- Either set up a ladder and rake or use 5 in 1 tool to open the crack.
- Using drywall taping knives, put joint tape over the crack and the first thin coat layer (joint compound).
- After it dries, add two additional coats. Always allow it to dry before adding another.
- Use a sanding sponge to smoothen it when the final coat dries.
- Prime the wall.
- Paint over it.

