The movement of heat from the ceiling to the ground causes discomfort in houses, and it’s advisable for everyone who owns a house or leases an apartment to insulate their ceiling to allow ventilation in and out of their doors.
Since your ceiling is closest to the sun, it’d be best if you take good care of it by reducing the heat your ceiling gets from the sun. A house that’s not correctly ventilated would be very uncomfortable.
You can carry out R49 insulation on a 2×10 roof yourself or with the help of a professional. You must perform the insulation in a warm or cool atmosphere to avoid high temperatures over your roof. During insulation, you have to push the batts between the ceiling joists. It’s best to have fitted batts that go into the joists, leaving no space.
Ready for a Roofing Quiz?
Ready for a Drywall Quiz?
How to get R49 Insulation in 2×10 Roof?
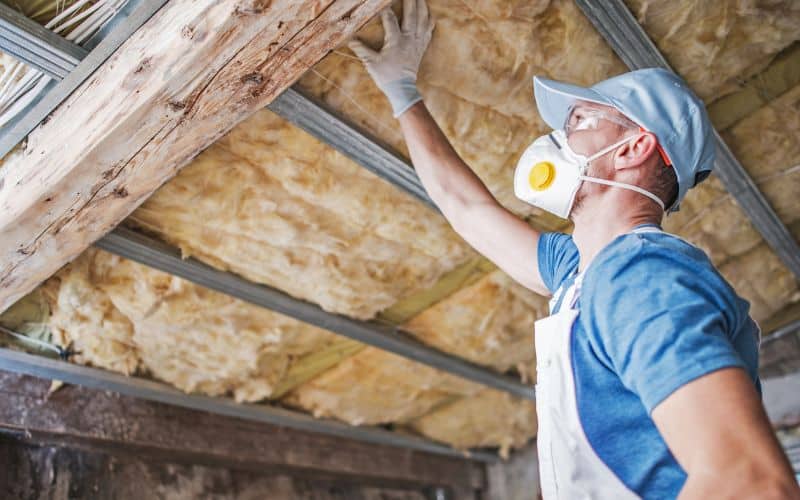
Installing insulated panels in a 2×10 roof may require a lot of complexities, which I will simplify for you so that you can grasp them and install the insulation on your own without assistance.
It’s essential to know that the R-value of any insulating material is the temperature difference required between both sides.
To conduct one BTU of energy in an hour through an area that is one square foot in size and has a thickness of one inch.
It’s advisable to insulate your ceiling after it’s constructed or renovated. Insulation helps keep your room temperature cool rather than allowing direct heat from your ceiling, making you uncomfortable.
Read below to see how you can get your vaulted ceiling insulation even without the aid of a professional.
Steps to Install an R49 Insulation in 2×10 Roof
When trying to insulate your ceiling, they’re kits you need to accompany you into your ceiling to make your work more productive and less stressful.
They include the following;
- A drill
- A saw or knife
- A nail gun
- A staple gun
- A ruler or straight edge
- Safety goggles and gloves
- Insulation material
Below are steps you must take when installing your R49 insulation.
#1. Step One: Get your space ready for insulation.
Before beginning work, you need proper illumination to see clearly from one end to another. You must purchase your floorboards or crawling boards for proper movement inside your ceiling space.
#2. Step Two: Get accurate measurements
To work out insulation in your roof, it’s best to measure from the apex of the roof down to the top of the joists and multiply by the breadth. Furthermore, measure in between the rafters to get accurate values of measurement.
#3. Step Three: Insulating under the rafters
Insulating your roof beneath is the best way to ensure no ventilation gap. You can cut your insulation board into appropriate sizes, then attach the pieces to the rafters with your mail gun.
Once this setup is done, you can go ahead to cover it with plasterboard, after which you staple the foil together with the rafter.
When you have these staples, your next step is to unroll the foil as you move to the next end; this procedure is done until the whole area is covered.
How to Achieve R49 Roof Insulation?
The R-value of an insulating product determines how insulating power it should exhibit and its resistance to the flow of heat from the ceiling. R-49 insulation is best carried out in attics in homes.
To get your roof insulated to R49, you need a closed-cell foam of 7-8 inches, depending on your preferences.
It might also be 12-13 inches for open foam cells or dense fibrous materials. To achieve a roof with proper insulation, you must have good knowledge of insulation.
R-49 works well in resolving the heat from your attic; it also helps in cracking and shingles swelling, which causes roof damage.
However, R-49 is the best for keeping your home comfortable with indoor temperature.
How many Inches of Insulation do I need for R49?
Insulation is one of the best requirements a house needs, and getting that which suits your roof is best.
However, R49 insulation thickness varies due to the combination that makes up the insulation material.
The table below depicts the inches of insulating material that you can use on R49.
| Insulation Material | The thickness of R49 Required (Inch) |
|---|---|
| Open Cell Spray Foam | 14.5 Inches |
| Closed Cell Spray Foam | 7-8 Inches |
| Fiberglass Batt | 14 Inches |
| Blown-In Fiberglass | 16.25 Inches |
| Blown-In Rockwool | 16 Inches |
| Rock Wool Batt | 14.5 Inches |
| Foam Board Installation | 10 Inches |
The table above shows different materials you can utilize as insulators in your home. With this information, you can determine the type of material you’d like to purchase.
What Insulation can Fit in 2×10?
Heat transfer can be moderated through the wooden rafters in your ceiling space. Foam board insulation is the best insulating material to fit into a 2×10 roof.
However, choosing a product with a good R-value of 3.8 to 4.4 per inch is advisable. It’s essential when you’re installing rigid foam board insulation.
Note that you must leave room for ventilation when installing insulation. If, after doing this, you notice your vaulted ceiling insulation does not allow proper ventilation.
You must attach stripes to the rafters to put insulation in place. After installing rigid foam board insulation, building requirements should be coated with a fire-rated product or material.
In many areas, drywall is available for such purposes. Once you place your insulation in your vaulted ceiling, check your home where extra insulation can increase the efficiency of energy in your home.
Insulating your home with foam boards, which are firm insulated panels, is possible in practically every section of your house, from the ceiling down to the basement floor.
Sheathing for exterior walls, sheathing for interior basement walls, and sheathing for specialized applications like attic hatches are all areas in which they perform exceptionally well.
They have an excellent thermal resistance (up to two times better than most other insulating materials of the same thickness), and they limit the heat conducted through structural elements such as steel and wood studs.
Polystyrene, polyisocyanurate (often known as polyiso), and polyurethane are the three most frequently used to produce foam board.
Conclusion
Keeping your room well ventilated should be your priority. One crucial contributing factor is the air that comes straight from your ceiling.
In addition, you must manage heat transfer appropriately to enjoy warmth and comfort with a vaulted insulation ceiling.

