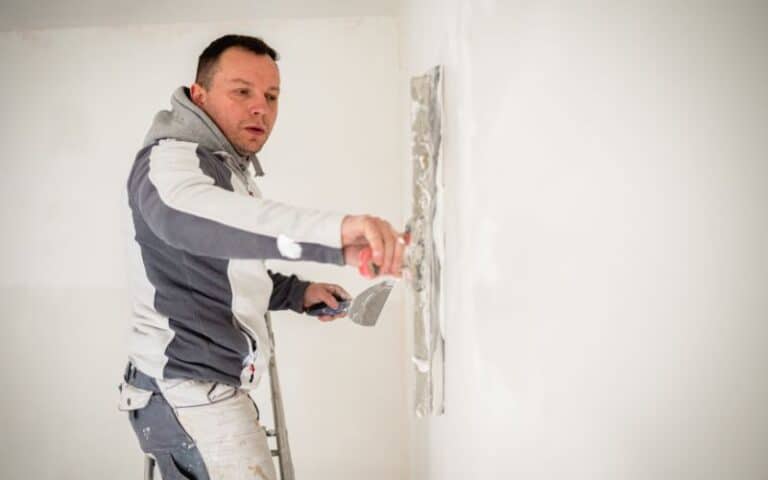
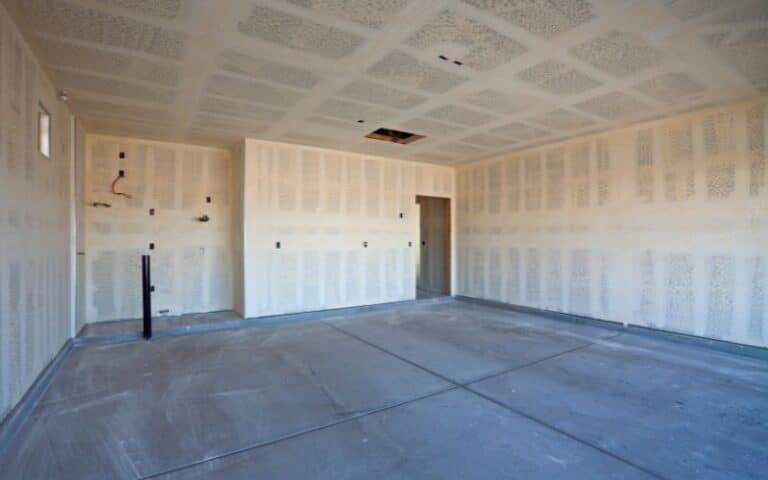
Drywall taping is where some DIYers encounter the most problems as it’s one of the most challenging bits of installing drywall.
This process usually involves smoothening several coats and layers of drywall mud (or joint compound). It may seem a relatively easy process at first, but it can be complicated.
And this is why we’re here to guide you through the process and provide you with as much information as you may need in undertaking this project.
Initially, your drywall tape is supposed to show through filler. Because if it doesn’t, then it’s an indication that your filler coat is too thick. You should only cover your tape at the last stage of coating. So, if your final coating doesn’t cover the tape, you may need to apply more mud.
No matter how complicated and cumbersome the process may seem, drywall taping can be fun only if you know the techniques and procedures to follow.
And you’ll learn more about the procedure in the course of this article. And in no time, you’ll have no trouble with drywalling.
Ready for a Drywall Quiz?
Do You Need to Cover the Drywall Tape Completely?
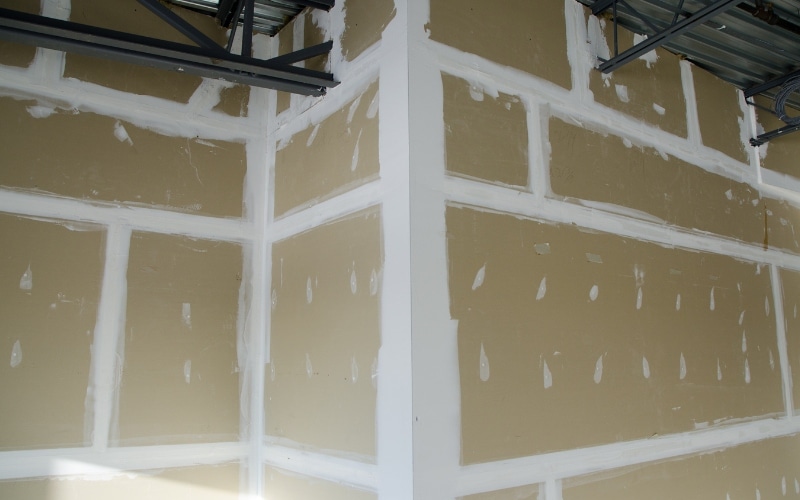
Yes, you need to cover drywall tape with the joint compound completely, but only at the final layer of the coat.
This process helps to ensure that the tape is fully embedded in the joint compound, which helps to strengthen the joint and make the finished surface as smooth as possible.
Also, ensure you cover drywall completely with tape when finishing it because it helps reinforce the joint and prevent cracks from forming.
When you don’t cover the tape fully, it can be more prone to cracking and peeling, which can ruin the appearance of the finished wall.
The uncovered tape can also create a rough surface that’s difficult to paint or finish.
Covering the tape ensures that the joint is smooth and even, giving you a better-finished product.
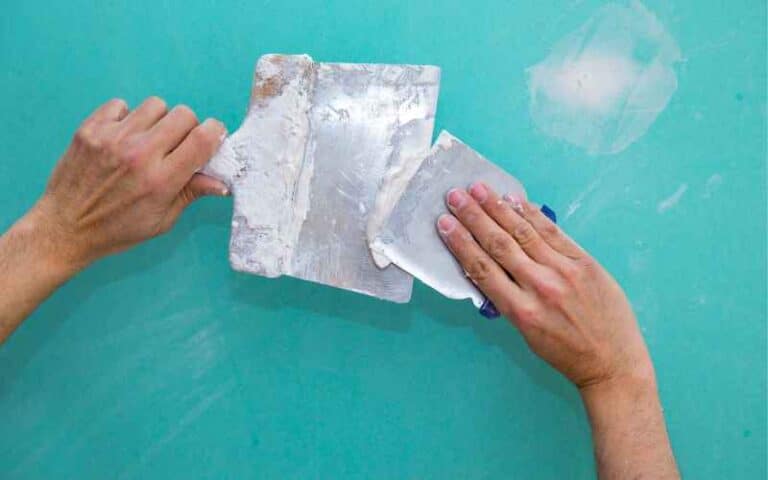
Thus, to cover drywall tape, you will need to apply a thin layer of joint compound over the tape using a drywall knife or taping tool.
You can then smoothen the joint compound over the tape, removing any excess and blending the edges of the compound into the surrounding drywall surface.
And once the joint compound has dried, you can sand it down to create a smooth, seamless finish.
It’s also best to ensure that you apply the joint compound evenly over the tape and that it’s smooth and free of lumps or bumps.
Similarly, if you don’t apply the joint compound evenly or smoothly, it can create an uneven or rough finish on the wall, which may require additional sanding or filling to correct.
Overall, it would be best if you took the time to properly cover drywall tape to ensure a smooth and professional-looking finish on your drywall project.
How to Cover Drywall Tape?
You can follow two procedures to ensure that you cover your tape properly. Nevertheless, they will yield the same result: a successfully covered tape on drywall.
And the first is that you should begin by gathering all the necessary materials, including drywall tape, joint compound, a drywall knife or trowel, and a bucket of clean water.
Then, lay a strip of drywall tape over the seam between the two drywall panels. You should center the tape over the seam and extend it about an inch beyond it on either side.
Using a drywall knife or trowel, spread a thin layer of joint compound over the tape. Cover the tape completely and smooth out any bumps or ridges.
Once you apply the first coat of joint compound, allow it to dry completely. This process may take several hours, depending on the humidity and temperature of the room.
After the joint compound has dried, apply a second coat in the same manner, making sure to cover the tape and smooth out any bumps or ridges.
Allow the second coat to dry completely, and apply a third coat if necessary. Some professionals recommend applying three coats of joint compound to ensure a smooth and seamless finish.
Then, once the final coat of the joint compound has dried, you can sand it down to create a smooth finish.
It’s always best to use fine-grit sandpaper for this. And be sure to wear a dust mask to avoid inhaling any dust.
Afterward, paint the joints to match the rest of the wall now that you’ve sanded.
Remember to follow all safety precautions when working with drywall and joint compound, including wearing protective goggles and a dust mask.
It’s also best to work in a well-ventilated area to avoid inhaling fumes.
The second procedure involves:
- Start by preparing the area for taping. This process includes removing loose debris or dust from the drywall and sanding rough or uneven spots.
- Cut the drywall tape to the desired length, making sure to leave a little bit of excess on each end.
- Then, apply the drywall tape to the center of the joint, pressing it down firmly to ensure good adhesion.
- Using a drywall knife or taping knife, smooth the tape out over the joint, starting at the center and working toward the edges.
- Be sure to remove any air bubbles or wrinkles as you go.
- Once the tape is smooth and flat, use the knife to feather the edges, blending it into the surrounding drywall surface.
- Repeat the process for any other joints or seams that need taping.
- Once all the tape is applied, it’s time to apply the joint compound.
- Using a putty knife or taping knife, apply a thin compound layer over the taped joints, smoothing it out to create a seamless finish.
- Allow the compound to dry completely, following the manufacturer’s recommended drying time.
- Once the compound is dry, sand the surface to smooth out any imperfections or rough spots.
- Wipe the area clean of dust or debris, and then repeat the process, applying additional compound layers until the joints are completely smooth and seamless.
- Finally, once the joints are fully smoothed and sanded, you can prime and paint the drywall to complete the project.
It’s best to follow and apply any of the above processes, which may be easier for you to carry out for a perfect finish.
Can You Mud Over Drywall Tape?
Yes, you can mud over drywall tape. Mudding, or applying joint compound, is a key step in finishing drywall.
After you hang the drywall panels and tape the seams between them, the next step is to cover the tape with a joint compound and smooth it out to create a seamless surface.
However, you should wait for at least 24 hours to allow the mixture to dry after mudding and smoothing.
If you try to mud over drywall tape before it has had a chance to dry, the tape will likely bubble and pull away from the wall, resulting in an uneven finish.
So, it is important to allow the tape to dry completely before sanding it down and applying additional layers if necessary.
You may need to repeat this process several times to achieve a smooth, seamless finish.
To mud over drywall tape, you’ll need to use a putty knife or taping knife to apply a thin layer of joint compound over the tape.
But make sure to follow the direction of the tape to avoid creating ridges or dips on the surface. Once the compound is applied, smooth it out with the knife, wiping off any excess.
However, if you need help with your drywall tape, it may be due to improper application or low-quality tape. In these cases, removing the tape and starting again may be necessary.
Does Primer Completely Cover Drywall Tape?
You can use drywall primer to prepare the surface of drywall for painting, but its structure is to cover drywall tape partially.
Also, you can use drywall tape to cover the seams between sheets of drywall, and it’s embedded in a thin layer of joint compound, also known as mud.
The purpose of a drywall primer is to provide a uniform surface for the paint to adhere to and to help conceal any imperfections in the drywall surface, but it will not completely cover the tape.
Often, people tend to confuse drywall mud for drywall primer. However, they are two different products you can use for different purposes of drywall finishing.
Here’s a brief tabular representation of the difference between these two products.
| Drywall Mud | Drywall Primer |
|---|---|
| It’s thin and plaster-like | Thin, liquid coating. |
| Used for filling and smoothing gaps in drywall | Applied to make drywall surface even for other finishing materials |
| Takes several hours to dry. | It typically dries to the touch an hour after application. |
| Usually applied in thick layers to fill and smooth out dents | Applied in a thin, even layer. |
| Less expensive and used in larger quantities | More expensive and used in smaller quantities. |
Furthermore, when you apply primer to the surface of the drywall, it seals the drywall and provides a consistent base for the paint to adhere to.
It would be best if you didn’t use it to cover the drywall tape, as the joint compound applied over the tape provides a smooth and seamless finish.
So, if you apply primer over the drywall tape, it may cause the tape to become visible through the paint, which will result in an uneven and unfinished appearance.
Rather than covering the drywall tape with primer, it’s important to make sure that you apply and sand the joint compound properly to create a smooth surface.
Once the surface is smooth and ready to be painted, you can apply a coat of primer to seal and prepare the surface for the paint.
Therefore, to properly finish drywall, it’s necessary to apply joint compound over the tape and sand the surface smoothly before priming and painting.
This process is known as taping and mudding, and it is an important step in achieving a professional-looking finish on your drywall.
After the taping and mudding are complete, and the surface is smooth, you can apply a coat of primer to prepare the surface for painting.
Why Is Drywall Tape Showing Through Paint?
There are a few reasons why drywall tape might show through the paint, and these reasons may include:
- You didn’t embed the tape properly into the joint compound. And it can happen if the joint compound is not applied evenly or if it is applied too thinly.
- You should have applied the paint evenly. If you apply the paint too thinly or there are areas where it is not applied smoothly, the tape may be more visible.
- The paint used is not suitable for covering drywall tape. Some paints are better at covering imperfections than others and may not be able to obscure the tape fully.
- The tape is old or damaged. Over time, drywall tape can become brittle and may begin to show through the paint.
So, to prevent drywall tape from showing through the paint, properly embed the tape into the joint compound and apply a smooth, even coat of paint.
Using a paint designed to cover imperfections may also be helpful, such as a “high-hiding” paint or a thicker consistency.

