When applying your drywall, it is essential to be aware of some defects that may develop and damage it.
One of those defects is drywall bowing. Drywall bowing is when the material starts to lean a few inches outwards of the wall. That said, what causes drywall to bow outwards?
One main reason your drywall will bow outwards is exposure to excess moisture. Moisture causes the drywall materials to crumble. Other causes of the defect include improper installation of drywall, pressure from the bowing wall, etc.
In this article, I’ll explain why your drywall is bowing outwardly and detailed steps to fix it.
Ready for a Drywall Quiz?
Why Is Your Drywall Bowing Outwardly?
One common reason your drywall will bow outwardly is excess moisture in that area.
The drywall material might be strong, but when you expose it to excess moisture, the strength begins to crumble. The loss in power is why the drywall starts to bow outwards.
Also, one thing that contributes to the bowing of the drywall is if you didn’t install it properly. If you install the drywall properly and it comes in contact with moisture, it may last longer.
Another reason for the drywall bowing outward might be that the wall is bowing. Therefore, the bowing wall will pressure the drywall and cause it to lean outwards.
You can quickly repair the bowing drywall, but first, you must figure out what caused it to start bowing and eliminate that factor.
If the drywall starts bowing due to moisture contact, you must install waterproofing materials before applying the drywall.
When applying the drywall, follow all the steps and make sure the details are clear, so the installation is strong.
If the drywall bowing is due to pressure from the bowing wall, you need to invite professionals to fix the foundation problem.
After you figure out the problem and tackle it, you can follow the steps to remove the damaged drywall and replace it with a new one.
How to Fix Bowed-out Drywall?
Here is a table to show the materials and tools you will need to repair your bowed-out drywall and its functions.
| Tools and Materials | Functions |
|---|---|
| Stud finder | To find the wall studs on your bowed drywall. |
| Pencil | Mark out the wall stud areas and write out the drywall dimensions. |
| Pry bar | To pull out the bowed-out drywall. |
| Hammer | To pull out the nails from the wall. |
| Utility knife | To cut out the appropriate size of drywall for the empty area. |
| Measuring tape | To measure the dimensions of the drywall. |
| Electric screwdriver | To drive the drywall screws into the drywall. |
| Drywall screws | To secure the drywall into the empty area. |
| Joint tape | Secure the joint in the drywall. |
| Joint compound | To give the drywall a smooth finish. |
| Drywall knife | Apply the joint compound on the wall. |
Here are steps on how to fix your bowed-out drywall:
Step One
For this step, you will need a stud finder. Use the stud finder to find the wall studs on the bowed section. When you find the studs, use a pencil to mark the areas.
Carrying out this process will make it easier for you to find the seams on the drywall.
Step Two
You need to remove the bowed-out drywall before you install the new one. Therefore, you need a pry bar for this step.
Use the pry bar on the areas you marked, and then pull out the drywall from the wall. Keep doing this on each mark until the whole section of the drywall comes off.
Step Three
After you remove the drywall, you need to pull out all the nails and screws left on the wall. If you used screws to construct your drywall, you could use a screwdriver to take it off.
However, you’ll need to turn your hammer around and take the nails off the wall if you use nails on your drywall. Then, store the nails and screws in a container for future use.
Step Four
The next step is to measure the section of drywall you pulled off. Use a pencil to mark the dimensions on your new drywall and cut it out with a utility knife.
If the drywall you are to cut out is big enough, you can take it out and snap it in half. After snapping it, you can use a utility knife to cut through what is left.
Step Five
The next step is to install the new drywall in the empty area. You should use drywall screws and an electric screwdriver to drive the screws in.
The first thing to do is to pick up the drywall you cut out and place it in the empty area. Next, use the screwdriver to drive the screws into the stud through the drywall.
Ensure to follow the rule of placing the screw every twelve inches along the vertical axis of the drywall section.
Step Six
After screwing the drywall in, the next step is using joint tape. Before applying the joint tape, you must first mud the drywall.
Here are steps to mix hot mud:
- You’ll need to buy buckets, a mud mixing drill, and drywall quick set mud from a brand like CGC lifeline or the USG, plus three for the drywall mud mixing.
- Open the drywall mud from its packaging by unfolding the box and tearing open the plastic bag containing the content.
- Transfer the content carefully by turning it over into a bucket, then dispose of the bag.
- If you purchase drywall mud from a brand like CGC, you will notice the mud is dry.
- The dryness of the mud makes it good enough to use in place of the quick set in case you can’t find one available.
- Pour some water into the bucket of mud and use the mixing drill to break it down for a while.
- Hold the bucket between your legs, and allow the drill to spin at the bottom.
- Pause the drill in between spins as you slowly work your way to the top of the bucket
- Add more water into the bucket and lift the drill to the top to spin. The mud will get smoother as you spin the earth.
To save yourself from the stress of having to mud the drywall first, you can use self-adhesive tape and go straight to taping the drywall.
Here are steps to use self-adhesive tape:
- The first step is to open up the tape
- Place and hold the tape at one end and draw it over to the other. Avoid pushing the tape into the space in between the joint.
- Flatten it out with a tool with a smooth surface.
Step Seven
The final step is to apply joint compound over the tape and screws and wait for about four to six hours.
The joint compound will become hard, so you can use a sander to smooth the surface.
Should You be Concerned About Bowing Drywall?
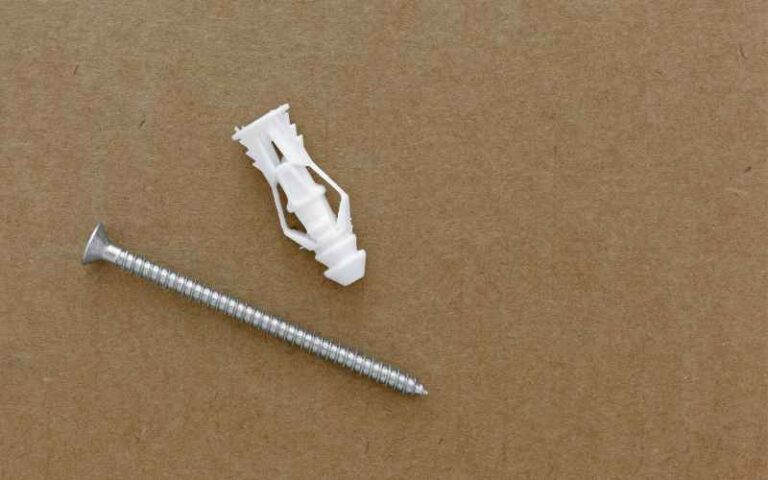
Your concern for the bowing drywall should depend on the level of the bowing. For example, if the bowing is about two to four inches, you can easily correct it with wall anchors or steel beams.
However, if the bowing is up to six inches, you must immediately replace the drywall. Make sure to figure out the problem and proffer a solution before replacing the drywall.

