Drywall is a common choice for constructing wall interiors in homes since it’s durable, fire-resistant, stable, cost-effective & more straightforward, and faster to install than plaster.
But, despite all of the fantastic qualities that make it a top construction choice, users experience one major challenge.
Drywall is prone to developing soft spots over time, which significantly distorts a home’s aesthetic. The above question is standard, and I’ll answer it soon.
The primary cause of soft spots in drywall is the prolonged presence of water or moisture. Additionally, the porosity of the board can lead to the absorption of other liquid content, which in turn causes the gypsum board to soften. Furthermore, a termite infestation can also contribute to the deterioration of your drywall’s strength.
In this article, you’ll learn more about the possible causes of soft spots in drywall, signs of moisture in drywall, and how to fix these.
You’ll also learn how to repair drywall damages, and by the end, you’ll have lots of helpful information about drywalls.
Ready for a Drywall Quiz?
What Are The Causes Of Soft Spots In Drywall?
Thinking of the cause before seeking a solution when your drywall develops soft spots is normal.
Honestly, you cannot proffer the right solutions or even know who to contact for help if you haven’t figured out the reason for the damage.
Therefore, asking the question above puts you on the right track. So, without further ado, let’s explore the factors that cause soft spots in drywall.
#1. Water Damage
Water is the number one element that can lead to the softening of your drywall.
Though brief contact with water does no considerable harm, you should avoid immersion or wetness for lengthy periods.
Drywall is vulnerable to water and porous, thus enhancing water accumulation and wicking.
In the event of saturation, the drywall will soften and become mushy. This situation is dangerous as it will either lead to the formation of mold or the eventual collapse of your wallboard.
Water infiltration can be due to plumbing or structural leaks, flood, or other reasons. It would help if you were cautious and observant.
#2. Moisture Retention
The drywall is highly vulnerable to moisture. Thus, water accumulation over an extended period can result in soft spots on your wallboard.
Moisture is a culprit because it causes important drywall components, like paper and gypsum, to become soft and slushy.
The presence of constant moisture may result from venting issues, faulty home drainage, condensation due to temperature fluctuation, etc.
#3. Liquid Absorption
Besides water, other liquids can also cause soft spots to erupt in your drywall.
For instance, you host an in-house party with lots of drinks & there’s an accident in which a keg is hit, and breaks against the wall, or folks keep popping drinks aimlessly.
In such a scenario, your drywall will be at risk because the absorption of these liquids can lead to its softening if you do not act swiftly.
So, bear this as probable cause and try to prevent such nuances from happening.
#4. Termite Infestation
You may think termite infestation is a less likely cause of soft spots on your drywall, but you’re mistaken.
There is a high tendency for termites to infest and plague your drywall because its paper facings are edible to them.
So, if termites attack and nibble on the paper facings of your gypsum panel, its surface will become brittle and begin to crumble.
At this state, if there is a spillage of water or liquid, it will permeate faster and quickly weaken the drywall leading to the inevitable occurrence of soft spots.
So, while termite infestation doesn’t directly lead to soft spots, it heightens the possibility of its occurrence.
And asides from that, the damage caused by termites also results in the peeling of the paint and, in severe cases, the collapse of the gypsum’s core.
How Do You Fix Soft Spots on Drywall?
Fixing soft spots on your drywall is necessary to prevent the spread of moisture accumulation and further damage.
There are different ways to fix soft spots, and which you choose will depend on the severity of the problem.
If the soft spots are not excessive, you can fix them yourself. Otherwise, you’ll need professional help.
So, below are how you can fix the softening of your drywall.
#1. Drying The Wallboard
If your drywall gets slightly damp due to a minor leak or water spillage, you can act fast to prevent permanent damage.
The swiftest fix in this situation is pressing a cotton towel against the affected spot to absorb some of the wetness.
Then, air the area with a standing fan to help dry the wallboard.
You should note that this may lead to discoloration of your drywall, but you can remedy the situation by applying white paint to the affected area.
#2. Changing The Drywall
Drying the wallboard will not be an effective fix for soft spots if constant exposure to water exists.
The reason is that excess absorption of water can cause the drywall to sag, rot, and develop mild dew or mold growth which is harmful & can lead to eventual collapse.
So, even if you dry the wallboard, it will be warped, discolored, still have mold, and crumble under even slight pressure.
Hence, if the soft spots are numerous with intense effects, you will have to remove the drywall and install a new one.
You can handle the replacement yourself or contact a professional if you prefer.
#3. Installing a Greenboard
If you’re on the verge of changing your drywall, consider replacing it with a green board.
A green board is a type of drywall that has undergone treatment with various chemicals and wax coating to make it water, moisture, and mold resistant.
It is a must-have in areas with high humidity, such as the kitchen, bathroom, laundry room, etc.
So, per adventure you notice soft spots on your drywall in humid places which require replacement, it’s better to install a green board as it is less susceptible to water damage.
Summarily, if the soft spots are severe, you can dry your wallboard to fix less intense water damage and replace the sheet with another drywall or green board.
How Do You Check for Moisture Behind Drywall?
Since drywall is highly vulnerable to moisture infiltration, you must know how to check for moisture behind your wall.
Thankfully, checking for moisture in drywall is easy as there are telltale signs which can notify you of dampness.
Some of these signs are ripples, blisters, mold, discoloration, softness, etc.
Below is a table containing these signs and their symptoms to characterize and help you identify them.
| Signs | Symptoms |
|---|---|
| Ripples | The formation of inconsistent wavy patterns on the gypsum board. |
| Blisters | The appearance of little bubbles that may be filled with water. The bubbles are often crumbly. |
| Mold | Foul odors often characterize the presence of mold in drywall. |
| Discoloration | The color of the drywall paint begins to fade away. |
| Softness | The wallboard begins to feel mushy and gooey. |
| Watermarks | Moisture leaves traceable stains on drywall. |
| Wrinkles | Most times, the surface of the drywall will begin to fold and crumple |
| Sagging | An inward bulge in the drywall. |
The above are clear indications of moisture in your drywall. So, It would help if you were on the lookout for any of these.
How Do You Smooth Out Damaged Drywall?
Your drywall may suffer damage during installation resulting in ridges or seams.
Another cause of drywall damage is wetness, and if this is the case, you’ll have to wait till it is scorched before attempting to smoothen it out.
You can smoothen bumpy and uneven parts of your drywall through the skim coating. It’s a superb technique that can get the aesthetic of your walls looking prim and proper.
Before I explain the steps, you will need a list of items.
- 120 grit sandpaper.
- PVA primer.
- Drywall mud/ joint compound.
- Sanding pole.
- Mud trough,
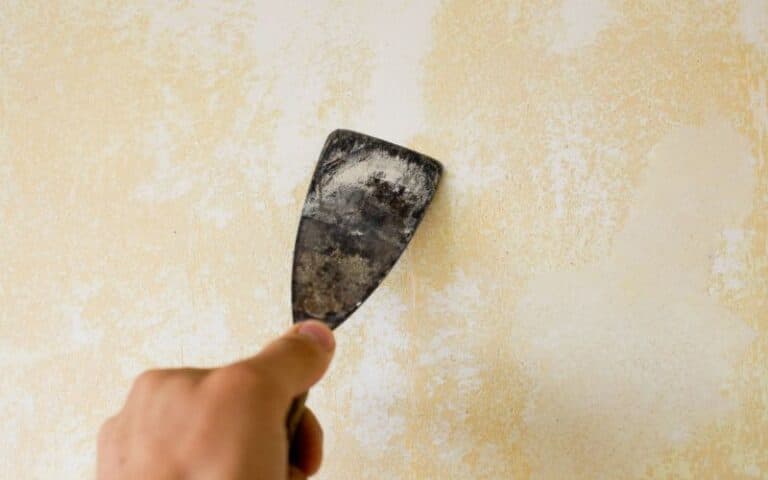
- Drywall knife.
Now, let us proceed to the steps for skim coating.
- First, use the 120-grit sandpaper to sand the drywall to clear any bumps.
- Next, apply PVA primer to the drywall so it can be uniform and let it dry.
- Proceed by mixing your joint compound powder with water to form a paste with a thick consistency. You can make use of a ready-to-use mixed compound if it’s available.
- Transfer your compound to a mudding trough and spread it over your drywall, targeting depressions.
- Also, spread the compound over ridges, seams, wrinkles, blisters, and other visible damages.
- Next, use your drywall knife to flatten and even out the coating.
- Don’t worry if it isn’t smooth after the first application; you may need to coat the flaws a few more times before they become perfectly level.
- So, after the first coat dries, sand the drywall again, dust it, and recoat. Keep doing this till the drywall becomes smooth and even.
- Clean your drywall knife occasionally while coating the drywall to avoid transmission of debris.
- When the drywall is even, allow the coating to dry up, then sand it once more before applying PVA primer

